How To Remove A Toilet From Your Bathroom
Our instincts tell us that toilets are one of those things — like venomous snakes, spiders, and some relatives — that we shouldn't interact with any more than we have to. But when the time comes to remove or replace one, unless you're planning to hire someone to pull the toilet out, you're going to have to get up close and personal with it. Take heart: You're not going to have to deal with the inner workings of the toilet, and it's actually not a particularly unpleasant task. Removing the toilet is not complicated to do, and there's really not much that can go wrong. Just follow a handful of steps and, unlike snakes and relatives, the toilet should cooperate without complaint.
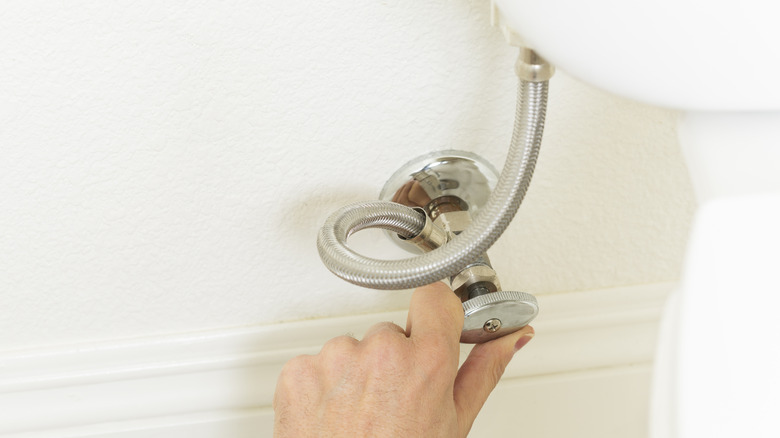
Of all the places where your toilet connects to your house, the water supply line is the most likely to dampen your mood and your bathroom. The first step is to turn off the water. For a toilet, you do this at the start of the water supply line that's on or near the wall behind the toilet. Turn the shutoff valve clockwise until it stops, just as you would an outside spigot. Older shutoff valves occasionally fail, so if you have any reason to suspect that yours won't work properly, turn off the water to your whole house to prevent a big mess when draining your toilet. This averts almost all possible disasters — but you're not quite done with water yet.
Removing the toilet itself
After turning off the water line, the only water you're concerned with is what's already in the pipe and the toilet itself. Remove the water supply line that runs from the valve to the toilet by unscrewing it from the valve with an adjustable wrench. You can disconnect it from the toilet and reuse it with a new toilet, if necessary. Have a bowl or container ready to catch any water from the supply line when you disconnect it. Flush and drain the toilet to empty it as much as possible before removal. Grab a big sponge to soak up any remaining water from the tank.
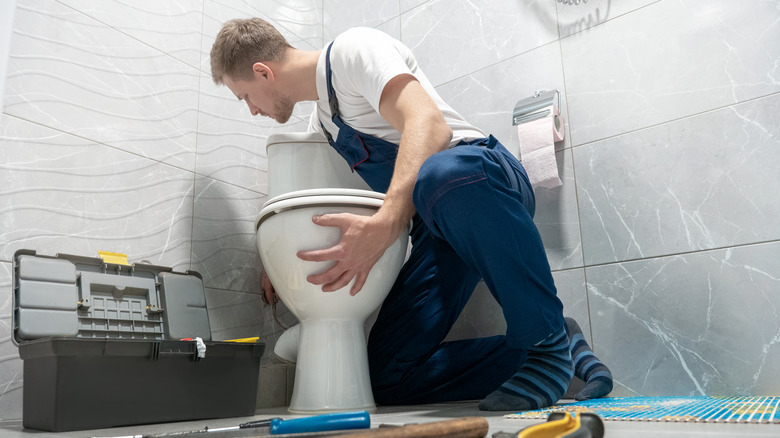
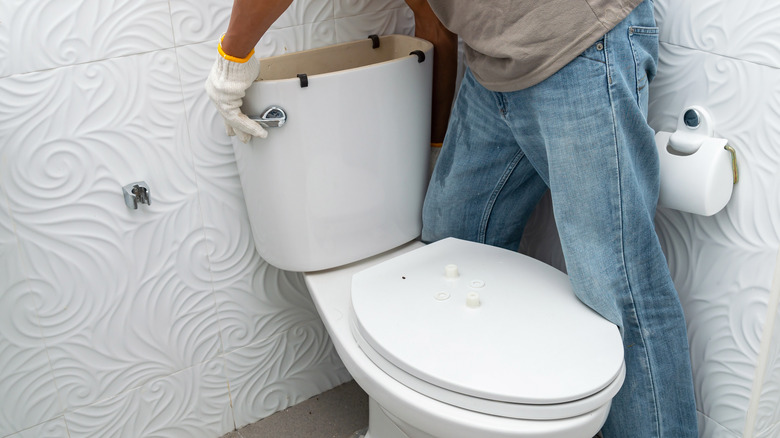
Now, you'll remove the toilet. If you have a traditional two-piece toilet with a separate tank and worry that you can't lift the whole thing, remove the tank at this point. It's usually just a matter of removing two or three mounting bolts that hold the tank to the bowl, then lifting the tank away. Remove the plastic covers, nuts, and washers securing the toilet to the floor on each side. If the toilet is caulked where it meets the floor, cut the caulk all the way around the base. Lift the toilet straight up over the bolts, then set it aside on a towel. The more level you can keep the toilet during this move, the less water will find its way onto your floor.
Cleaning up and preparing for what's next
You're done with the hard work now, and what remains is focused on cleanup and preparing for whatever's next, whether it's a new toilet or a new purpose for the space. Scrape any caulk residue off the flooring. Remove the wax seal, or the no-wax toilet gasket(s), from the toilet flange at the top of the drain pipe. The wax can be challenging to remove; just scrape and wipe up what you can. Any remaining wax won't interfere with the next toilet's seal, and if you're doing something else with the space, the flange will be removed or covered anyway.
One last important step and you're done: Wad up a few paper towels or a hand towel and push it into the top of the drain pipe you've just exposed. If you use cloth, make sure it's big enough to not accidentally find it's way down the pipe. If you use paper, make sure it's no larger than necessary, so that if it does get pushed down the pipe, the chances of a clog are minimal. This step will keep sewer gases out of your home and keep you from dropping things like nuts, bolts, and wedding rings into the toilet drain pipe. Just don't forget to remove your paper or cloth towels when you're doing the next stage of your project.


