Keep Your Carved Pumpkins From Rotting With A Handy Product You Already Own
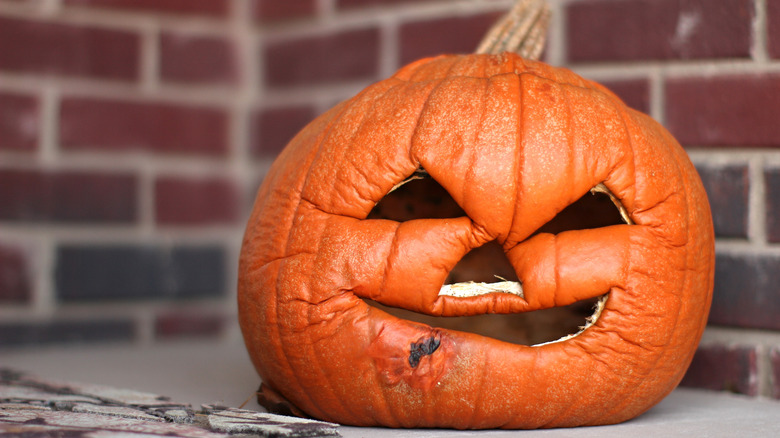
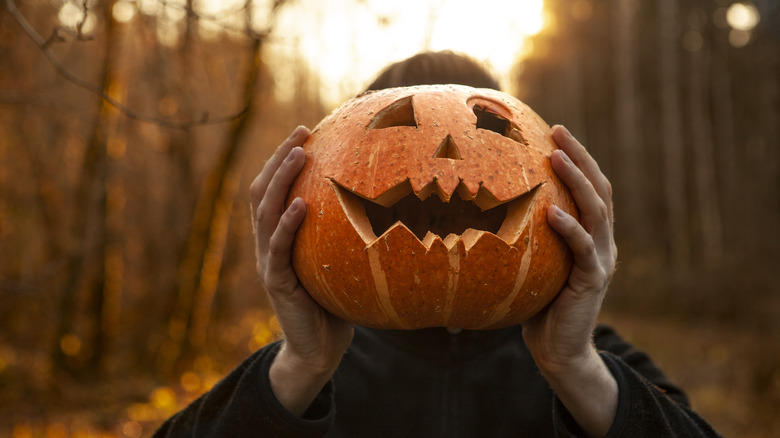
Carving pumpkins is one of the most-loved projects everyone looks forward to during the Halloween season. You get to show off your creative side and design spooky, funny, and quirky pumpkins. They're perfect for decorating your front porch and help elevate your seasonal decorations. If you haven't carved pumpkins yet, it's not too late; there are various creative carving ideas you can still do. You might decide to start carving pumpkins the week or a few days before Halloween to prevent them from rotting quickly. Displaying sad, mushy pumpkins with their faces drooping and flies coming out of their holes isn't a festive look you want to show in front of your house. However, coating the pumpkin's interior with borax can help keep their ghoulish faces intact.
Pumpkins rot easily since the insides are incredibly moist, allowing fungi to grow fast. Plus, when they're placed outside, they're exposed to pests, which feed on the inside, causing them to transfer their bacteria to the pumpkin. In addition, pumpkins can rot from dehydration. The weather can affect the pumpkins if the days are too hot, drying them out. While moisture makes fungi grow, their insides should stay hydrated. Sealing the moisture can help keep them fresh for longer.
Borax kills bacteria and mold
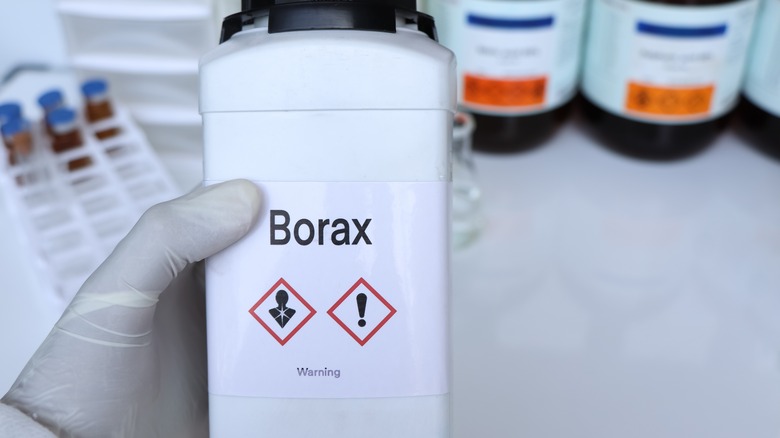
When carving pumpkins, you draw a design on the skin, cut a hole around the stem, dig out the pumpkin guts, and cut into your outline. Some folks leave the pumpkin as is and set it out on their porch for neighbors to see, but it lasts only a couple of days before it decomposes. Other folks add a candle to light up the inside, which speeds up the rotting process. The heat from the candle increases the moisture levels inside the pumpkin, so it makes fungi grow faster. Instead of displaying your pumpkins with candles immediately after carving them, coat the insides with borax. The borax is excellent for killing bacteria and mold and can prevent pests from creating a home in the pumpkins.
Directly applying the borax to the pumpkin's inside creates a crust that seals the inside so that mold won't have a place to grow. It acts as a protective barrier. However, it can dry out your pumpkin, so you can add petroleum jelly to lock in the moisture. Further, avoid cutting the stem from the pumpkin to dig out the insides because the nutrients from the stem get cut off from the rest of the pumpkin. Instead, cut a hole at the bottom to remove the guts and keep the stem in place. You'll be able to carve your design into your pumpkin and apply the borax effortlessly.
How to keep your carved pumpkins fresh with borax
Applying borax to your pumpkin is straightforward. Still, there are a few precautions to consider when handling borax at home. Always wear gloves when touching borax since it can irritate the skin. The gloves will protect your hands so that when you're finished using the borax, you won't get it in your eyes or on surfaces you're touching. In addition, try not to inhale too much borax because it can hurt your lungs, nose, and throat. You can wear a mask to prevent breathing in too much of it.
Once you gather your items, fill a bowl with borax. Wearing your gloves, apply a thick coat of borax to the pumpkin's inside. Rub it carefully into the pumpkin until the interior is fully coated. Refill your bowl as needed. When you're done applying the borax, let it dry. Finally, set it up outside for all your neighbors to see.
You can always add a layer of petroleum jelly inside before adding borax to keep the pumpkin fresh, but it's not always necessary. Or, if you forget to add the jelly, you can apply it to the outside, and it'll help seal the skin's moisture. Adding it to the exterior is tricky because of the texture, but once you lock everything in, your pumpkins will be happy to last for more than three days without immediately rotting.


