TikTok Shows Us How To Transform Our IKEA KALLAX Unit Into A Rustic Entertainment Gem
Who doesn't love a good IKEA hack? Whether you're adding a coat of paint or some wallpaper for a quick transformation or taking it a step further with wood panels and doors, customizing IKEA furniture can give you the exact piece your home needs. The latter is exactly what Kayleigh Sherbourne, who goes by @do.it.yourself.mum on TikTok, did. She transformed a standard IKEA KALLAX into a custom rustic entertainment unit. Sherbourne uses wood to create a rustic tabletop, backing, and sliding barn doors. The result is a stylish unit where you can place a television, books, DVDs, games, and even more.
This is a DIY that anyone can recreate. The KALLAX shelf unit Sherbourne used costs $89.99. An unfinished pine board for the tabletop and backing costs about $23.98 each from Lowe's. Barn doors for a cabinet, including the hardware, sell for $69.99 on Amazon. The total for the project would be about $207.94 minus the cost of tools, wood stain, or paint. For the average DIYer, this project could be done in about a weekend.
Rustic IKEA transformation
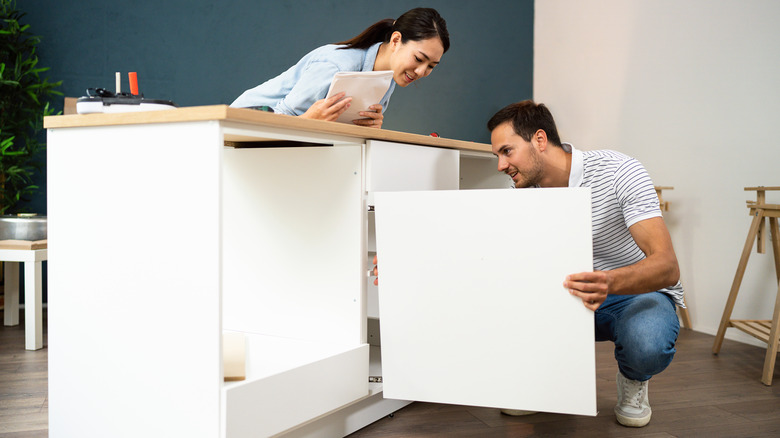
While transforming the IKEA KALLAX will take longer than the one-minute video that Kayleigh Sherbourne posted to TikTok, the project is still pretty easy and straightforward. She starts by assembling the eight-square shelving unit and preparing it to be sanded. You want to sand the shiny finish off of IKEA furniture so the paint sticks evenly on the surface. For a new piece in good condition, you can use 240-grit sandpaper to lightly remove the slick finish. After that, you want to thoroughly clean and wipe the piece to ensure you've removed all the dust and debris.
Sherbourne then cuts wood planks to the height of the cabinet, attaching them to the back of the unit with wood glue, screws, and an electric drill. This small addition already transforms the piece so much since you can see the wood peaking out between the cubby holes. Using wood glue again, she attaches a long wood board to the top of the shelving, adding clamps to help maintain pressure as the glue dries. Then, Sherbourne cuts and attaches skinny pieces of wood to the front of the piece. She also paints the shelves a light gray. You may opt to sand and paint each individual piece before assembling the unit if that's easier. Finally, Sherbourne cuts wood to create the barn doors and attaches them to the front with the sliding hardware. However, for the not-as-experienced DIYer, store-bought cabinet barn doors can also work.