Mistakes Everyone Makes When Hanging Family Photos Around The House
Ready, camera, click! Photos play an important role in preserving your treasured memories, and family pictures become a part of your heirlooms. These images make a property feel warm and homely and are a stylish way of adding personality to your home. Not just this, hanging family shots around the house creates a strong sense of belonging in children, helps increase a child's self-esteem, strengthens the bond among family members, and helps cheer them up.
Family photos also instill gratefulness and make you value your family more. These clicks help you capture precious moments in time and allow you to take a trip down memory lane whenever you feel nostalgic. However, here are a few mistakes that you should absolutely avoid while hanging such pictures so that they don't look cluttered, steal the vibe of your furniture, or worse, make the entire space look dull. Rather, it should highlight the spaces where you choose to display them. Here's what not to do.
Hanging photos in inappropriate places
Be mindful while hanging family photos around the house. Do not hang pictures in inappropriate places like bathrooms, guest rooms, beneath the staircase, or above the stove. It creates an awkward display, throwing off the vibe of the room. That's because they don't make much sense there. Photos in bathrooms and next to stoves can get dirty, while pictures in odd nooks like under staircases will never be seen. And photos in guest bedrooms can feel a bit intrusive, making for an uncomfortable stay. Moreover, you should avoid hanging images above the fireplace mantel, too, since, according to feng shui, it may cause friction among the family members.
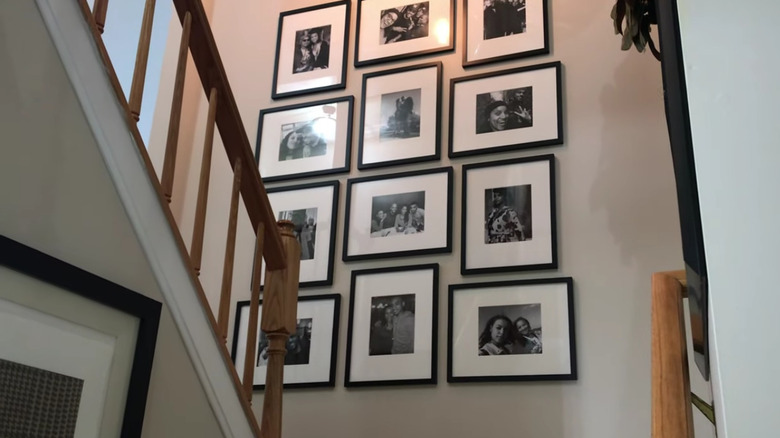
Family photos should ideally be hung at places where you spend most of your time during the day or rooms your family congregates in. For example, hang romantic clicks with your partner in your bedroom rather than showcasing them in the living room, decorate the walls of your living room with family pictures, and make your staircase wall an arcade of photos sharing stories of your success, parties, and night outs. You can even put images of adventures, winnings, and life timelines in your dining area or drawing room to invite hearty conversations with friends and family. These placements are well thought out and intentional, making the space appear put together rather than awkward.
Not selecting the right frame and mat
Each photo has a story to tell, which can get subdued if the photo frame or mat doesn't match the picture or room it's being hung in. You don't want your photo wall to look lifeless. Selecting a too-heavy frame or one where the mat does not compliment the frame can make your photos look mundane or off.
Of course, it all depends on your personal style, but there are certain ways to go about this. First, it's more modern to choose frames of the same size to create a photo gallery wall. Rather than mimicking the hodge-podge gallery walls found in '90s family homes that use a mix of frames ranging from 5 inches to 24 inches, choose elegant, thin frames in identical sizes in black, gold, or silver that create a symmetrical display across the wall. It's also more up-to-date to pair small photos in large frames and large mats, which creates more negative space on the wall, making it appear neater and more gallery-like.
Printing photo sizes that don't match the scale of the wall
Be mindful of the wall area where you want to hang the picture. If you print a small photo and hang it on a large wall, it'll look bizarre, making the space seem cavernous and empty. Instead, either print a large image that is to scale with the wall, or group multiple small photos together to create the appropriate size.
Similarly, if you have a colossal photo, but the wall you mount it on is not big enough to contain the picture, it will seem outlandish. It will look overbearing, and the room will appear smaller than it actually is. If you're struggling to figure out the appropriate size, use tried-and-tested design formulas. For example, if hanging them over furniture, photos need to be 3/4 as wide as the piece below it. If clustering multiple photos together to get the width, make sure you space each picture 2 to 4 inches apart. If you hang your photo on an empty wall, you want the negative space around the photo to be 3/8 as wide as the photo itself. It sounds a bit complicated, but all you need to do is measure the length of your wall and multiply it by .57. The number will tell you how big your photo or gallery wall needs to be.
Hanging pictures without considering optimal directions
To avoid attracting any negative energy or vibe to your house, use Vastu to place family photos in directions best suited for them. Vastu is a traditional Indian design method based on ancient teachings that helps bring spiritual balance to a home. According to its teachings, hanging family photos will not only help improve aesthetics but will also promote emotional stability. However, there are rules to what kind of photos you can hang and where you can put them. For example, avoid hanging pictures in front of your bed to encourage peaceful sleep. You also shouldn't choose snapshots that evoke sorrow, anger, or depression to prevent friction between family members and to keep negative energy at bay. Similarly, avoid putting up displeasing images of pets.
It suggests utilizing the northeast corner of the living room for hanging happy family photos to attract positivity and nourish familial bonds. Moreover, it's ideal to hang family images on a bedroom's southern or western walls to maintain tranquility and healthy relationships. Vastu also proposes that you keep your photo frames clean. Dirt and dust obstruct the free flow of positivity. Hence, keep them clear and vibrant.
Using a cheap printing lab
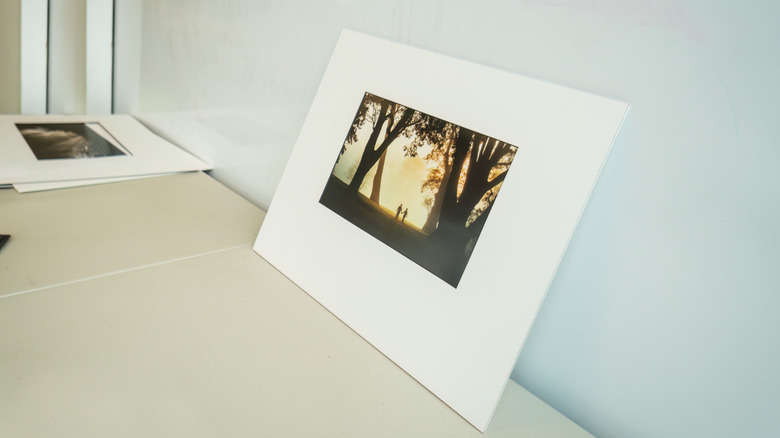
Hanging pictures that are pixelated or not printed well will detract from the image's charm and that of the background. Photos printed at consumer labs like Walgreens or CVS may result in discoloration or poor color contrast due to thinner paper, poor-quality ink, and mediocre printers. Besides, people employed at consumer labs aren't experts and might not have the techniques to fix minor issues such as poor cropping or wrong exposure settings.
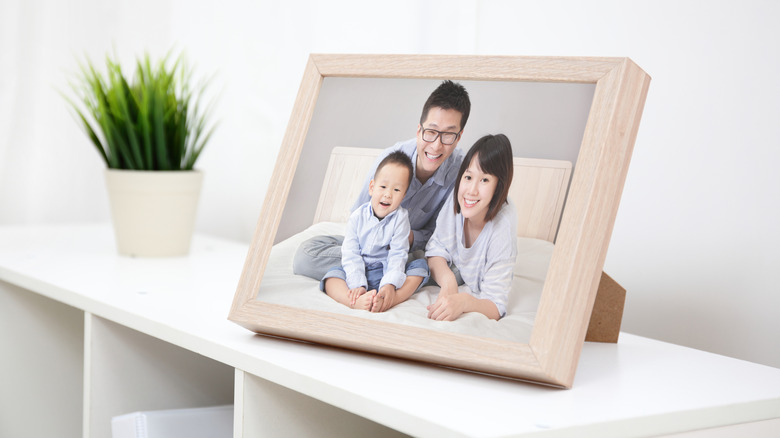
When you print your pictures, you want them to stay in good condition for life. Hence, consider spending a little and utilizing professional printing labs. Their superior technology, investment in professional paper, and better ink and chemicals that provide precise coloration and color correction produce the print with exact detailing. This is especially important if you want to hang a large family photo. The bigger it is, the easier it will be to spot imperfections or errors, so it's worth the extra investment.
Using too many posed photos
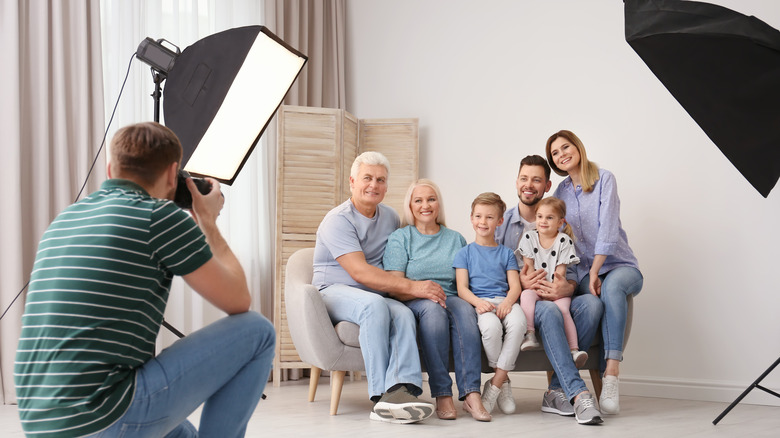
Most families love getting professional family photos taken to capture how they're growing and evolving. If you have ever taken one, then you know the poses involved. Some standard practices include controlled smiles, chin up at the right angle, face turned to the camera just so, and a straight back. Though such pictures look professional and capture your family well, they don't capture "real life."
While they're beautiful to have, you want a mix of professional portraits and candid snapshots that throw you back to specific happy moments. That's because when you put up photos that don't strike an emotional chord with you and look forced, it's just another piece of furniture around your house. The candid shots will evoke pleasant memories and add a fun element, while the posed ones will ground the prints and prevent them from looking messy.
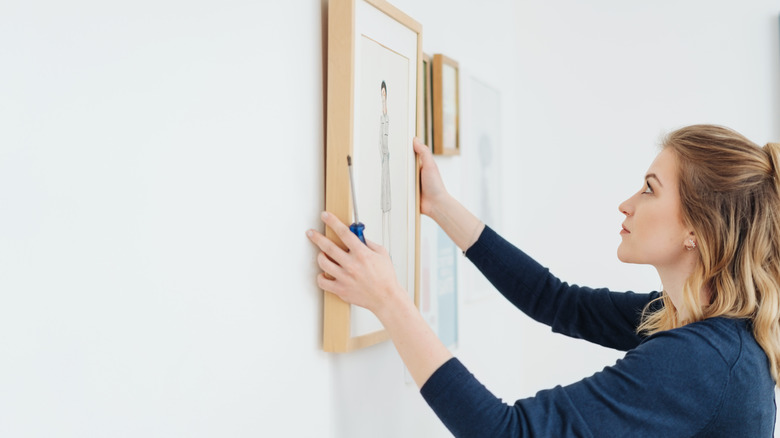
No experimentation before hanging photos
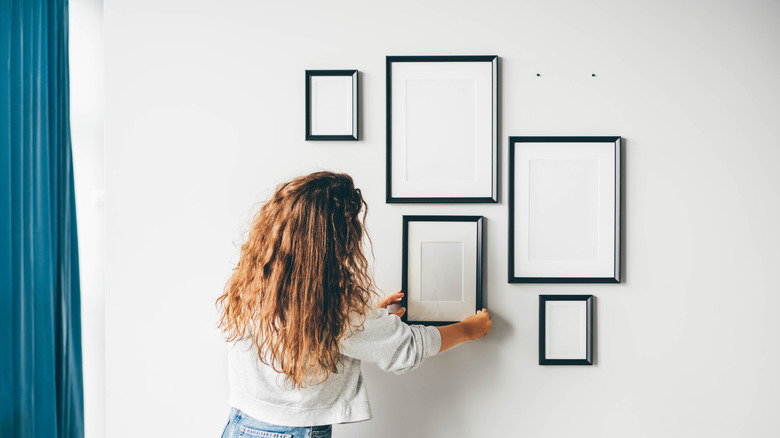
Before drilling holes, hammering nails, and hanging the photos, try out various combinations to ensure that the end result is as expected. You can either plan the gallery wall on a sheet of paper, cut frame-sized paper and tape it on the wall, or employ Photoshop to determine how the end product will look. Based on your experiment, you can adjust the spaces between images, the order and the shape, and you can even decide the number of shots that will look ideal adjacent to your furniture.
You should also think of a theme or story you want your wall to tell. Are you clustering random happy snapshots, or is one wall dedicated to your children's toddler years or perhaps a special vacation you all loved? Or maybe it's showing how your family evolved over the last few years? Make mental notes before finalizing your gallery wall. Once you are ready to hammer the nails, cut out paper silhouettes of your frames, arrange them on your wall, and then hammer the nails into the paper. You can then remove the paper and hang your real frame. This will allow you to fiddle with the arrangement without having to put more holes in the wall than necessary.
Not planning out a color scheme
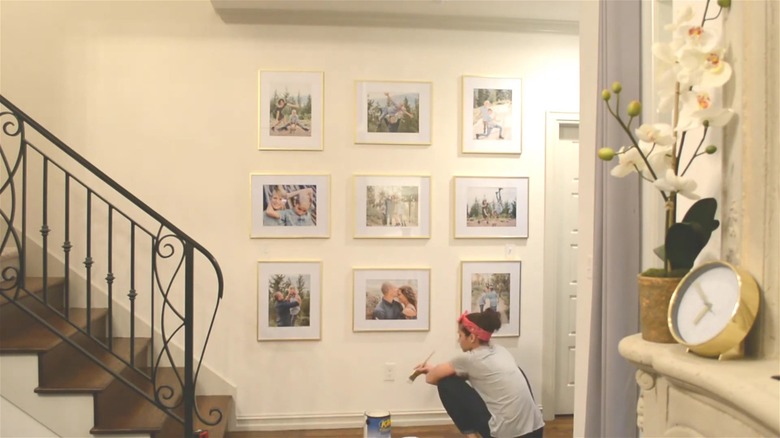
While you will likely choose the best color scheme that matches your aesthetic, there are some universal rules to keep in mind when printing family photos for a space. First, you want the color scheme to match the room you're hanging it in. For example, if it's a very minimalist or neutral room, converting your photos into black-and-white snapshots might match the space better. Similarly, if it's a maximalist space that embraces color and patterns, you can use more vibrant photos without issue.
You also want to make sure that the color scheme matches within a series of photos, especially if you're hanging them as a gallery wall. For example, if you're using a film filter, you would want the majority, if not all of the photos, to use the same filter. Or, if you prefer a more bright and airy filter, you want the group of photos to have the same color scheme. Doing the opposite will make the pictures look disjointed and messy, throwing off the aesthetic of the room.
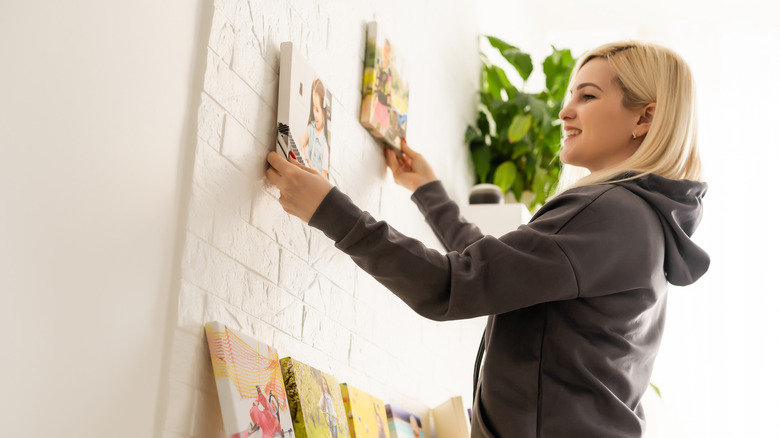
Using self-adhesive tabs
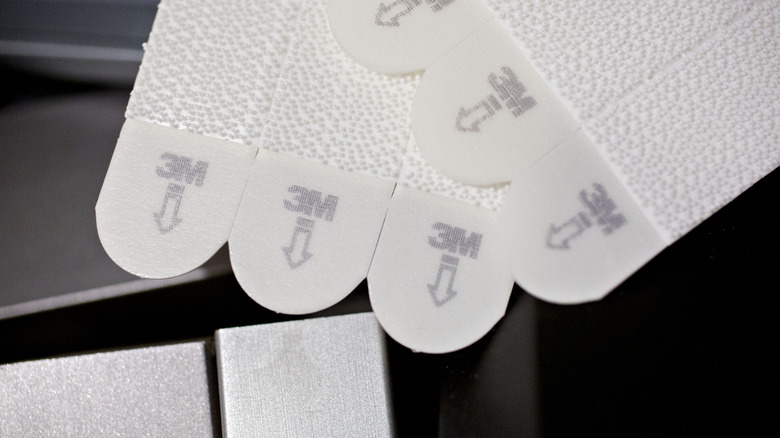
Though self-adhesive tabs are hassle-free and simple to use, they come with too many variables to trust explicitly. For example, some might not adhere to the wall for long, and your photos might come crashing down. On the other hand, others might adhere to the wall too well, and when you want to remove them, a chunk of drywall might come off with them. Figuring out proper weight allotment can also be tricky, which means hanging a heavy picture frame you love can be risky.
So, it's best to stick to traditional methods — hammering nails into the wall — to hang family photos around the house. You may also use press-in hooks. These hooks are outfitted with a curved end that can be pushed into a hole in the wall, and a small hook is available on the outside to hang the photo. However, you might have to use more than one hook for heavy frames. You can also install various ledges on the wall and place your images on those ledges. This is especially great if you want to constantly tinker with the photo design. All three methods are better — and safer — alternatives to using self-adhesive tabs.