The Budget-Friendly Paint Job That Can Totally Transform Your Home
Are you worried your home has begun losing its charm? If so, an easy upgrade to your trim work could breathe life back into your living space, much like reviving a once-treasured coat that's seen better days. And just as cosmetics can illuminate a face, a budget-friendly paint job like painting trim can dramatically elevate your home's feel and appearance, sidestepping an exorbitant makeover expense. The good news, too, is you can ace this project even with limited DIY experience. Plus, the modest price tag of $40 to $50 adds another dash of appeal to it.
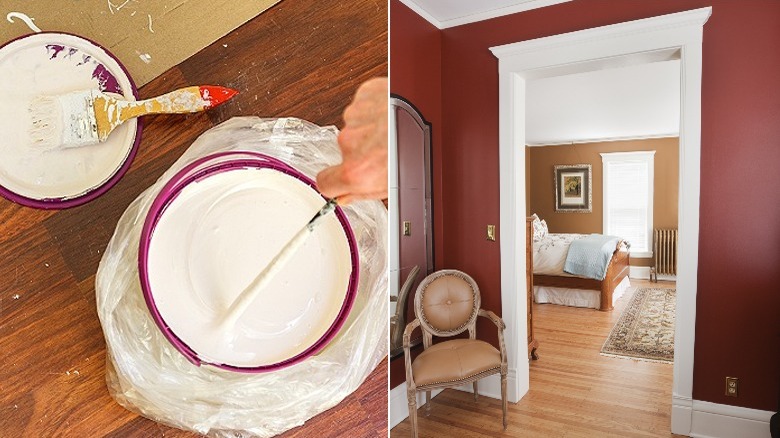
However, choosing the right color for your trim work isn't a decision to make lightly. It's an art that requires a keen eye and understanding of shades and their interplay with light. A versatile and popular choice is neutral white, acclaimed for its compatibility with multiple wall shades. If you've got a daring streak, try a dark hue for a bold and sophisticated vibe that defines your interior in novel, striking ways.
Upgrade the look of your home with new trim
A clean paint job begins by gathering the necessary supplies. Your arsenal here will include one angled paintbrush; primer; a trio of 80-, 100-, and 120-grit sandpapers; painter's tape; paint; cleaning products; safety gear; and a paint tray. Shielded in appropriate safety gear, conduct a meticulous cleansing of your trim — a soapy sponge is ideal for those greasy sections. Next, stage a gentle offensive on the wooden surface with 80-grit sandpaper, then step down to a smoother 100- and 120-grit. Make sure to remove the dust post-sanding. If your trim has seen better days, first address any imperfections. Caulk is your answer for cracks between the trim and walls. Afterward, shield nearby surfaces with a long, continuous barrier of painter's tape.
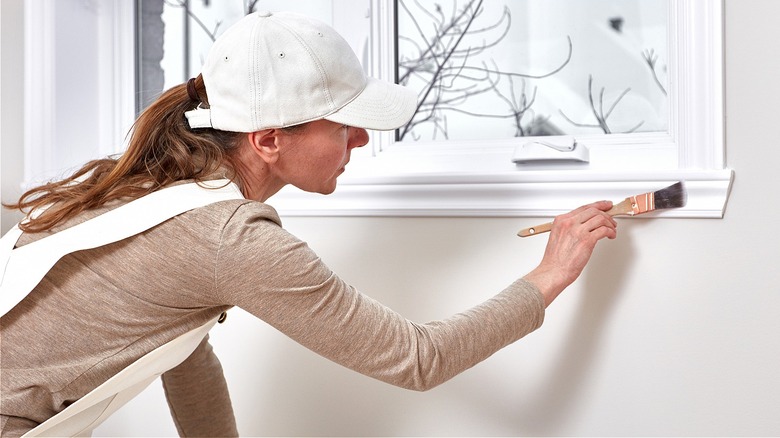
Next enters the primer. Coat your trim in an even layer of primer and give it a 24-hour beauty sleep. If the trim surface peers through the makeup, add another primer layer. Once perfect, lightly sand away brush strokes using 120-grit sandpaper and follow up with a microfiber cloth touchup. For the grand finale, stir and pour your paint into the tray, then unleash your brush. Weave short, even strokes across a few feet of your trim, smoothing each section with a single, longer stroke. Repeat until every bit of trim is basking in paint. An extra coat or two might be needed, but let each layer dry well. Finally, carefully withdraw the painter's tape when the final coat is still fresh.

