The Simple Masking Tape Nail Solution That Prevents Plaster Wall From Flaking
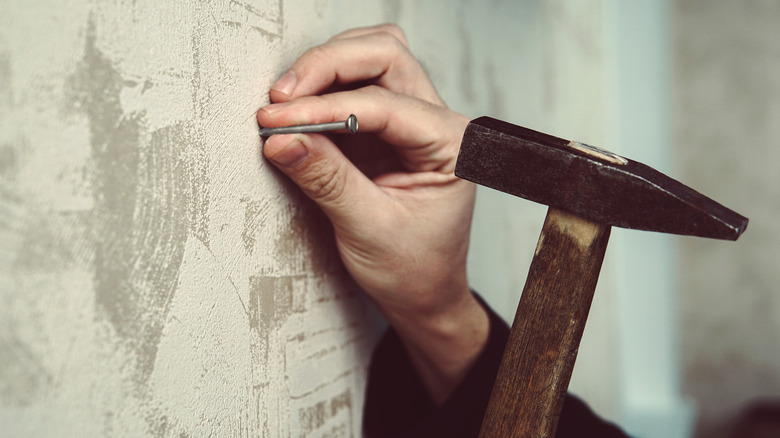
Remember all those times you hammered a nail into plaster and ended up with flakes (or chunks) of plaster and dust covering your feet? Why did they never tell you about the simple fix for this? Just use a little piece of masking tape over the spot where you plan to drive your nail. The tape stabilizes the plaster so it doesn't chip, and keeps the dust contained. And it works for using screws and drill bits on plaster as well.
Even if you haven't experienced this personally, you probably know that plaster is troublesome. So much so, in fact, that it's hard to understand why we humans didn't dream up something better, like glopping sticky mud on the walls, or just living outdoors. Plaster cracks when it's settling, delaminates itself from its lath, cracks when delaminating from its lath, develops bubbles and bulges, and sometimes just cracks for no apparent reason. There are instructions everywhere online telling you how to reattach a plaster wall to the, umm, wall — which is surely not how most people imagine spending a weekend. The nail problem might be the worst of all: All you wanted was to hang a picture of your kids, printed on canvas after lovingly applying your phone's impressionism filter. But tapping in a picture hanger causes the plaster to crumble. Some say plaster's so-called "flaws" clue you in to much worse problems hiding within your walls, but the nail problem only reveals that plaster has a mean streak.
Is plaster really that bad for hanging pictures?
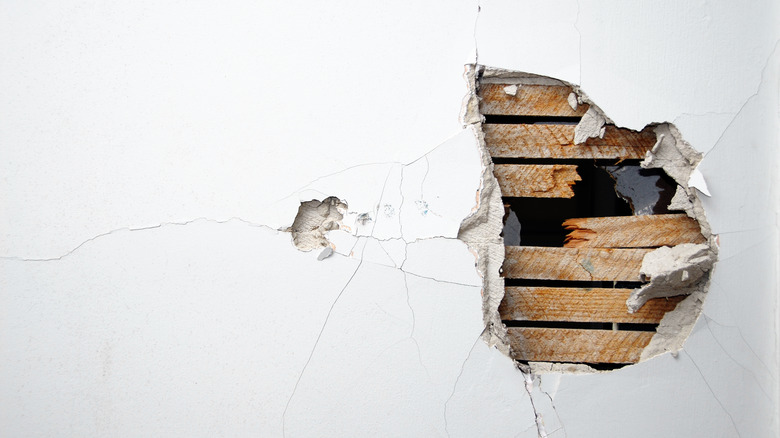
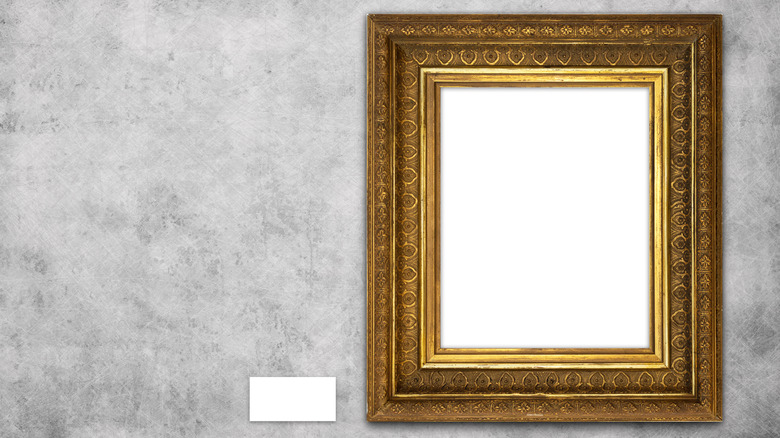
But seriously, plaster does have a way of letting you know what's really going on below, and surely it's good to know about any moisture or structural problems. Plaster's habit of flaking around nail holes, on the other hand, has no redeeming uses. But is it really a big deal? Grandparents and people hiding wall safes have been hanging pictures on plaster walls since way before masking tape was a thing, so there are obviously ways to avoid the problem. In the early days of plaster, perhaps the best you could hope for is hanging a bigger picture to cover the damage. This wasn't a sustainable solution, as it could lead to ever-larger wall hangings "My goodness, Gladys, that's quite a large French café poster you have there," someone would eventually say with thinly disguised disapproval. And regardless of your affinity for Belle Époque coffee bar art, covering up the problem won't repair any damage the plaster cracks might have to your home value.
Other solutions did work, mostly, sort of. Drilling pilot holes was an important innovation in putting orderly holes in things, and pilot holes do help reduce chipping when driving nails. You could also minimize crumbling plaster by using hangers like plaster hooks (you might think of them as brass picture hangers), molly bolts, and toggle bolts. All of these work reasonably well, but there is still a chance of flaking and a certainty of getting dust everywhere.
How to make it better with tape
The masking tape trick works better, and works most of the time, to reduce the damage and cleanup when you're nailing or screwing into a plaster wall. And it's about as simple a process as you could dream up. Start by marking where you want your fastener to go. If you're being precise about the placement, use a marker you can see through your masking or painter's tape. Stick a small piece of tape over it, and nail or drill carefully through it. Having as light a hand as possible is the best approach here. Slowly drive in your fastener, as straight as you can. (Some hangers, like those brass plaster hooks, require you to drive the nail in at an angle, and that's fine.) Then, if you like, you can remove the tape... its job is done!
The method is pretty close to perfect, but there's another step you can take for extra insurance, and we've already touched on it. It's a good idea to use a pilot hole whenever you're putting a nail or screw into plaster. Drill an appropriately-sized pilot hole at low speed, directly through the tape. Take care to let the drill do the work. If you push the drill, you may yet manage to chip the plaster, and you will have wasted your tape and your time. The pre-drilling step is an extra bit of insurance to help move you along to the fun parts like choosing photos and filling up that wall safe.