Prevent Awkward Hammer Marks With This Easy Hack
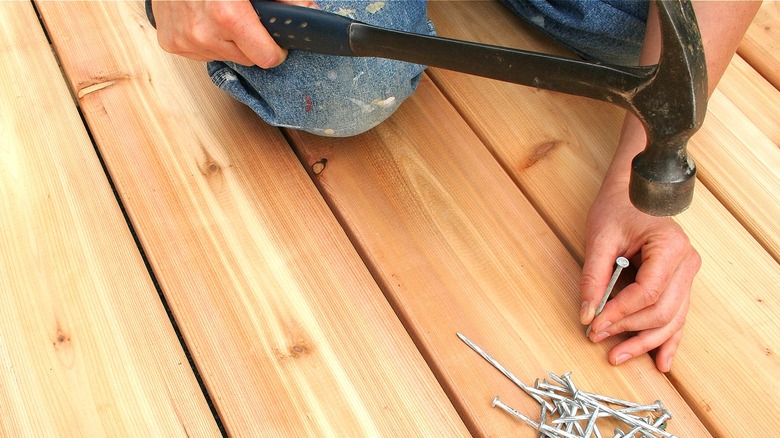
It is always impressive to see a lifelong carpenter take a full-strength swing and sink a framing nail. It's even more impressive when they don't manage to damage the wood they're assaulting. But as it turns out, a simple hack makes it pretty easy to harness this power of the harmless home-run hammer swing. You simply need a shield, which you can make from scrap, to protect your workpiece from a wayward hammer harming your home with dents, dings, and other marks.
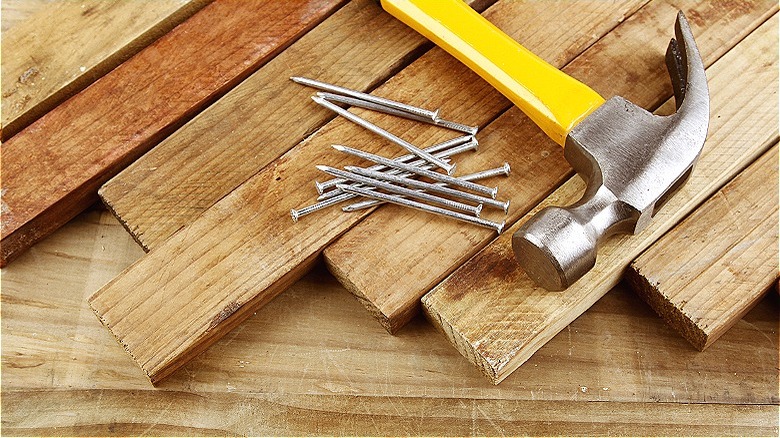
For this anti-dent hack, all you need is a scrap of (roughly) ¼-inch-thick wood ... probably a thin piece of plywood, underlayment, or even engineered hardwood flooring that's big enough to distribute the blow over a bigger area to avoid marring the wood. Into this piece of scrap, drill a hole slightly larger than the head of the nail(s) you're driving. Once made, the steps to hammer freely are quick and simple: Start your nail; put your plywood shield over it; drive the nail in hard with your hammer; then remove the shield for a final, lighter tap that shouldn't damage the wood surface.
Customizing the hammer hack
For this hammer hack, you can make adjustments based on your home repair expertise (and experience). If you often miss hitting nails by a mile, opt for a larger DIY shield. And if you tend to hit your fingers when hammering nails, you can drill a little notch next to your nail hole in the shield and use it to hold up the nail when starting it.
As for the hole in your shield, where it's placed will determine where you can drive nails with its protection. Centering your nail hole along one side, near the edge, will give you a lot of flexibility to use your shield near walls, protruding spacers, etc. Meanwhile, you'll get maximum benefit from drilling your hole near a corner of the shield; however, keep in mind that the closer to the edge of the shield you need to strike, the less protection it will give you from potential dings.