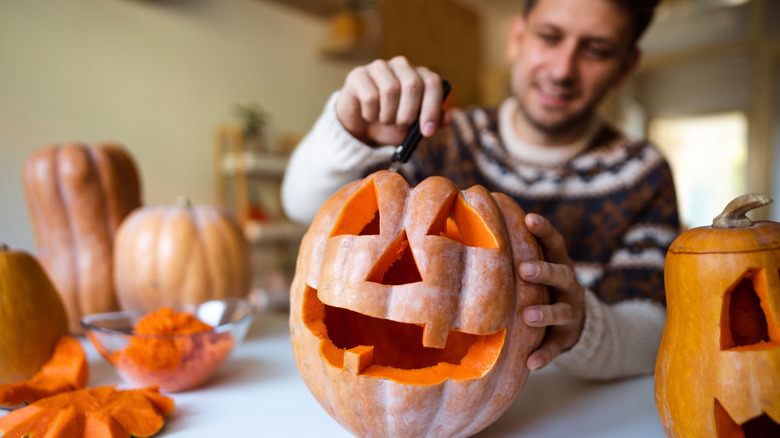
The Common Saw You Should Use Carving Your Pumpkins This Year
Pumpkin carving is a beloved annual activity that the entire family can enjoy in order to celebrate the spooky season, decorate the kitchen counters or front steps, and exercise their creativity. Pop on your favorite spooky soundtrack, print out your favorite design, and roll up your sleeves in preparation for getting pumpkin guts up to your elbows. But wait! There's one thing you will need this season that will make your Jack-o-Lanterns the ultimate talk of the town. Rather than relying on a rusted old steak or bread knife, both of which can be unwieldy and dangerous, consider picking up a keyhole saw from your local hardware or craft store in order to simplify your pumpkin carving endeavors — and perfect your designs.
A keyhole saw is the ideal tool for carving a pumpkin due to its knack for precision and versatility. Unlike larger and bulkier tools, a keyhole saw features a thin, pointed blade with a handle designed for ease of control. This slim blade allows for fine carving, making it perfect for creating intricate and detailed designs on a pumpkin's surface, from spooky faces to intricate patterns. Moreover, the keyhole saw's maneuverability enables its user to make precise cuts and follow curves with ease, providing greater creative freedom when designing a pumpkin. Additionally, this saw's sharp blade minimizes the risk of damaging the pumpkin's structure, reducing the chances of accidental breakage or cracking. Its ergonomic handle ensures a comfortable grip, reducing hand fatigue during the carving process.
How to use a keyhole saw to carve your pumpkin
Using a keyhole saw to carve a pumpkin is a precise and efficient way to create intricate designs. Begin by selecting a ripe and cleaned pumpkin. Draw your desired design on the pumpkin's surface using a marker or stencil. To start carving, carefully puncture the pumpkin's skin along the outline of your design. Insert the keyhole saw into the puncture point, ensuring it is securely in place. With a steady hand, gently saw along the marked lines, following the design.
The key to successful carving is to maintain a slow and controlled pace. Use short, back-and-forth strokes rather than trying to make long continuous cuts. This technique reduces the risk of the blade getting stuck or veering off course. Keep your fingers away from the blade and maintain a firm grip on the handle.
When finished carving your design, gently push out the carved pieces from inside the pumpkin. You can also use the keyhole saw to clean up any rough edges or make small adjustments to your design. Some other important tips and warnings to keep in mind while using a keyhole saw for pumpkin carving begin with patience. Rushing can lead to accidents, so take your time and focus on precision. Moreover, be sure to watch your fingers as the blade is sharp. Finally, remember to stabilize the pumpkin while working. Place a towel or non-slip surface under the pumpkin to prevent it from rolling while you work.
