Mistakes Everyone Makes When Using Venetian Plaster
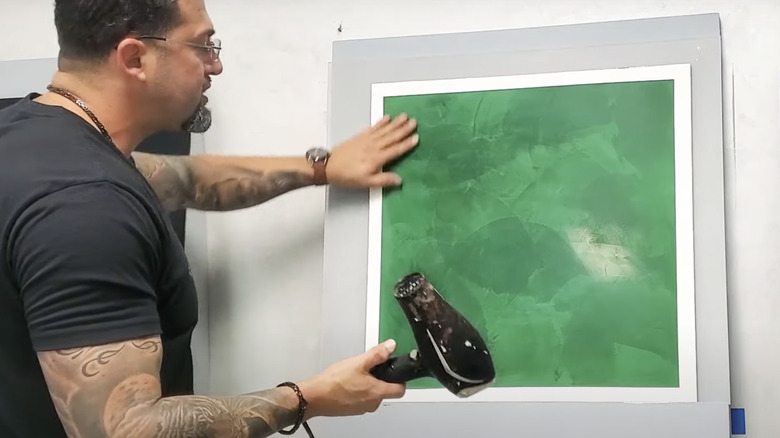
Venetian plaster is a stone-based putty that has pervaded history since the earliest known civilizations. Over thousands of years, it has been developed and upheld as a high quality and beautiful material. The processes for creating it have changed over the years, but the appearance has remained relatively the same with a deep and complex look that isn't achievable by standard paint jobs. The multiple layers of high-quality stone plaster has subtle colors and patterns reminiscent of genuine marble. This gorgeous outward appearance isn't easily attained, and it takes skill, knowledge, and most of all, patience, to do yourself.
Many people leave Venetian plaster to the professionals, but it is possible to do it on your own. Before you begin, you should be privy to the common layperson's mistakes. Learn more below about typical problems people face when acquiring and applying this Italian-based stone material. Hopefully, with foresight, you can avoid similar issues and use efficient solutions throughout the process.
Improperly removing the former paint, plaster, or wallpaper
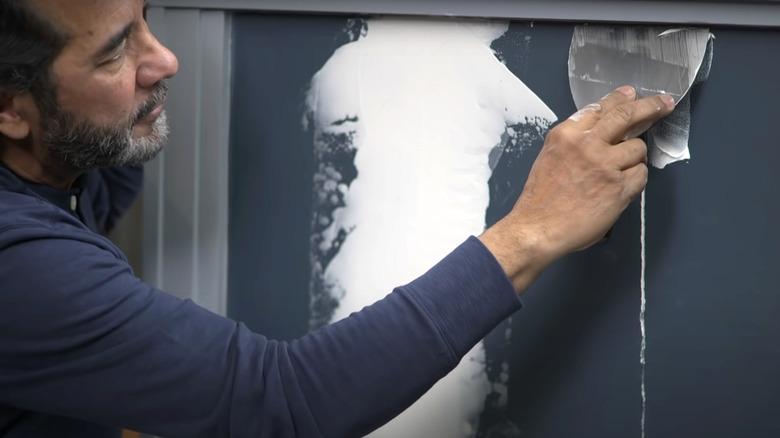
The secret to completing a stellar DIY home project is to begin with a blank canvas, and the first step of remodeling walls and floors is to remove the former paint, plaster, or wallpaper job. Scraping away former materials makes it easier to apply a new plaster and provides an opportunity to check for pre-existing damage. This keeps you from accidentally masking an issue that grows to become a real problem in the future since covering up a weakened foundation can cause cracks to spread and mold to grow.
Removing paint and wallpaper can be an extensive process; at the minimum, you should expect to sand and scrape the walls. If the previous paint job was well done, you might need to use heat tools, chemical strippers, and a pressure washer. Make sure you remove every last piece of paint or wallpaper so you have a flat and clear surface to work with.
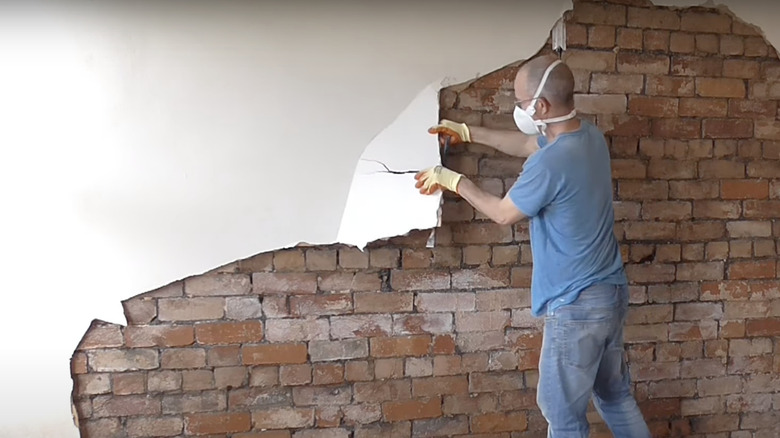
Taking down old plaster requires more difficult handiwork. You must wear personal protective equipment (PPE) and don a face mask and gloves. It's also recommended that you shut off your electrical systems so you don't accidentally shock yourself by touching your home's wiring. A grinder or oscillating tool is needed to slice through the walls before you start tearing off the plaster with a hammer and designated scraper.
Buying inauthentic Venetian plaster
True Venetian plaster is a lime-based stucco from Italy. Synthetic and faux types do not provide the same high-quality finish and are often not as durable as the real thing. Look for ingredients like aged Italian lime putty, marble, and other high-grade stone mixtures. The finish can be glossy, matte, or textured, which does not affect the authenticity.
When applied and dried, the material should feel cool to the touch since it is primarily made of natural stone and limestone. The scientific reason behind this is that stone has high thermal conductivity and doesn't retain heat like vinyl and plastic imitations. If it doesn't have this cool feel, you may have been duped into buying a product that is not stone-based. Investigate the brand behind your product to ensure your plaster's origins– they should be based in or manufactured in Italy. Stucco Italiano and Firmolux are two well-known companies that meet this criteria.
Skipping wall primer
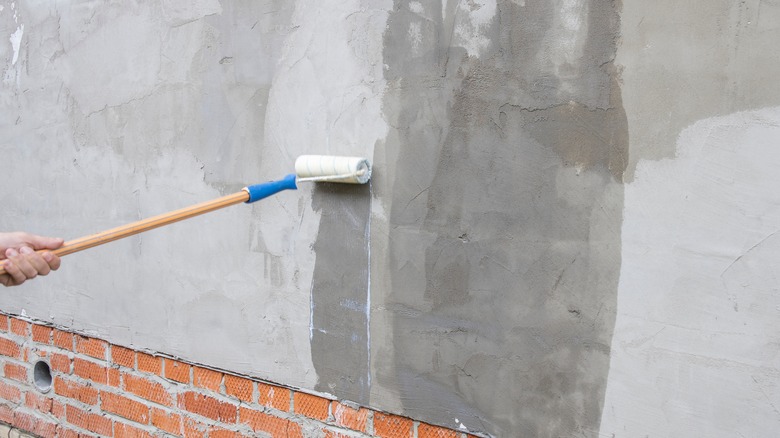
There are times when primer isn't necessary, but when you're applying Venetian plaster, you should never skip this important step. Priming is recommended when you're dealing with porous surfaces and making drastic changes, both of which are factors of Venetian plaster jobs. Forgoing this preparation saves a few hours of work but at the cost of uneven coverage and an unreliable application. The initial layer creates a flat, blank canvas to work with and provides traction for the plaster to adhere to, ensuring it sticks to the wall correctly.
Venetian plaster is an intricate art, and if you're redoing an old wall, you should use two primers to ensure a job well done. Use a paint primer for the first layer and a plaster primer for the second. However, you can skip the first primer and go right to the second if you're overlaying a brand-new construction.
Using the wrong type of plaster primer
It's important to pick out the type of Venetian plaster you'll be using before you start priming your walls. You must decide ahead of time because different primers are better suited for different formulas. If you chose a finer-textured plaster, you can use a smooth primer, while coarser materials need a base with more aggregates and polymers. Many Venetian plaster suppliers, such as Firenze and Firmolux, share their primer and plaster combination recommendations, so you don't have to overthink your purchase.
You also need to prep your primer correctly. Some mixtures are already diluted, while others need to be stirred with added water. Both of the aforementioned companies recommend diluting their products to around 30% at the most, though individual products vary. Keep in mind that too much water ruins the consistency, making the primer more difficult to apply and reducing its effectiveness.
Forgetting to tape and protect your belongings
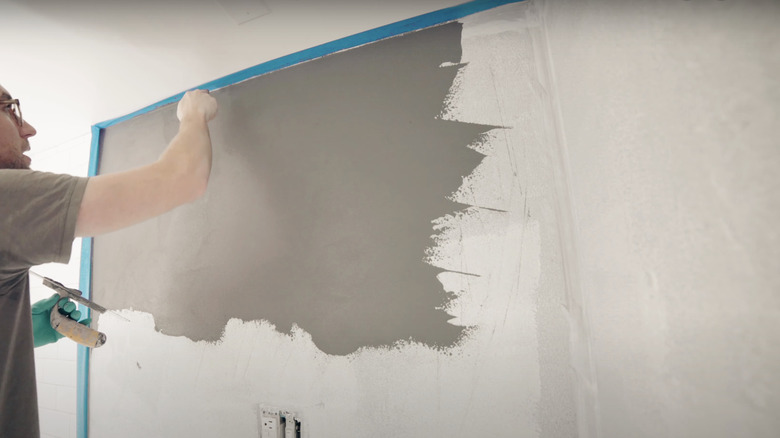
Before starting any kind of artistic project, it's always in your best interest to protect floors, baseboards, ceiling trim, and surrounding furniture. Painting with plaster is a bit trickier than using standard paint because the consistency is thicker and heavier. When running a trowel across your walls, clumps of wet stone mix can drip or bump into areas you don't want coated. The best way to prevent these accidental applications is to create a barrier between other surfaces and the plaster.
Use a multi-purposed or designated surface tape to seal your ceiling trim and baseboards from potential drips and spills. Make sure you pull the tape taut over these areas, securing any gaps where plaster can slide through. You should also move furniture away from the splash zone and lay down a painter's tarp over your floor.
Remember it's better to be safe than sorry. It may be tedious to empty your room and prepare it for the plaster job. However, the extra half-hour of work is the best way to ensure no plaster ends up where it isn't supposed to.
Not mixing the plaster (even if it's been pre-tinted)
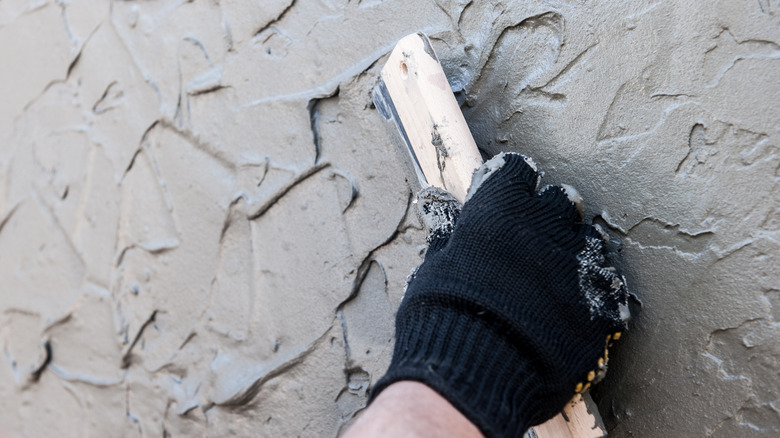
The many types of Venetian plasters vary in consistency and ingredients. Whether you use the matte Marmorino or speckled Scagiola, it's imperative that you properly mix the materials. Even if they are premixed, the various stone fragments settle into layers and become chunky, making it difficult to evenly splatter across your walls.
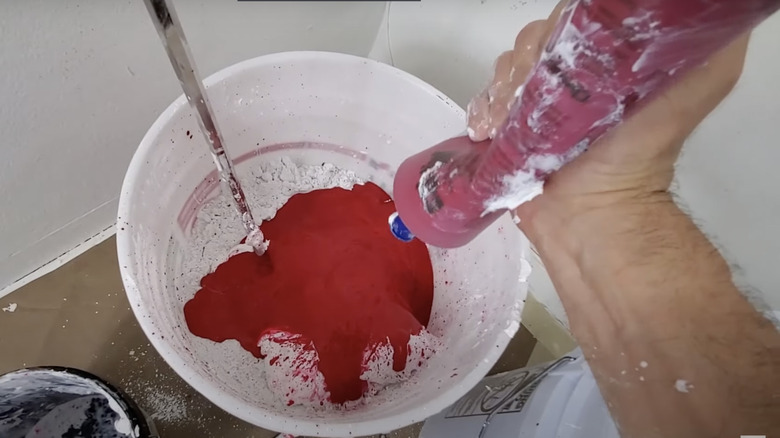
Open the plaster can and stir it before you begin. You can do so by hand, but using a drill and mixer attachment makes it much easier to get a more consistent formula. When you've mixed it enough, there will be a physical difference, as it'll be easier to scoop the plaster and spread it on your wall.
Be especially wary of pre-tinted Venetian plasters. The tinted portion is heavier than the plaster and often settles on the lowest layer. If you don't mix properly, you may accidentally apply your plaster without your designated tint, not realizing it until you've nearly finished the job and reached the bottom of your supply.
Using an interior- or exterior-grade plaster in the wrong spot
Most people consider Venetian plaster to be an interior design choice. Contrary to common belief, you can also overlay outdoor walls with Venetian plaster, as long as you use the correct formula. Certain plasters resist harsh conditions, while others are only suitable indoors where climate and weather isn't as impactful.
According to One Stop Plastering, authentic Venetian plaster is hardier than its faux counterparts, which makes it better suited for outside walls. However, Chrysalis Surface claims traditional Venetian plaster is not made for outdoor use unless it contains acrylic polymers which helps it stick to stucco. These two conflicting claims can make it tricky to determine where plaster can be placed.
Bearing both of these companies' claims in mind, your safest bet is to use the material as directed by its manufacturer. For example, Marmorino Depot offers exterior-grade Venetian plasters. On a side note, this company may not be considered authentic due to their headquarters being in the United States.
Laying plaster over cracks in the wall
Painting or plastering over cracks in a wall is the first sign of an amateur job. This topic was briefly touched on earlier, but you should know this isn't only an issue for aesthetic reasons. While a cracked foundation obviously makes a wall unsightly, the random divots and inconsistencies also damage your home long-term.
Improperly sealing cracks also traps moisture inside. The water slowly spreads, widening the cracks and creating a welcoming environment for mold and mildew. Once mold begins to grow, it festers and spreads, staining your walls and creating a health risk for your household.
Luckily, smaller cracks can be fixed with the right solution. If you're plastering stucco, use an elastomeric compound to fill them. On the other hand, if you're patching drywall, you can use a joint compound. Both products are found at local hardware stores, and the employees can point you toward the right formula. Do not use leftover plaster or caulk made for insulation or fixing gaps in windows and doors. The primer and Venetian plaster won't stick to these products the same way they bind to the rest of your walls, which can also lead to a poor final product.
Overpainting Venetian plaster before it dries
Sometimes, trying too hard can be a problem, and you'll need to fight your inner perfectionist while applying the first coat of Venetian plaster. You must be very careful not to overdo it on your first go-around, as this type of plaster often takes two or three coats to put on properly. When you miss spots, you can always go back over them during the next round.
Being impatient and overdoing the first coat causes small bumps and bubbles in the plaster, much like what happens when you accidentally use too much paint. Remember, it's easier to apply more plaster later than it is to remove what you've already done. If you do happen to notice a mistake in the plaster, don't try to paint over it. Let the formula dry for at least four hours before going back to scrape and remove the inconsistency. Use the flat side of the trowel or a sharp knife to remove these spots and re-apply the plaster. This can be tedious and time-consuming, and you should be prepared for a long process if you want professional results.
Attempting DIY without properly educating yourself
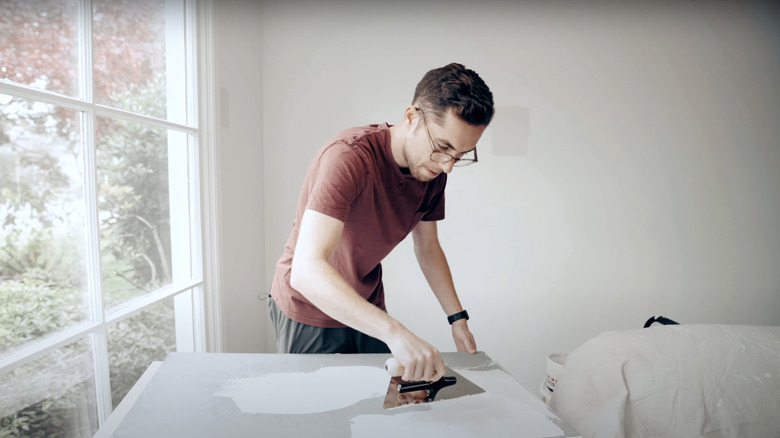
Venetian plaster isn't for the faint of heart. You must prepare the surface, get the right ingredients and tools, and know how to apply and finish the plaster. Not reading up on all the necessary steps leads to amateur mistakes, which results in an unsatisfying final product.
Start with a checklist of everything you need: a trowel or spatula, paintbrushes or rollers, paint trays, primers, plaster mix, and a wax finish. You may even want to pick out some colorants to mix with the plaster if you have a specific color in mind or your choice doesn't come pre-tinted. Before you start, follow the previous advice to clear the workspace and prime the walls. Take a break between each layer of plaster– it takes at least four hours to dry. After the final layer is done, you should wait at least 24 hours to give it time to set. Evaluate your handiwork for any mistakes before applying the topcoat.
Expect the project to take multiple days. It may take even longer, especially if you are a perfectionist and strive for a professional-quality finish. If you don't have the time or patience to apply plaster, taking the DIY approach may not be for you.
Incorrectly upkeeping the finished Venetian plaster
One of the perks of Venetian plaster is that it's easy to upkeep. The topcoat naturally resists dust and grime, making cleaning an infrequent chore. Keep in mind that just because it's easy doesn't mean there isn't a process, and the exact instructions may vary depending on the type of plaster you install.
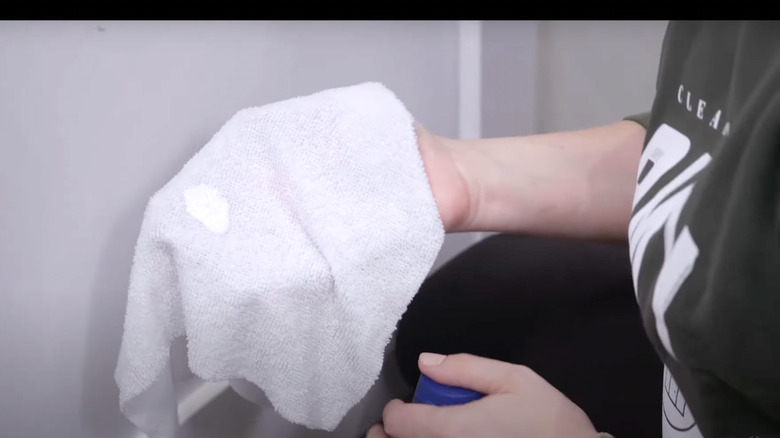
Put a dab of mild soap, such as a dish or laundry detergent, on a soft microfiber cloth. Dip the soapy cloth in warm water and softly rub it in semi-circles over the spots that need cleaning. Don't use too much force or over-scrub any spots, as this can damage the finish and leave dull areas in your plaster. Once finished, go over the wall again with another clean rag and water to remove any residual soap, and use a third cloth to dry the area. Never use harsh cleaning materials, pressure washers, or any other intensive treatments that may shred and peel away the plaster.
