The Easy-Breezy Way To Remove Melted Plastic From An Oven
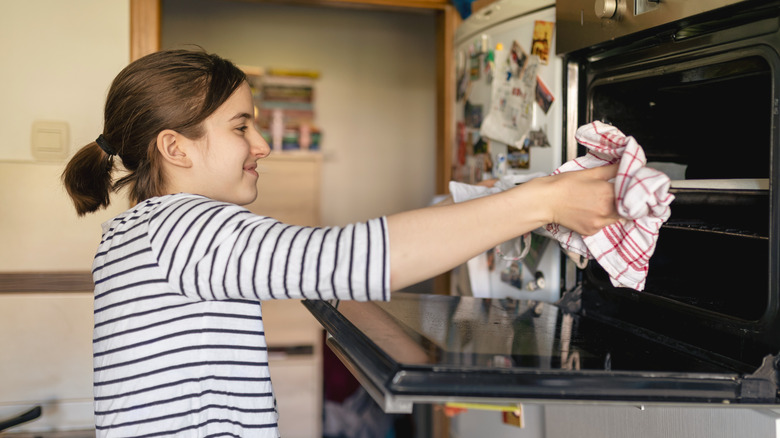
If you're like most people, you probably have a kitchen in your home that doesn't quite have enough storage space. Cabinets and drawers only have so much room, after all. If so, you have to become kind of creative with where you place your items when you aren't using them. You may be tempted to store items in the drawer under the oven, even with the possibility that it may become uncomfortably warm. Some people even keep pots and pans inside the oven until they need them. Unfortunately, if you store something plastic in there and forget about it, you may end up with a melted mess. Spatulas and other plastic cooking utensils also may end up inadvertently melted in the oven. Fortunately, there are ways you can clean melted plastic from this area — both with and without using the self-cleaning mechanism.
You certainly do not want to just leave the melted plastic where it is and hope that it'll eventually melt away through regular use of the oven. This leftover material could catch fire, which can create a whole new set of dangers. The remaining plastic could create smoke and fumes each time you cook, resulting in health concerns for you. Fumes from melted or burning plastic can result in respiratory side effects, headaches, and irritation to the nose, throat, and skin. If left in place, fumes could even make food you bake in the oven inedible.
How to use the oven's self-cleaning feature to remove melted plastic
If your oven has a self-cleaning feature, you can use it to help remove plastic. Understand that this method requires safety precautions — the heat generated in the self-cleaning process can reach several hundred degrees Fahrenheit and will turn any solids to ash. It could even set some of the remaining material on fire, releasing unpleasant fumes. Wear a face mask, and make sure the room is properly ventilated to avoid inhaling any smoke or fumes.
Start by removing as much of the plastic by hand as you can. Use a razor blade or a razor scraper to remove the material from the grates and shelves. Next, turn the oven on at the lowest possible temperature to try to soften up the plastic. Once you're sure it's soft enough, turn off the oven and begin scraping the material away. Use heavy-duty paper towels, shop towels, or a rough sponge to wipe away the material. Make sure you are wearing heat-resistant gloves to avoid burns.
Before you start this process of running the self-cleaning cycle, make sure you know how to use it. Take any necessary precautions that your oven manufacturer recommends. Then, start the self-cleaning cycle, which can take up to six hours to run. Wipe away the ash residue after the cycle.
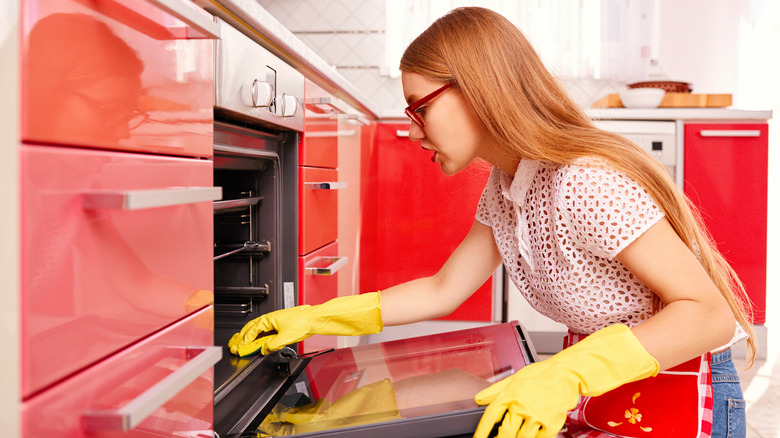
Steps to take when cleaning melted plastic out of an oven by hand
If you don't have a self-cleaning cycle on your oven, you can still remove the plastic on your own. Some people prefer this method, as it doesn't involve turning up the temperature and allowing fumes to escape into the kitchen.
For melted plastic on the interior surfaces, start by getting a bag of ice. Place it on top of the plastic. Close the door and let the bag sit until the ice is melting actively. Use a putty knife or a scraper to remove the now-brittle material from the interior. You can repeat this process if you have melted material in multiple places inside the appliance or if the melted plastic is particularly thick. In some cases, it may be impossible to completely remove all the melted material from the interior surfaces. You may have to replace the section that has damage to fix the issue.
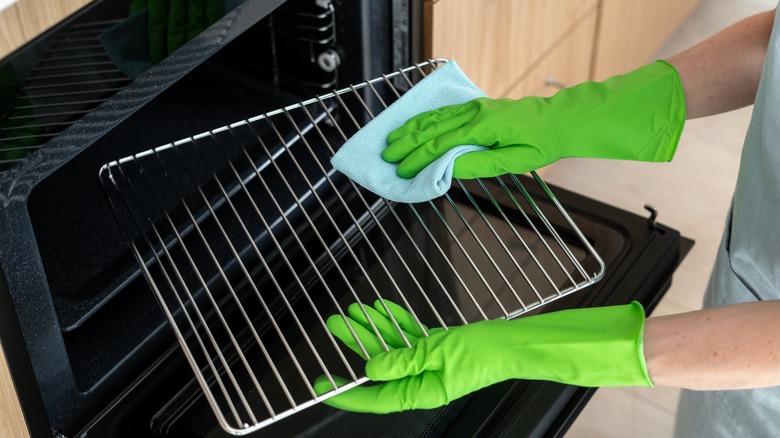
If the melted plastic is primarily on the removable racks or shelves, take them out. Place them inside your freezer for a few hours to make the material as brittle as possible. You then can make use of a razor blade or razor scraper to break the remaining material away from the metal on the shelves. A baking soda and water mixture in a paste can help remove the final bits.