How To Make The Most Out Of Your Painter's Tape When Nearing The End Of The Roll
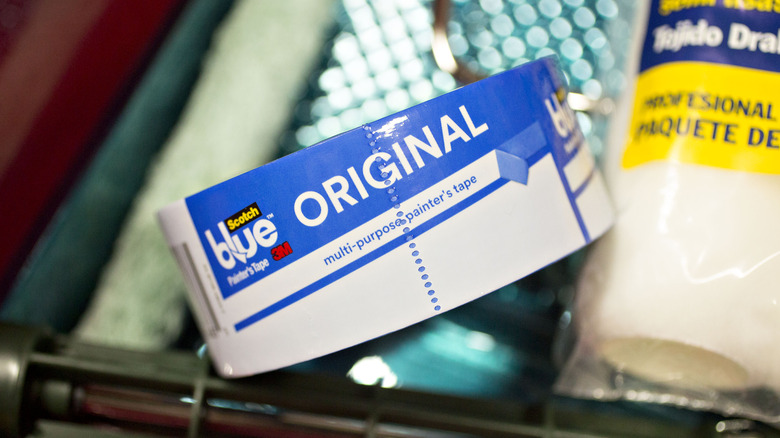
If you do a lot of home DIYs or painting jobs, you may often find yourself with a few rolls of painter's tape sitting around your house. While it may be your first instinct to toss your nearly all-used-up tape in the trash, there is an easy way to use the remains. For example, you can create labels, utilizing them as reminders or for various other personal uses. Not only does this prevent waste, of which there is a staggering 268 million tons accumulated in the U.S. annually (per Dumpsters), but it also helps to save you money. Now, you won't have to spend extra dollars on store-bought labels, and it may even help you to become more organized at home.
So, if you have rolls of unfinished tape sitting around, now you have no excuse not to try this crafty hack. However, how exactly can you make your old tape into useful labels? Below, we'll break down the entire process for you. Now grab your roll and get ready to go!
Slice the painters tape into small sections
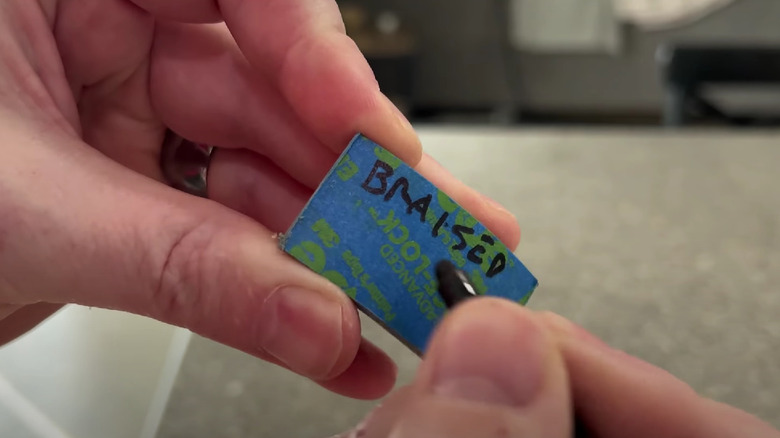
To create labels from your painter's tape, you only need to use a saw to slice through your roll to the size you want your labels to be. Alternatively, you can always try using scissors — it just may be a little trickier depending on how thick the roll is. Make sure that you mark the tape and cut them to the correct size that you want. For example, if you want bigger labels to write on, make sure you leave enough room, but if you just want to make color-coded tabs, then you can make them slightly smaller. Of course, you should ensure that you always take the correct safety precautions when cutting your roll of tape, such as wearing thick gloves or even protective glasses.
Some handy places you could use the labels include on jars of food, folders, kids toys, or for daily reminders of things that you need to do. You could even use them for other DIY projects, such as marking out measurements on a wall. Of course, the tape works so well as a label because it already has a built-in sticky side, so you can place it wherever you please. Then, when you're done with them, follow this foolproof way to remove the sticky labels.

