Add Instant Charm To Any Wall With Gold Leaf Paint
Few things add more oomph to a space like the addition of a gold leaf accent wall. The really great thing is, despite the luxurious-sounding name (and decidedly chic effects), this look is actually fairly easy to achieve. That said, there are a few things to keep in mind before getting started.
For starters, there are different types of gold leaf on the market. Real gold leaf will, understandably, be more expensive than its imitation alternative. We're talking around $55 on Amazon for the former, as opposed to just under $10 for the latter. The chief difference to keep in mind is that where the real deal won't tarnish, the artificial gold leaf may require a top coat to protect it from oxidization. Then there's also selecting the type of glue — known as size — to be used. Both oil-based and acrylic or water-based size options are available and can be used on most surfaces. Having said that, as noted by gold leaf manufacturer Barnabas Blattgold, oil-based is generally the best choice for novices.
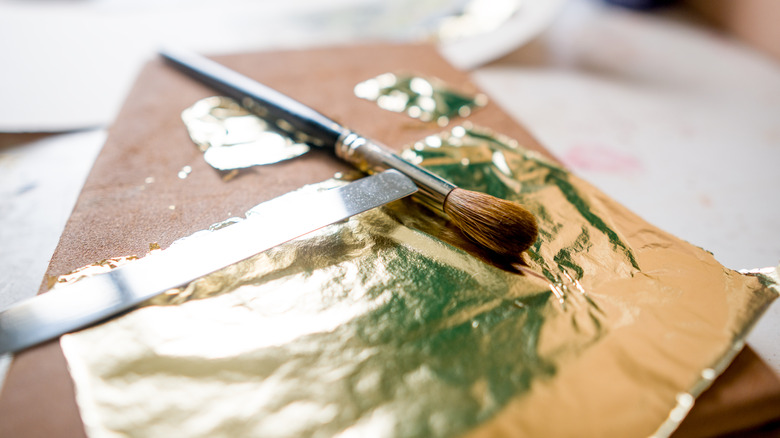
Once you've settled on the type of gold leaf you'll use, and the glue you're most comfortable with, it's time to get to it. Grab a brush for burnishing (alternatively, a cloth will do just fine), and something to catch messy bits. Stylish, gilded accent walls, here we come.
Stick, secure, then scrub
Start off by deciding what kind of gold leaf finish you want to achieve. Going for bold, smooth patterns? Reach for a roller to apply the size as evenly as possible. You may also want to consider sanding down your walls first. More into the edgy look like the wall by TikTokker @copeleydesigns? Simply grab a paintbrush for application. Whichever aesthetic you prefer, be sure to paint the size on in a thin layer — then wait for it to dry a tiny bit before the real fun begins.
Once your size is tacky, it's time to start sticking those gold leaf sheets down. After everything has been stuck to the surface, you'll need to buff everything into the wall with a clean brush or cloth. This can get a little messy, as the pieces of gold leaf that haven't been stuck will come off, so keep a container at hand to catch them as they fall (Hint: keep these for your next DIY gold leaf project).
If you've opted for an authentic gold leaf, your job here is done — simply step back and admire your handiwork. If you've gone for imitation, however, you might want to seal everything off with a varnish or clear top coat. For peace of mind, YouTuber DIY Deanna recommends reaching out to the gold leaf manufacturer to ensure your choice of varnish or top coat is the right one. Once that's done, pardon the pun, you're golden!
