What To Know About Transplanting Hollyhocks In The Garden
As your hollyhock plants grow taller and their roots delve deeper into the soil, you might realize that their current location is less than ideal for their continued growth. Perhaps they're too cramped, overshadowing smaller plants, or maybe they simply don't fit into your garden's evolving design. Whatever the reason, transplanting hollyhocks correctly is vital for the well-being of these floral giants, as well as the overall aesthetics of your garden.
Transplanting these plants isn't just about plucking them out and plugging them in somewhere else. It's a delicate procedure requiring a balance of expertise, the right tools, and a nuanced understanding of plant biology. Your approach should be systematic and informed by research and best practices. That means knowing the best times to transplant, understanding soil conditions, and knowing how much sunlight and space your hollyhocks will need in their new location. Timing is especially critical to providing a smoother transition to new growing conditions.
Additionally, you'll want to gather all the necessary tools beforehand. From trowels and garden forks to gloves and watering cans, having everything at arm's reach will streamline the process and reduce the time your hollyhocks spend out of the ground. This limits root exposure and increases the chances of a successful transplantation. Don't underestimate the aftercare, either. Once your hollyhocks are in their new home, they'll need ample monitoring to ensure they're settling in.
Picking the right time and preparing the new site
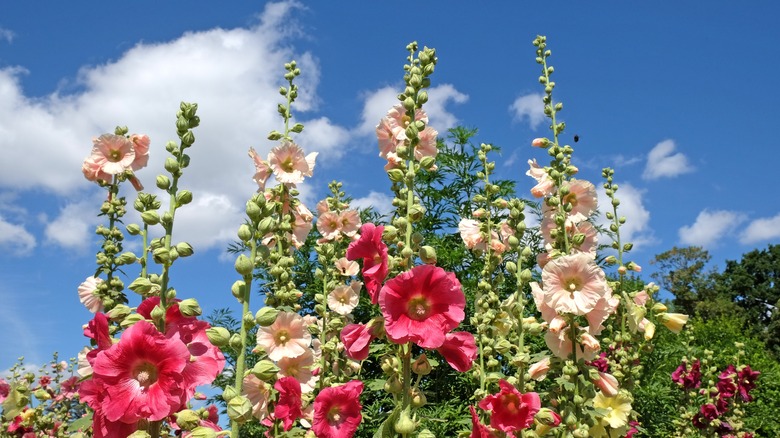
The best time to transplant hollyhocksis in mid-to-late spring, avoiding the hot summer months when the plants are actively flowering. Begin by selecting a new spot offering well-drained soil and receiving at least six hours of sunlight daily. The new site should also be spacious enough to accommodate the hollyhocks, which can grow quite tall and spread out. Once you've picked the ideal spot, it's time to prep the soil.
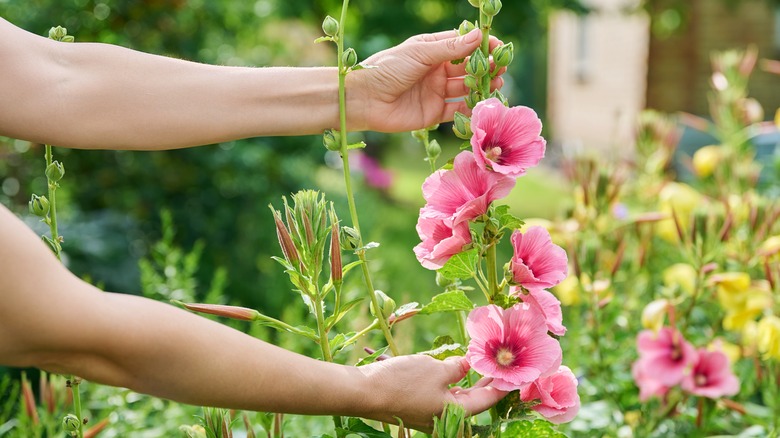
Prepare the ground by loosening the soil and incorporating organic matter like compost to enrich it. Now, head to your existing hollyhock plants. Water them thoroughly a day prior to moving them; this makes it easier to remove the root ball without causing damage. Dig around the base of the hollyhock you want to transplant, taking as much of the root system as possible. Gently lift the plant out of the ground and immediately move it to its new location. Now it's time to dig another hole to place the hollyhock in. Ensure it's large enough for the plant to fit in, and then fill in with soil, pressing down gently to eliminate air pockets. Water the transplant generously right after the move to help it settle.
You should assess the health and vigor of your plants each year. If you notice any weak, disease-prone plants or plants that are simply not flowering well, it might be a good idea to remove them. Aged plants should also be culled to make room for more vigorous, younger plants.