How To Remove Established Hydrangeas From Your Garden
If you're lucky enough to have a fabulous hydrangea growing in your garden, you may not be thinking about removing it just yet. With a couple of years of growing, though, hydrangea can become quite large and may overtake the spot. Removing already established plants, especially larger ones, can take quite a bit of work to ensure it's done properly. Like any gardening advice, you'll want to tailor this process to your local area and goals, such as whether you hope to replant the hydrangea in another area or remove it fully from your landscape.
To remove hydrangea, you'll need the right tools, starting with a sharp spade capable of cutting into the sometimes-thick roots. You'll also need to dig up the entire root ball, which is the large root system located under the plant. That may sound easy enough, but these plants can have a root system that spreads quickly with long, curling vines that can wrap around posts and other plants.
If you're just removing it and not replanting, it's not as difficult to just hack away and remove the plant. If you want to transplant it, you'll need to preserve a larger portion of the root ball to enable the plant to grow and thrive again. In all cases, you'll want to follow these tips to minimize the work.
Removing a spreading hydrangea from your garden
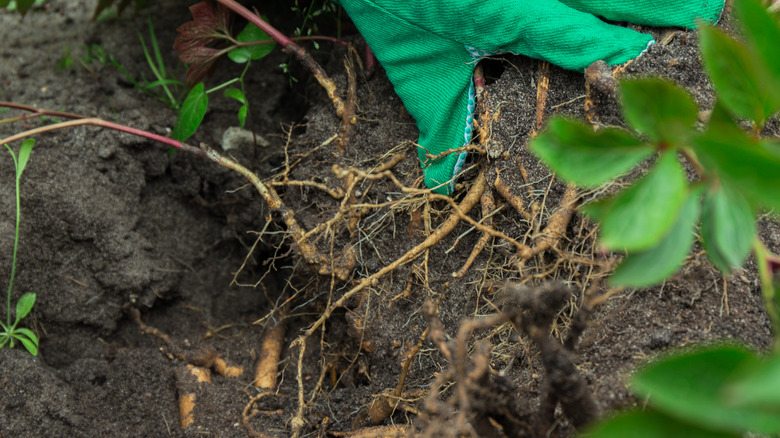
It's possible to trim a hydrangea back heavily to encourage it to slow its growth and control its spread, but if the plant has already gotten out of hand it might be better to remove it. The goal here is to remove the rhizomes, which are the ginger root-like structures that grow under the plant. The rhizomes are a type of stem that allows them to continue to grow and spread. If you're planning to keep the plant but move it, you'll be removing these rhizomes and transplanting them, along with some of the leaves of the plant.
To start this process, begin by trimming away as many of the branches as possible to give you better access to the base of the plant. Then, work with a sharp spade to dig into the ground in a circle around the plant. You may need to go several inches deep all the way around to find all of the rhizomes to remove. Removing all of them is necessary to prevent the plant from reestablishing. Dig up and remove all of the rhizomes along with the root ball. You'll then need to use a shovel to dig through the opening left behind to ensure nothing is left behind before filling it in.
Removing the hydrangea and replanting it
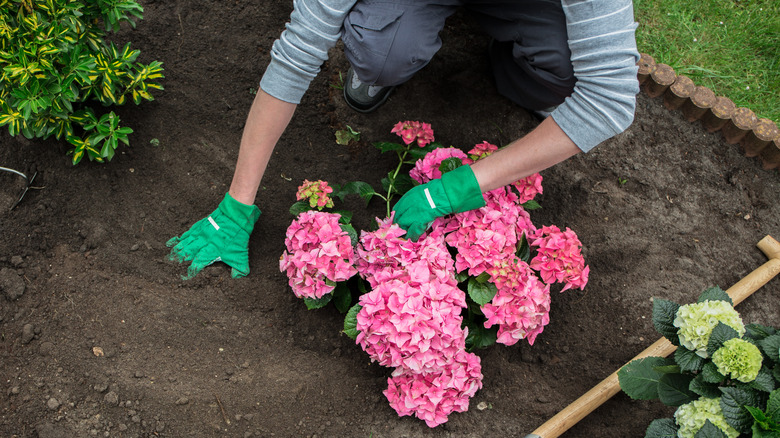
Fully removing the established plant from one area and moving it to another is challenging but possible, thanks to those rhizomes. They work as seeds to help the plant to start over in a new place. You can divide them and plant smaller hydrangeas in several areas as well. Instead of cutting back the plant, though, be sure to start by wetting the soil significantly to help make it easier to remove. You'll then want to have a container large enough for the root ball or a large tarp that will hold in the dirt after removing the plant.
Tie up the sides of the plant so it's easier to reach underneath it, but not so tight that you damage any of the stems. Then cut into the soil, digging all the way around the root ball to remove it. Keep as much of it intact as possible. The process is much the same if you want to divide the plant, but your goal here is to protect the rhizomes from damage. Leave in place about six inches of the root stem and at least six inches of the leaves before the soil, as that's going to help the plant start over. Prepare the soil in the new location, ensuring ample depth for the root ball, and then water well after transplanting as much of the soil and root system as possible.


