The Best Way To Paint An Old Ceiling Fan To Give It A Trendy Facelift
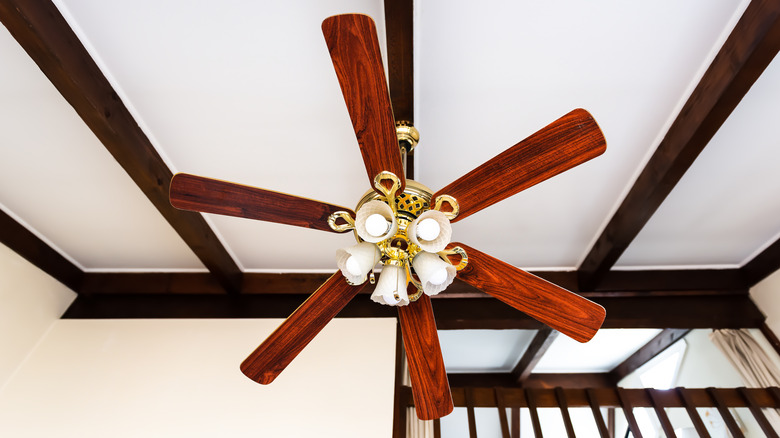
If your room is feeling a bit dreary lately, perhaps all you need is a little inspiration from above. That's right, your ceiling fan could be the key to a major room update. Very rarely do people consider their ceiling fans as design elements. After all, they're the sort of feature that's meant to be invisibly functional, not drawing attention to itself. Those ideals are outdated, though, and for a fresh new look to your room, a statement pop of color on your ceiling fan might be all you need. Thankfully, they're really easy to paint.
A splash of color is a great way to infuse personality into your home. If you have a monochrome color scheme look or go for a neutral palette of earth tones, a little bit of contrast goes a long way in adding a new vibe, whether you're looking to spice up your spaces or mellow them out. Look to add a bold color in the same family for depth and dimension, a complimentary hue to bring a stylistic flair, or something from the opposite end of the color wheel to create a stark contrast. Whichever direction you choose, painting your ceiling fan can add vitality and height to rooms that were once looking stuffy and dull.
Prepping your ceiling fan for paint
For this project, you're going to need a large, sturdy work table covered with a thick drop cloth or several pieces of newspaper. You'll also want to have 120-grit sandpaper, baby wipes or mild degreaser and cleansing cloths, flat protective enamel spray paint and primer, and gloves on hand. You might also want to wear a protective mask. If you'd like, you can also get stencils to use on your fan blades to create a custom design.
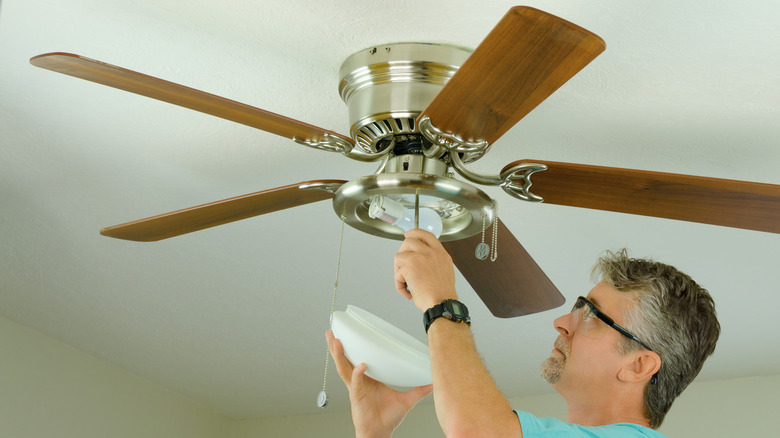
Before working on any light fixture, ceiling fan, or other electrical appliance in your home, make sure it's cut off its circuit breaker. Once you've confirmed that there's no more power going to the fan, you're going to take it down and disassemble it, starting with the housing, and then down to the fan blades and motor. Place the pieces on your covered work area, and thoroughly clean your ceiling fan with baby wipes or a degreaser before proceeding. Use the sandpaper to sand down the fan blades, paying particular attention to the edges, then wipe each blade down again to remove all residue.
Painting your ceiling fan
Once your ceiling fan is clean and dry, separate the fan blades from the metal fixtures of your fan. If you have white blades, you can use a spray paint and primer combo, but if you have dark blades you'll almost certainly want to buy a dedicated primer and apply that first, doing one or two coats and allowing them to dry completely between coats and before moving on to the paint.
To paint, make sure you put on your gloves before you begin, then shake your spray can and test the nozzle on the newspaper to ensure it's working properly. Spray evenly over the length of each blade, holding your can about six inches away from the blades and moving in a steady sideways motion. You may need more than one coat of primer to ensure full coverage. If you choose to paint your fan housing and fixtures, you can do so in between blade coats, allowing each to dry while you're working on the other. After the primer is finished, you can move on to the color, following the same slow, steady motion.
Once everything is completed, inspect your work and do any necessary touch-ups. If all your pieces are well-painted and thoroughly dry, you can reassemble and install your ceiling fan. Confirm you've finished the re-installation correctly before you restore power, then admire your handiwork.