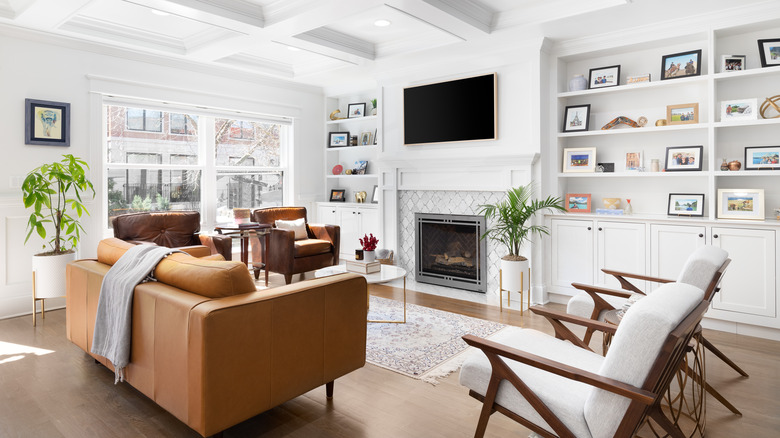
Create Gorgeous Fireplace Built-Ins On A Budget With This IKEA Billy Bookcase Hack
Have you ever found yourself dreaming about a stunning fireplace adorned with exquisite built-ins? Unfortunately, the prices associated with built-ins often bring us back to reality. Well, that is until now. Thanks to a budget-friendly TikTok hack, you can bring your visions of fireplace shelving to life, all at a fraction of the cost. The secret lies in using the BILLY bookcase from IKEA.
The beauty of this hack extends beyond its affordability — the BILLY bookcase also provides unparalleled versatility. With a variety of sizes, height extenders, and colors available, you can effortlessly select the options that best suit your space. What's more, the shelves can be easily painted, offering a further opportunity to personalize them to your desired aesthetic.
You will need a few of these store-bought bookshelves to serve as the foundation for your built-ins. And by adding wood trim and crown molding, you can elevate your affordable, custom cabinetry to a whole new level. Here's a step-by-step look at how it's done.
Elevating your fireplace with DIY BILLY bookcase built-ins
To start the process, assemble the BILLY bookcases according to the instructions. Once assembled, position them strategically around your fireplace. Use the provided L brackets to attach the shelves to the wall. If the bookcases cover any light switches or plugs, be sure to cut out the necessary openings to regain access. Come Stay Awhile on TikTok said she used an extender kit so that the bookcases reached all the way up to the ceiling.
After positioning and securing the BILLY bookcases, the next step is to frame them to achieve a polished look. Begin by carefully gluing and nailing wood trim to the front and sides of the bookcases, concealing any visible gaps where they meet. This will create a seamless and flush appearance. You can even take it one step further and add a touch of elegance by installing crown molding on top of the built-ins.
Once the trim work is complete, use caulk to fill in any cracks and apply wood filler to cover nail holes. Finally, if desired, give your DIY built-ins a fresh coat of paint, allowing you to customize and enhance the overall aesthetic. With these final steps, your fireplace built-ins will become the centerpiece of your space, exuding charm and functionality.
