Elevate Your Basic Bathroom With This Easy-To-Make Towel Holder
Who doesn't need to maximize the space in their bathroom? One of the best ways to make a room feel larger or add more storage — and this can apply to any room — is to take advantage of vertical space by hanging objects from the ceiling or mounting furniture to the wall. To make the most out of a small bathroom, you could build a towel holder that hangs on the wall. Although this project is suitable for a new DIYer, you will need the type of equipment that slightly more experienced makers usually have, like a nail gun. We love how this wall-mounted holder that's constructed from square wooden dowels will both elevate your bathroom with its simple design and allow you to store more towels.
The shape of this holder is a long rectangle that can hold about four towels when folded and possibly more if rolled up. It protrudes 4 inches from the wall, allowing you to insert your folded or rolled towels inside the structure. The towels stay secure and the holder provides a supply of fresh towels that are always within reach. If you have a micro bathroom, finding space for all your toiletries can be challenging, even toilet paper. Consider another towel rack hack to store toilet paper that also makes inventive use of vertical space.
How to craft this elevated towel holder
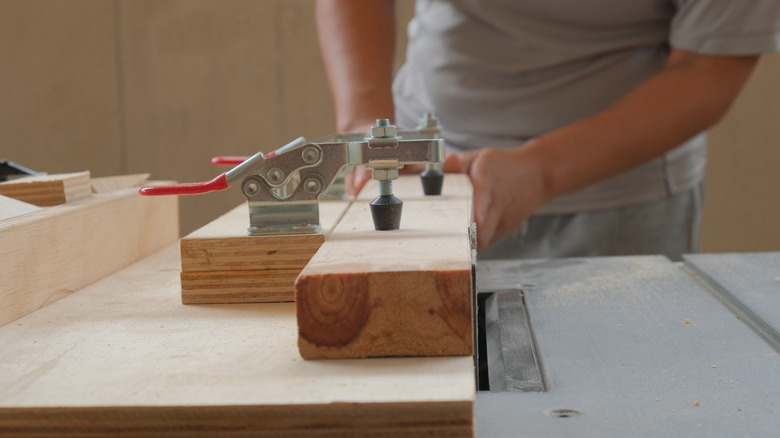
First, gather your supplies. Note that you can always ask for construction help, like assistance in cutting the wood to size, from employees at a home improvement store like Home Depot. Alternatively, you could borrow equipment from a friend. You'll need four square dowels that are 2 inches thick and 20 inches in length, a circular saw, a nail gun, a level, a drill, sandpaper, wood filler, wood stain, wood sealer, and brushes for the last two products. You may also want to connect the pieces with wood glue before nailing them together.
Cut two dowels to the following specifications: one dowel into four pieces that are each 4 inches long, and another into two pieces that are each 9 inches long. Sand them down to remove splinters, then nail the four smaller pieces into the two 20-inch dowels, one onto each end at a 90-degree angle, creating "L" shapes. Position the two long dowels on the ground about 9 inches apart with the 4-inch pieces facing upwards, then add the 9-inch wood pieces horizontally on top of the 4-inch pieces.
Fill in the holes made by the nail gun, then sand, stain, and seal the wood once dry. Make sure that you use a water-based stain with a water-based sealer or an oil stain with an oil-based sealer. Once completely dry, the last step is to use the level and attach the holder to the wall with a drill.