How To Remove Irises If They're Taking Over Your Garden
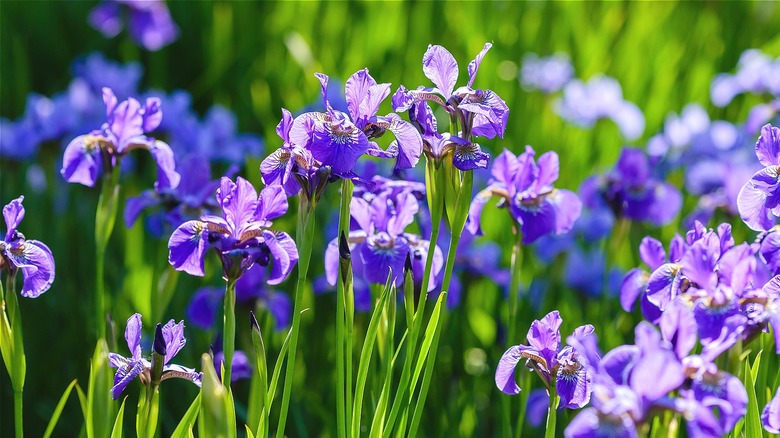
There's no question that irises are some of a garden's most beautiful blooming flowers. They can reach quite a height, thriving in even some difficult conditions. If you've had them in your flower bed for a few years, chances are good they've tried to take over, and that means just about everything else is in their shadow. Sometimes, irises can grow and spread so much that they reduce too much of the nutrient content in the soil, which ultimately means the flowers can't bloom. You may have a thriving plant with few actual flowers to show for it.
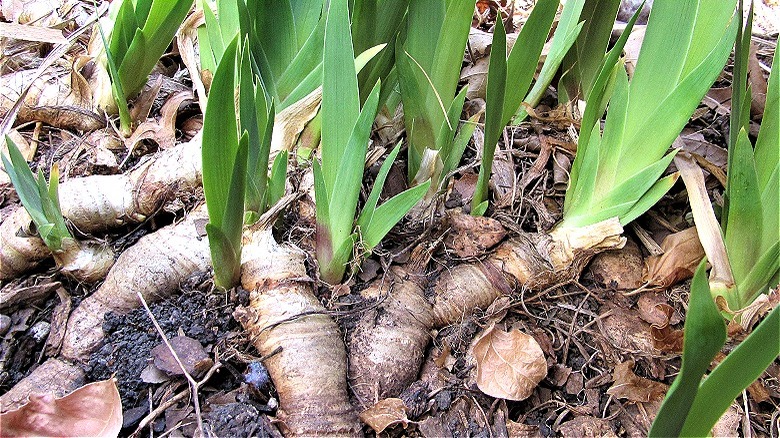
You can remove irises from your garden with a few helpful tips, but there is a bit more to it than just pulling them out. Iris plants have rhizomes, which are underground bulbs and stems. These tube-like structures can grow rapidly and spread throughout the space under the plant, even going several feet into the ground.
Whether you hope to remove the entire iris plant from the garden area or you just want to tame it back and reduce its overall size, you'll need to address the rhizomes, which typically means lifting them out and actually removing the clumps. It may even be possible to give a few of them away to neighbors if you want to encourage others to enjoy them.
How to remove iris rhizomes from your garden
To get rid of iris rhizomes fully, you have to dig up the rhizome and physically remove it from the area. The best time to do so is in the fall when the plant is no longer actively growing as much or is moving toward becoming dormant for the winter. That's particularly important if you hope to remove only a portion of the plant from your garden to allow the rest to come back in the spring months.
Use a spade to dig into the soil all the way around the base of the plant, at least a foot from the actual main stem. Most often, iris rhizomes will be within the first few inches of soil, and they look like a long, thicker piece of ginger. Unearth as much of it as possible. Once you do this, you'll notice the area where the rhizome connects to the root of the plant (don't make the mistake of thinking they're both the same thing). The root will be in the soil with thinner, string-like stems coming from the base.
Use the spade's edge to cut the connection point with a sharp angle. Once you do this, you should be able to pick up the iris rhizome and remove it. Continue doing this all the way around the plant until you've removed all or most of them.
Dividing your iris rhizomes
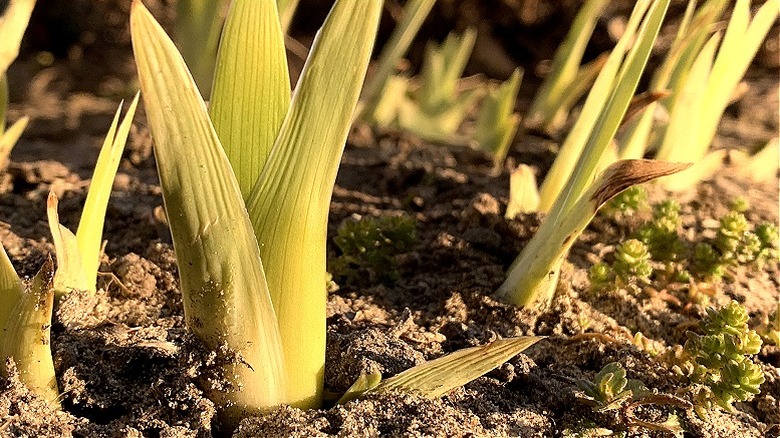
Think of these iris rhizomes as big seeds that typically have green shoots coming up from them. They tend to look like big fans due to the leaves once you remove them. Chances are good if they're healthy, the rhizomes will do well when replanted. Take a closer look at the rhizome and leaves of the plant. If there are offshoots, remove them. These will be pieces of vegetation that are growing next to the main blade. These weak pieces will not thrive when replanting the rhizome.
To do so, select the largest rhizomes you've removed and clean them up a bit. Use sharp shears to trim the root that's still attached to the rhizome to no more than 2 inches. Then, trim back the leaves of the iris plant to no shorter than 6 inches, which will give it enough green to grow. Plant them in any other yard area where you have enough room to allow irises to spread.
Plant several rhizomes in a cluster to give the plant a natural look once it starts to grow. You'll likely see them sprouting up in a year and blooming in about two years with proper conditions. If you're not ready to plant just yet, you can place the rhizomes in a container of peat moss and then store it in a dark area like the basement or a cool garage. You can then plant them the following year and care for your iris based on the species.