Tile DIYers Are Rejoicing Over This Game-Changing Product
We may receive a commission on purchases made from links.
Whether you're laying new tile for your kitchen floor or redoing the walls in your bathroom, it can be difficult to ensure the tiles are perfectly level. If installed incorrectly, some tiles may lay at a different height than others, which can lead to breaks and other issues if ignored. This will also make the tile look rather unattractive. With one simple product, though, you'll be able to easily check if your DIY tiles are level and evenly spaced as you install them. Tile leveling systems use clips and wedges or caps to hold tiles in place and apply pressure to prevent them from shifting.
These systems make installing tiling faster and will leave gaps with consistent sizes between the tiles for grout. Further, if you're covering a large area, tile leveling systems will push down on the tiles for you, saving your hands and wrists from aching. By using a leveling system, you'll be able to install the tile yourself quickly and easily without having to redo it.
Types of tile leveling systems
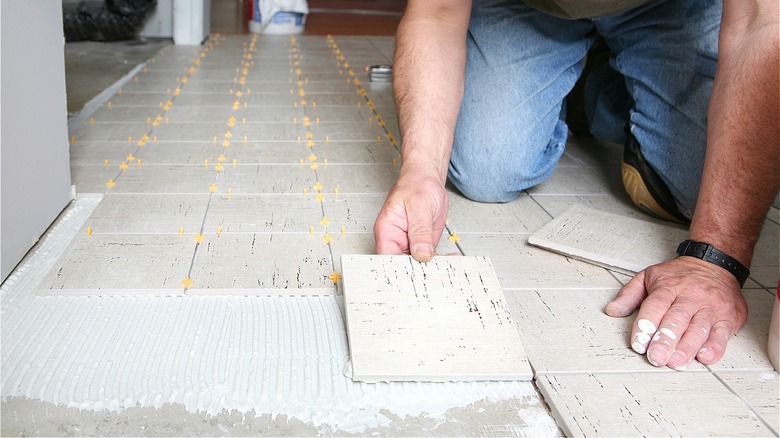
The majority of tile leveling products use a clip-and-wedge system. The clips are inserted below the tile and will stick up in between the tile and the one beside it. The wedge is then squeezed into the hole in the clip, and holds the tiles in place while the adhesive dries. Some versions may require a tile plier to fully insert the wedge, while others can be done by hand. Other leveling systems use clips and caps, but the idea is the same.
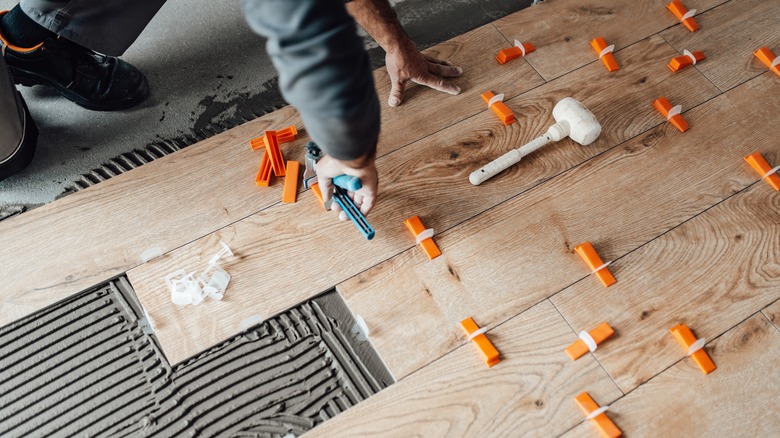
Rather than having an opening like the wedge-system clips, cap-system clips have a base that goes under the tile and a post that's threaded and sticks up between the tiles. The cap can then be screwed onto the clip. Other cap systems don't twist together, but have smooth posts that the cap is pressed onto with a special tool. Various tile leveling systems can be purchased from stores like The Home Depot and Lowe's or on Amazon.
How to use tile leveling systems
If you want your DIY tile to look like it was done by a professional, using a leveling system will make a big difference. As you lay your tile, insert a clip below the tile so that the base of the clip is in line with the tile. Typically, several clips are used for each tile to keep the sides from moving. Add another tile beside the one you just installed and insert the wedge into the clip, using a tile plier if necessary to ensure it's tight. If you are working with a cap system, simply screw the cap onto the clip until it is firmly in place. Continue this process with all of your tiles, checking to make sure they're even and level as you go.
Once the tiles are in place and the adhesive is dry, you'll need to remove the clips. This can be done by hitting the side of the clip so that the part above the tiles breaks off. Using a hammer or mallet, or kicking your foot against the clip will take it right off. Clean up all the clips and wedges or caps, which can be reused in future projects, and your DIY tile will be perfectly level and prepared for grout.