The Simplest Way To Stop A Noisy Toilet Seat From Slamming Shut
We may receive a commission on purchases made from links.
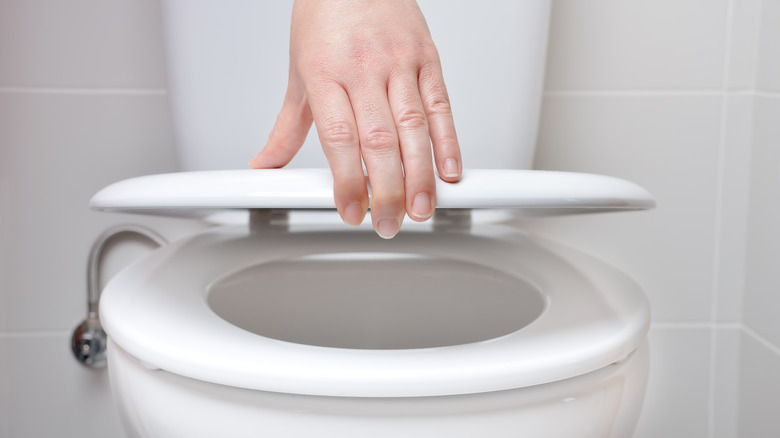
Of all the things to add to your list of home improvements, "noisy toilet seat" might not be high up there on your list, although it should be. For starters, a noisy toilet seat can wake up the entire household when someone uses the bathroom in the middle of the night (or when someone is napping). Second, a noisy toilet seat that comes crashing down could embarrass you when you have company over. You need to repair this problem before you list your home for sale, rent, and so forth, especially if it caused your toilet to crack. If this all sounds familiar, you might think your only solution is purchasing a new seat. Luckily, there's a genius way for you to keep your current toilet seat and prevent it from making noise or cracking your porcelain: buying inexpensive rubber bumpers designed specifically for toilet seats.
For roughly $12 on Amazon, you can prevent noisy toilet seats and reduce the possibility of having a chipped or cracked toilet bowl. Since installing a new toilet costs between $400 and $800, spending $12 on rubber adhesives is a fast, effective way of preserving one of your home's most valuable fixtures. Unfortunately, when your toilet gets a crack, the entire thing has to be replaced. When you sit, weight accumulates and can cause a small crack to spread quickly, possibly resulting in injury. Rubber bumpers may prevent cracks in the first place.
Choose your rubber bumpers
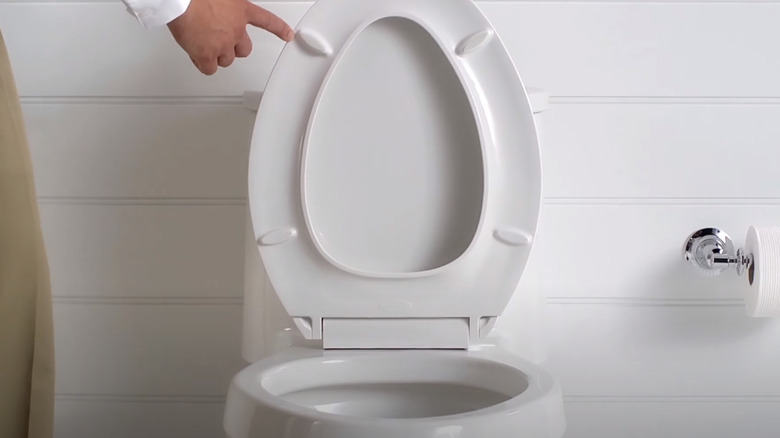
You can purchase different types of rubber bumpers, each ranging in price. If you're looking for a fast solution, you can purchase adhesive bumpers that stick to the underside of your toilet seat cover (some options come with toilet seats that feature a "quiet close" solution, but you'll pay more and need to replace the entire seat). These bumpers usually ship with some type of wipe to prep the area, so always follow manufacturer instructions to ensure they adhere properly. Simply wipe the area clean and wait until it's completely dry before applying the adhesive bumpers. You should also look for bumpers that use 3M tape, as it's among the best adhesives available. If it's easier, remove your toilet seat before installing the rubber bumpers, as you may find this gives you easier access.
Once your bumpers are securely in place, your toilet seat is ready for use. As a general rule of thumb, it can take upward of 72 hours for 3M tape to fully cure. After 20 minutes, you'll find it's at 50% capacity, and within 24 hours, it will be almost completely cured. If possible, use a second bathroom for 24 hours to help your toilet seat bumpers stay in place and do their job.
Be mindful when installing new bumpers
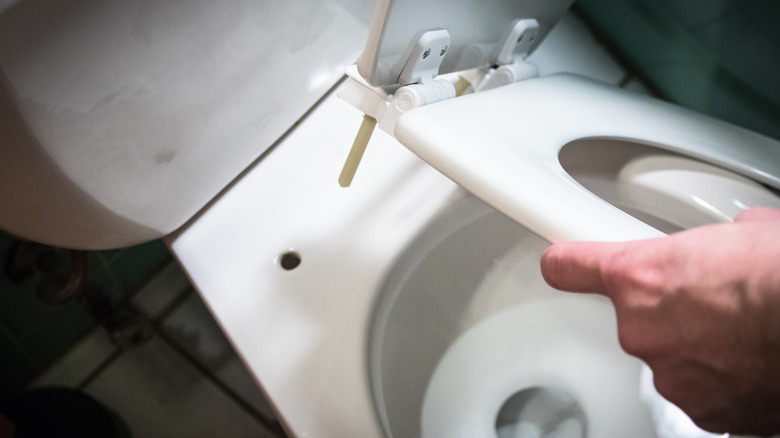
Although you can install rubber bumpers for toilet seat covers, you may opt to replace the manufacturer's ones that came with your toilet. In this case, you may need to drill new ones on. The issue with these manufacturer bumpers is that you run the risk of drilling too far and puncturing the seating surface of your toilet. You may want to abandon the stock rubber numbers altogether and install after-market ones instead, avoiding using power tools in the first place.
Another issue you may encounter is plastic bumpers. They can slip and slide against your toilet's porcelain bowl, so avoid these whenever possible. Since rubber has natural slip-resistant qualities, you'll find that it's a better fit when used in tandem with porcelain or plastic materials. However, rubber naturally degrades and needs replacing, so monitor your new toilet bumpers and replace them when you see signs of wear and tear.


