How To Easily DIY Functional IKEA Kallax Inserts
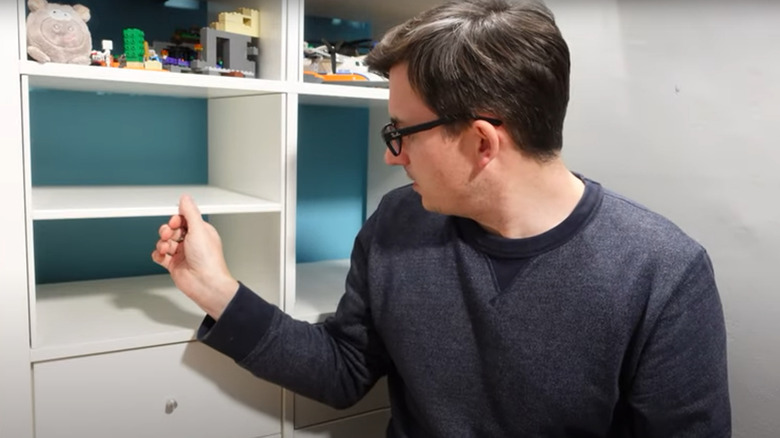
IKEA's Kallax shelves are well-loved by many for their versatility, durability, and aesthetic. However, some homeowners may find those large cubes too much for their storage needs. Thankfully, some practical DIY solutions are out there for enhancing your shelf with easy-to-make inserts. While many Kallax shelf inserts require plywood, YouTuber Actually Alli DIY shared a super-affordable method that utilizes foam core boards that you can pick up at any dollar store. So long as you're storing lightweight materials like craft paper or other small supplies, this approach can easily maximize your storage space within your Kallax shelf.
You start by measuring out the internal length of your Kallax shelf. In most cases, it will be standardized around 13 ¼ inches, but take your measurements since they can vary in size. After that, you'll want to cut two foundation boards out of your foam core sheet, sizing it to fit vertically within the cube space. Next, plot out how many shelf tiers you intend on including by spacing them evenly, starting from the middle of your foundation board and working your way out. After that, cut ¼-inch pieces of flat doweling for each of your shelf tiers to the length of your foundation boards. These will act as the bases on which your shelves will rest. Once cut out, you can glue them onto your foundation boards using liquid or hot glue.
Assembling the Shelf Tiers for Your Kallax Insert
After creating your dowel bases, it's time to cut the shelves from the foam core board, accounting for the space between your vertical foundation boards once placed into the cube. The easiest way to do this is to take the internal width of your cube and subtract the thickness of your foam core board twice. So, if you're working with ¼-inch foam core boards, you would take the internal dimension of your cube and subtract ½ inch from it to get the ideal width for your shelf boards. Once you've cut a shelf board for each tier of your insert, you can move on to adhering them together. It is recommended to use hot glue in this case so that the time it takes to bond the pieces is quicker than with regular craft glue. Once completed, your insert will be ready to be installed.
This approach is excellent when combined with the popular Kallax bench hack, creating a great alternative for low-profile storage in your foyer or mud room. However, the best part about this insert is that it isn't permanent. It can be moved or replaced quickly, allowing you to plug and play your storage options as needed. Plus, those seeking a sturdier option can modify this DIY by using wood instead of foam core board. A little imagination goes a long way with these cube-shaped sandboxes. Good luck!