How A Rubber Band Can Increase The Life Of Your Broom
We may receive a commission on purchases made from links.
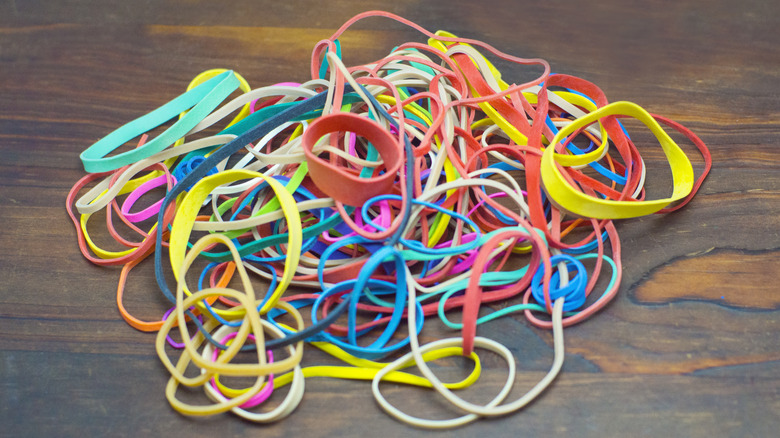
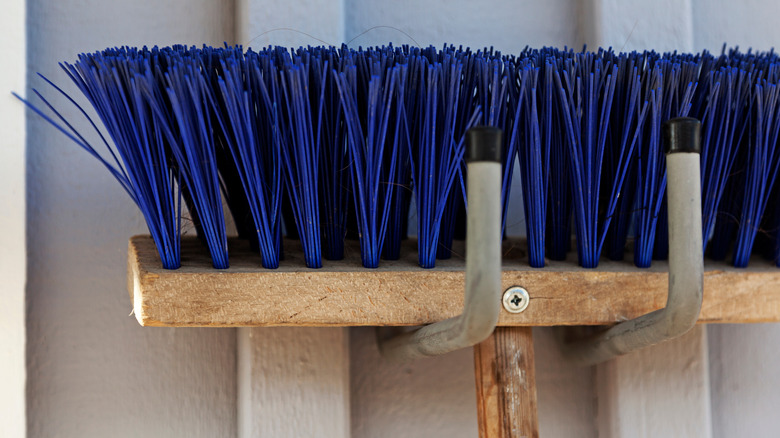
No one likes spending money on boring things, like new socks, printer paper, or ... brooms. But eventually, these things run out or wear out and need replacing. Or do they? There are often cheap fixes or alternatives you can explore instead. Take the broom, for example. To stiffen up floppy, bent bristles, wrap a rubber band around the broom head, leave it there for a few days, and you'll be sweeping efficiently again in no time.
Even if you have the right broom for every cleaning task, the bristles get ruined through repeated use. The constant pressure of pushing those flimsy filaments over tile, concrete, or lino causes the bristles to separate and flatten. Eventually, they may even bend at right angles, parallel to the head they're attached to, rendering the broom near useless. A rubber band holds things in place using a combination of elasticity (or stretch) and tension. When you wrap a rubber band around the splayed bristles of a broom, these forces push and pull them back into alignment.
The rubber band broom fix explained
To get a new-to-you broom, you'll need a large bucket or tub of warm water, some rubber bands, and an optional piece of paper or thin cardboard for added bristle protection. If you don't have any rubber bands at home, you'll need to buy some. We recommend getting a pack with a few different dimensions so you can fix multiple types of brooms — Walmart has a 1-pound bag for $9.99. For large broom heads, look for wide, long rubber bands, like this 24-pack of assorted Alliance SuperSize bands, also around $10, from Amazon. You could even use a few hair elastics or a scrunchy in a pinch.
Dip your broom head and bristles into the bucket or tub of water until they're fully submerged. Add more warm water if needed. Leave the broom in the water for a minute or two. Remove the broom and comb the bristles straight using your fingers. If you wish, wrap the bristles in paper or cardboard to protect them. Choose a rubber band that will apply enough tension to the broom to push all the bristles together but isn't so tight that it creates a groove. You can also use more than one rubber band or an extra wide band to avoid this problem. Hang your broom from a hook with the bristles facing downwards but not touching the floor. Take the band (or bands) off after a day to a few days.
It works on all kinds of brooms
The trick works on natural fiber (like straw or horse hair) and plastic bristles. However, you need to use gentle pressure on broom bristles made from natural fibers. They tend to shed or snap if forced back into shape too quickly. This could mean using thick rubber bands to avoid kinking the bristles or moving successively from light to firm-pressure rubber bands over an extended period. Plastic bristles are more flexible, and animal hair bristles are softer, so you don't need to treat them with as much care.
That said, also consider how you're storing your cleaning products. You don't want to stow your broom bristle-side down; the fibers will start to bend again. Instead, once your broom is repaired, hang it on a hook when you're not using it. If you've tried using a rubber band to straighten your broom bristle and got lackluster results, it might be that your broom is too damaged to repair. In that case, you'll need to replace it or try another fix, like carefully running a wire brush through the bristles, adding salt and white vinegar to extend the life of a broom, or giving the bristles a haircut.


