The Easiest Way To Give Your IKEA BILLY Bookcase An Instant Upgrade
If you need something for your home, there's a good chance IKEA has it and that you can customize it to fit your interior style. The BILLY bookcase is the perfect example of this. This is one of the Swedish retailer's top-selling items, with one being sold almost every 10 seconds worldwide. This product is so beloved because it's a blank slate, making it popular for DIYers. The simple lines mean the piece of furniture can blend in with any interior and it can also take on more decorative upgrades.
Wallpaper is one easy way to upgrade your BILLY bookcase. The simple design tool instantly transforms these bookcases into a feature. There are lots of options that can add a pop of color, pattern, and texture that infuse more interest into the room's design. It also transforms it into a custom piece of furniture that perfectly fits your style. This is an easy project that can be done on a weekend, which makes it ideal for beginner DIYers. Plus, the finished product produces stunning results.
A quick and easy feature
You can add wallpaper to a BILLY bookcase whether you're buying it new or updating one you already have. With this project, using peel-and-stick wallpaper is the easier option as the adhesive is already applied. All you have to do is peel off the backing and apply it where you want it. You'll also want scissors to cut the wallpaper to size and a flat-edge tool to smooth out any bubbles.
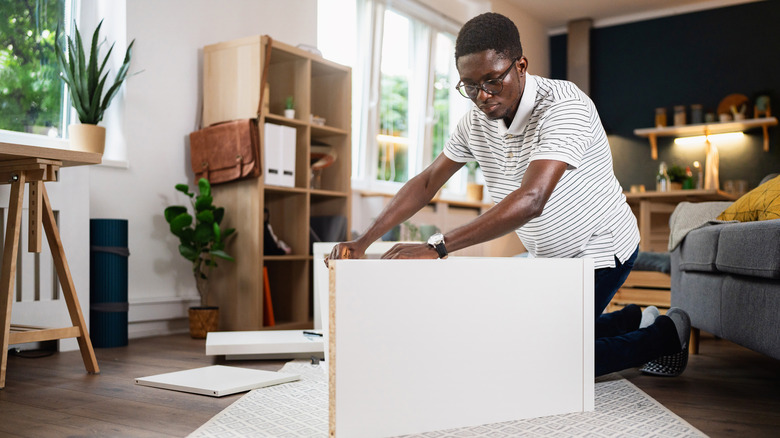
For new bookcases, you can build them per the instructions but leave off the rear hardboard, explains TikTok DIYer @topshelfdiy. Then, install the wallpaper on the board by cutting it to size. Remove one corner of the wallpaper from its backing and press the adhesive to the hardboard. Slowly remove the rest of the backing while smoothing out the wallpaper and getting rid of air bubbles.
If your BILLY bookcase is already put together, take everything off the shelves and remove the shelves. You'll apply the wallpaper the same way by cutting it to size and smoothing it out while sticking the adhesive to the shelves. Then, slide your shelves back in and enjoy your results.