The Best Way To Replace Caulk Around Your Toilet
Although some people believe that placing caulk around the base of the toilet is not necessary, most plumbers recommend doing so and it may even be a necessity in order to meet building codes. As the caulk in this area ages, though, it accumulates grime, darkening in color and potentially allowing mold to grow. It's extremely difficult to clean fully. When you are seeing discoloration with this material or if it is becoming loose, it's time to replace it. Once you choose the perfect caulk for the job, which would be a 100% silicone material that delivers waterproof and mildew-proof capabilities, you then should add a bead around the entire circumference of the base that fills any gap between the toilet and the tile or laminate flooring, preventing water from seeping underneath.
This process has a few benefits, including preventing excess water that splashes out of the bathtub or runs over the edge of the toilet bowl during a clog from leaking underneath the low spot in the bathroom flooring at the base, damaging the flooring underneath. The waterproof caulk keeps the overflowed water on the floor, giving you time to clean it up. As another important benefit to this process, the silicone helps to hold the base of the toilet tight to the floor, so it won't wiggle as much when people sit on it. Additionally, the caulk prevents urine or dirty mop water from seeping underneath the toilet, where it could continuously generate odors.
Remove the old caulk from around the base of the toilet
If you have discolored or loose caulk around the base of your toilet currently, you need to remove it completely before you can add the new silicone. You will also need to remove the old silicone substance if you are planning to replace your toilet. Completely cleaning the old material is important to prepare the area to receive the new caulk and to allow it to maintain its waterproof capabilities.
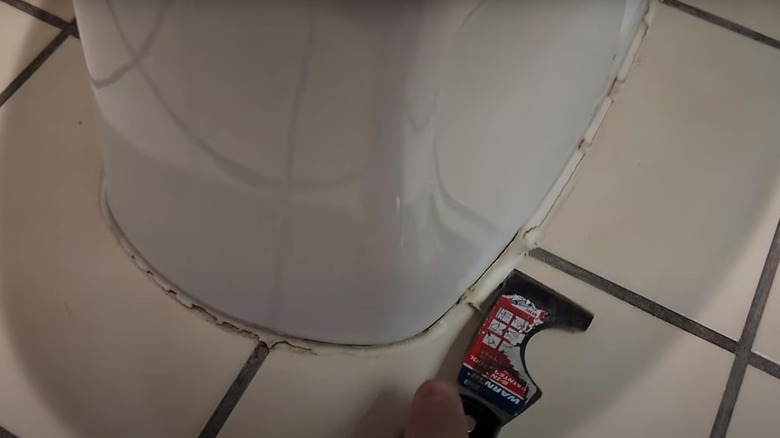
Put on gloves, as the existing caulk may have some mold or mildew on it, and you don't want these substances on your hands. Take a utility knife or a putty knife and carefully wedge the blade between the base of the toilet and the existing caulk. Move the blade around the entire circumference of the appliance, loosening the existing material. Then turn the blade horizontally and run it between the caulk and the floor, loosening it. Grab the loose caulk and pull it slowly, trying to remove as much as possible.
If any bits remain, use the knife to scrape them loose. Do it carefully to avoid scratching the tile or the toilet. You then can use any remaining traces of the silicone by using a scrub pad that has mineral spirits on it. (Make sure you have plenty of ventilation in the area when using mineral spirits.) Finally, spray a cleaner that works on mildew in the gap between the toilet and the floor to ensure your new caulk is starting on a clean surface.
How to apply a new bead of caulk around the base of the toilet

Applying a new caulk around the edge of the toilet can be a messy job, so you may want to place painter's tape in the area to keep the bead of silicone from leaking. Place the tape around the base of the toilet. Then create a second line of tape on the floor, leaving a gap of about ⅜ of an inch between the two lines of painters tape.
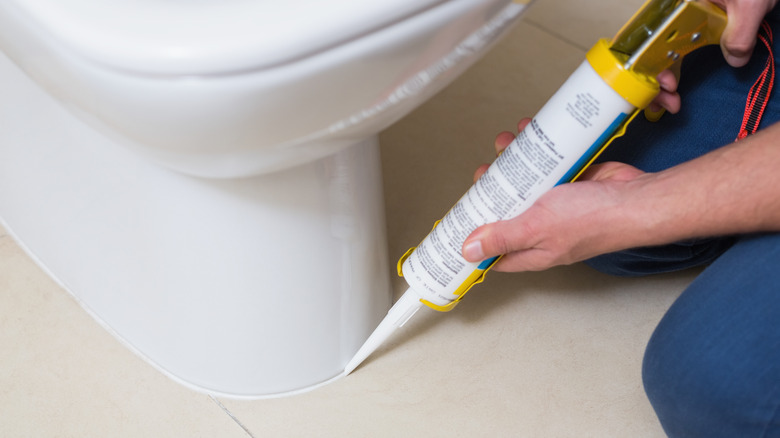
Clip the end from the tube of caulk in a straight line, which helps with being able to maneuver the tube around the tight quarters around the toilet. Look at the tip of the tube for any markings that indicate the bead size and cut it at the desired size. Then place the tube into a caulking gun and puncture the seal inside the nozzle. Deploy the bead of caulk around the base of the toilet in a smooth line. Try to avoid globs by keeping a steady pressure on the trigger and by moving at a steady speed. If you are struggling to control the gun behind the toilet, buy a small handheld tube of caulk for this area.
After creating the bead, moisten your finger and smooth out the bead. Then carefully pull up the painter's tape while the silicone is still wet. It should be dry to the touch in about 30 minutes, but it can take 10 days to fully dry.