Why You Need An IKEA Changing Table In Your Kitchen
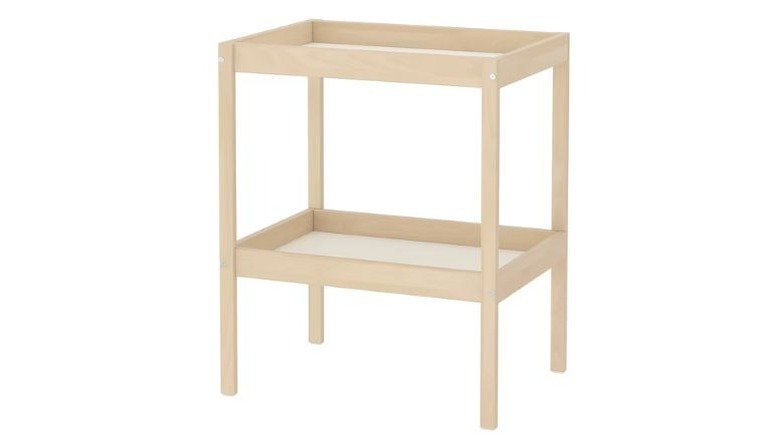
Just because you live in a small space, it doesn't mean you have to do without a fully functioning home. We love IKEA hacks like this one that help you make the most out of a tiny kitchen even on a limited budget. Believe it or not, this DIY home tip for using IKEA changing tables in your kitchen has nothing to do with changing your baby's diaper next to the breakfast table. Instead, you can put together two SNIGLAR changing tables along with an IKEA table top to create open cabinetry and countertop with plenty of workspace and storage for all your food prep needs. Because the SNIGLAR changing tables are just $39 each and IKEA tabletops start at $40, this is a cheap hack that results in a modern and functional kitchen.
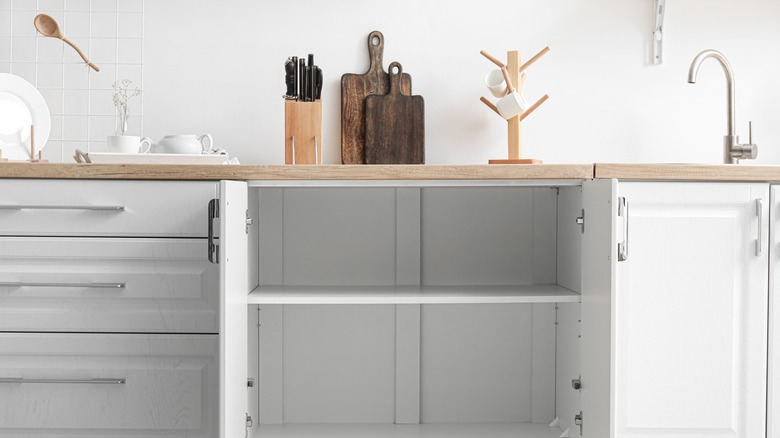
Mona Hamilton (via Apartment Therapy) pairs the hack with a mini fridge that fits perfectly underneath the countertop and provides added support, along with a changing table on each side. She also adds extra shelving for more storage and paints the beech changing tables white to match the tabletop for a more streamlined look. You could design and decorate your DIY counter to match your own kitchen interior.
Tips on how to add kitchen counter space with this IKEA hack
To recreate this easy IKEA hack, you'll need two SNIGLAR changing tables and an IKEA tabletop, plus tools and brackets to secure the tabletop to the changing tables and wall, plus decorating materials for personalization. If you want to add extra shelving, you'll need to buy shelves as well.
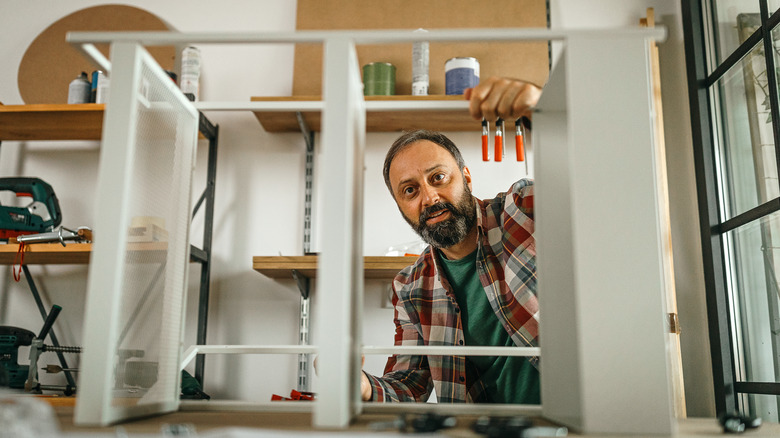
Measure the space in your kitchen to choose the right size table top. The first thing you'll need to do is assemble both SNIGLAR changing tables according to the IKEA instructions. If you want to decorate them now is the time to do it! You can paint, decoupage, or get creative with washi tape, according to your taste, while you have easy access to all sides of the units.
Next position the changing tables where you'd like the ends of your countertop to be as these will be providing the supports for your tabletop. Finally, position the tabletop across the changing tables. If you chose a long one there'll be a space in the middle between the changing tables for your mini fridge. Alternatively, you may choose to add extra shelves here for a look similar to the picture above. Adding doors is optional but we think open shelving underneath the countertop looks modern and airy, plus your pots and pans are more easily accessible! Don't forget to secure the tabletop to the changing tables and also to the wall for stability using brackets.
More ways to use an IKEA changing table in your kitchen
If you don't have space in your kitchen for a full countertop, or perhaps you have enough counter space already, the SNIGLAR changing table, with its low price point and lightweight frame, is still an ideal piece of furniture to have in your kitchen for a variety of different uses. For example, you could simply have one slotted in a corner as extra quick-access storage for pots and pans you use regularly, with space on top for jars of dry pasta/spices/cooking utensils, etc. This will free up any space on your countertops so that you can use the space more comfortably when preparing food and cooking. Or if you have a larger space, why not create a DIY kitchen island?
Add wheels and you can transform this baby changing table into a smart little breakfast tray that kids can easily roll over to the table in the mornings to prepare their own breakfasts independently. There's plenty of space for cereal boxes, bowls, cutlery and more. Plus, it'll save you from having kids under your feet going in and out of cupboards while you're trying to make their packed lunches! And if you don't have kids, how about a mini cocktail bar cart?


