Use The Cut-In Method To Paint Your Ceiling With Clean Lines
When painting a ceiling, one of the biggest challenges is creating a perfect line where it meets the wall. If you are painting the ceiling a traditional shade of white and the wall is a darker color, any imperfections in the line will be clearly visible. The best way to create the cleanest line is to use the cut-in method. When cutting in the paint at the edge, you use a brush to create the line and then use a roller immediately afterward to easily paint your ceiling and hide any bristle marks.
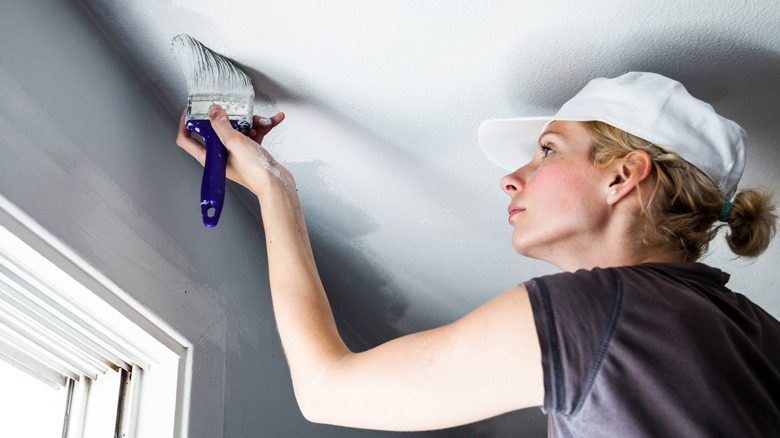
Working on one section at a time, start by using a freshly loaded angled brush. Create a line close to the edge that you want to make perfectly straight. Do not go back to the can for additional paint. Instead, use the brush to slowly push the paint you just applied into the angled edge between the wall and ceiling. This should help with not applying too much and having it leak onto the wall. Then carefully go back over the section with a roller while the paint is still wet, so you can remove bristle marks. You can work on the main part of the ceiling before moving on to the next section to use with the cut-in method and the brush.
Using the cut-in method vs. using painter's tape
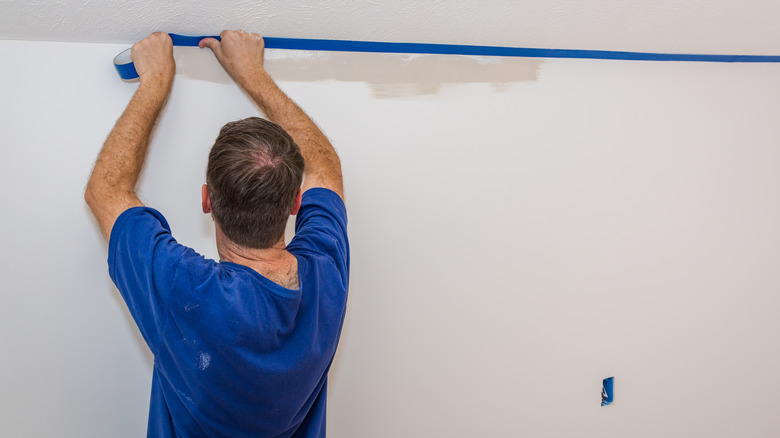
Cutting in paint at the line where the ceiling meets the wall can be a challenging process. It takes some practice to do it well. Some people may believe they can save time and effort by simply placing painter's tape on the wall at the spot where it meets the ceiling. If you're a novice and if you are extremely worried about doing the job right, tape may be the better option.
However, tape takes quite a bit of time to apply correctly. You have to apply it in a perfectly straight line, and you need to make sure there are no wrinkles. It must adhere tightly. If you have loose edges, paint could sneak underneath the edges of the tape and cause drips and blotches that you don't want. Professionals often don't bother with using tape because they don't want to take the time to apply it. Using the cutting-in method goes much faster.
To cut in the paint without using painter's tape, you need a steady hand. Use a ladder so you can stand close to the area where you are applying paint. It's a good idea to use a 2-inch angled brush with high-quality bristles when attempting to create the perfect cut-in line at the edge of the ceiling. Consider spending a little extra on this tool.
Other techniques that can help with cutting in a line between the ceiling and wall
You have a couple of other options for helping you use the cut-in method. Both of these methods require purchasing some extra tools and supplies. But it may be worth it.
Use a caulk gun and white caulk if you are painting the ceiling white. Take painter's tape and create a straight line across the length of the wall ⅛ inch underneath the border where the wall and ceiling meet. Run another length of tape on the ceiling about ⅛ inch above the border. Then apply a bead of caulk along the space between the two pieces of tape. Wet your finger slightly, then run your finger along the caulk to smooth it out to a thin layer. Carefully remove the two strips of tape while the caulk is still wet. When it dries, you'll end up with a perfectly straight line. Then cut in the white paint on the ceiling up to the line of caulk. You can cut it in quickly because the line you made provides a natural border. Then roll the rest of the ceiling.
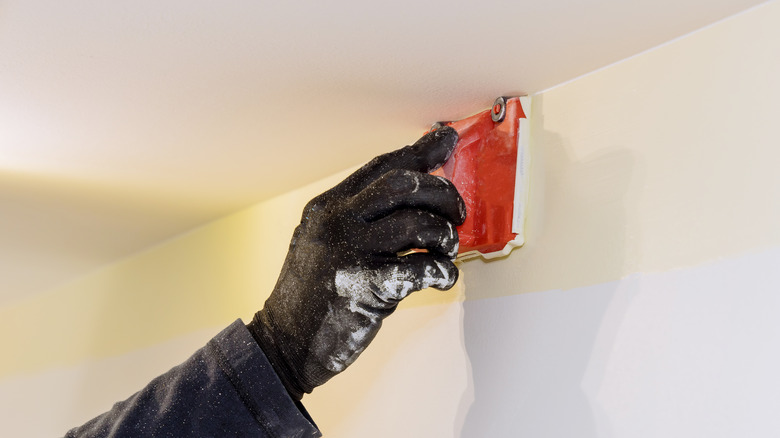
Another option is to use a paint edger tool, which is a pad that applies paint to the ceiling. It has wheels along the edges that ensure a perfectly straight line. You may still have to cut in a little bit of paint with the angled brush if the tool does not quite reach the edge.


