What Gluing Two IKEA Kallax Shelves Together Will Do For Your Storage
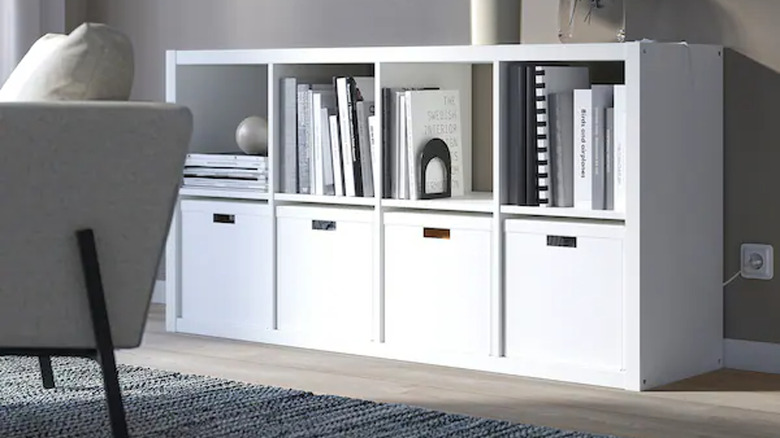
Kallax shelves from IKEA are both sleek and stylish while offering plenty of storage space. Coming in various sizes, they can also be customized in various ways by popping on additional pieces or adding doors. On top of that, you can tackle a DIY project that can turn these shelves into an impressive workbench with just as much room to store whatever you want to place in the organized space. In fact, when TikTok user Shayna Alnwick, who goes by The Flipped Piece, posted a video that showed how she used this idea, she added text that told her viewers: "I made my dream DIY workbench out of IKEA Kallax units!"
If you're eager to do the same, you first need to get a pair of Kallax shelves. Ideally, opt for ones that are two cubbies high and four or five across when the piece is laid horizontally. Perhaps most importantly, each piece needs to be the same height. You'll also want a super-strong adhesive (in the video, Alnwick uses No More Nails), brackets, screws, and a drill or screwdriver. Beyond that, be sure to grab a hammer, nails, paint in the color of your choice, Gator Hide topcoat, any accents or additions that catch your eye like wheels or hooks, and a large piece of plywood, as well as long, thin pieces of wood. With these items collected, you can dive right into this fun DIY action.
Steps for making your own dream DIY Kallax workbench
After gathering your supplies and tools, grab the two Kallax shelves and place them side-by-side (width-wise, not length-wise). TikTok user Shayna Alnwick, aka The Flipped Piece, then secured the pieces together by using construction adhesive on the inner edges, as well as brackets that are screwed into various spots along the shelves. This creates the base of your workbench.
From there, you can place the plywood on top and cut it to the proper size before nailing or screwing it down. You can also place the remaining plywood on the bottom. As for the long, thin pieces of wood, they can be used to create a frame around the edges and sides of the piece. Next, it's time to paint the entire workbench or whatever sections you would like. Add a topcoat to seal in your work, and then add any accents and details such as decorative transfers, hooks, and even wheels if you want to move the workbench around. If you need the piece to be movable and secure, opt for wheels that can be locked in place.
With that, you'll have your very own DIY Kallax workbench completed. Of course, you can continue to customize it in ways that suit both you and your projects. For instance, you can fill the storage spaces with your materials and tools or add other details for aesthetic reasons, practical purposes, or both.
