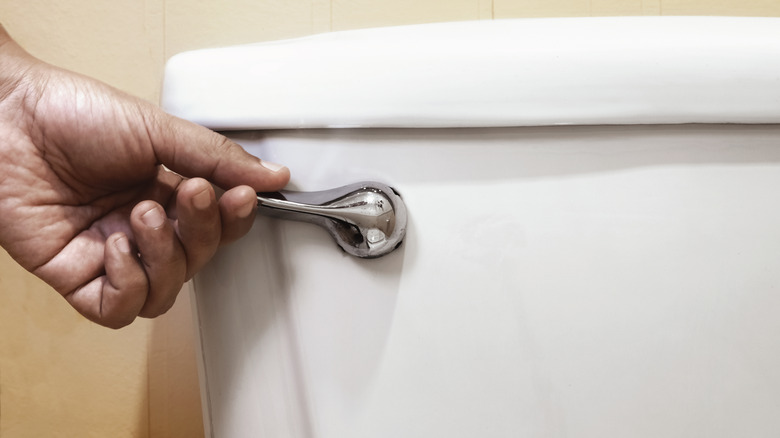
The Ultimate Guide To Replacing A Faulty Toilet Handle
A broken toilet handle could cause your toilet to run continuously, wasting water and raising your bill. Issues with a loose or fractured nut or a damaged handle arm could be the reason your toilet handle suddenly isn't functioning properly. While plumbers can be expensive, this particular toilet repair is one you can DIY on your own and save money. But before going out to buy a new toilet handle, check to see if the nut connecting the faulty handle to the inside of the toilet tank is loose. If it is, try tightening it with your hand or a wrench. Be careful not to over-tighten it, as this can break the porcelain.
For issues besides a loose nut, you'll likely have to replace the entire handle system. When buying a new handle, ensure it's the same type as the previous one. Some toilets have connections for the handle on the side, while others have it in the front, either on the right or left.
How to replace a toilet handle
To replace a faulty toilet handle, start by removing the lid of the toilet tank and taking the chain off the arm of the handle. Next, check to see which hole in the arm the chain is connected to, which will make it easier to know where to attach the new arm. Unscrew the nut on the side of the tank by turning it clockwise with a wrench. This will allow you to remove the nut and pull the entire handle mechanism from the hole in the tank. Now, you can install your new toilet handle.
Take the nut and O-ring off the new handle and put the handle arm through the hole in the tank. Reattach the nut to the handle, screwing it on with your hand, and then carefully tightening it with a wrench. Then, attach the chain to the hole in the arm and flush. If the toilet doesn't flush correctly, try inserting the chain into a different hole to make it looser or tighter. Once you've placed the lid back onto the tank, your toilet will be good as new.
