The Simplest Way To DIY Your Own Carpenter Bee Trap
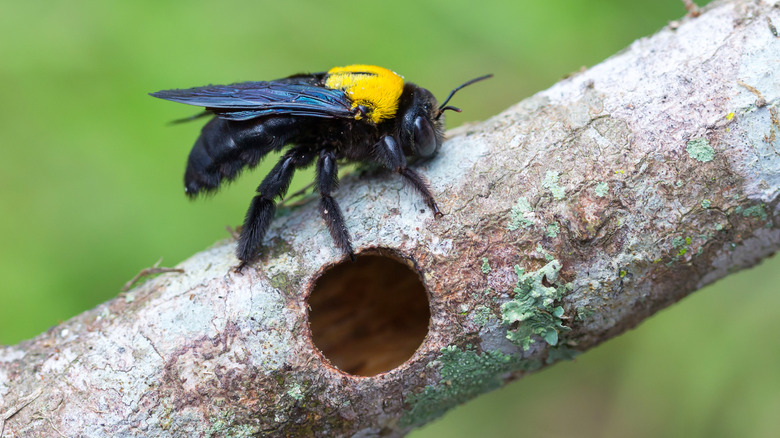
Ah, spring: the season of vibrant blooms and ... carpenter bees. While these insects dart around pollinating plants, maintaining the peace comes with a wooden twist. They're Mother Nature's quirky architects, carving nests into wooden fixtures with worrisome enthusiasm. Fences, decks, and that prized shed become their grand designs. And the result? A gateway for water damage, rot, and the dreaded eventual collapse. But why wait for a Babylonian fall when you could bottle up the buzzing culprits? Enter the humble carpenter bee trap. Fashioning a 4 by 4 inch carpenter bee trap is a matter of sawing out wooden planks to reasonable proportions, then drilling tapered entry holes into the "prison." All that's left is fixing your entrapment jar at the base and hanging the structure where the buzzing is usually at its peak. That should set you back only a few minutes longer than a "Man vs. Bee" episode.
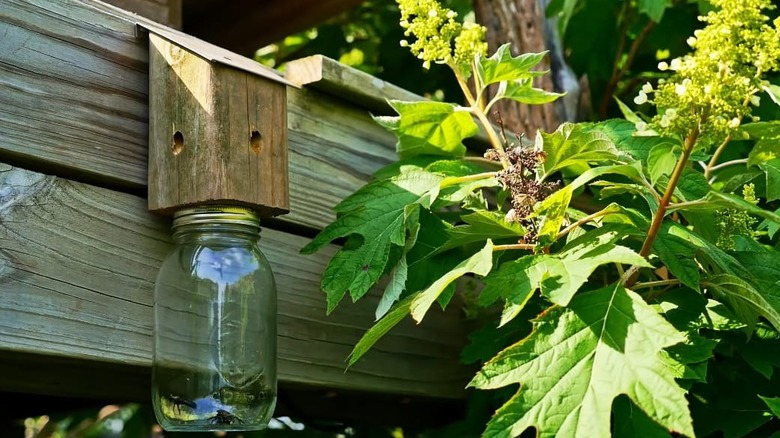
But how does a carpenter bee trap work? This masterpiece comes in two avatars: the collector and the sticky type. For the former, picture a birdhouse that lures the buzzers into a clandestine prison within a clear plastic or glass jar. These winged refugees follow simple one-way traffic into their new lodging but — plot twist — they can't find their way back out. With the non-reusable sticky version, you're essentially setting up a flower-themed glue trap, luring those innocent guests with a mix of attractants, fluorescence, and false promises of nectar. Think of a Venus flytrap on a bee-hunting spree.
How to build a carpenter bee trap with a bottle
Begin with gathering the right supplies for your bee eviction device. You'll need a lengthy, 4 ½ inches-wide piece of lumber, a hand saw (or a miter saw if you're feeling swank), a drill, a hammer, a transparent plastic soda bottle with a cap, a measuring tape, a small chain, a 7-inch wide wood plank, an army of nails or screws, and a screw eye hook. With the arsenal assembled, slice the plank into four 8-inch long side segments and a 6-inch long base part. The roof should be a piece of wood just the right size to spill over each edge by 1 inch. Now, nail the side and top panels together to bring your creation to life. Next, use the 1/2-inch drill bit to crown each face with a 45-degree angle, upward-facing tunnel, just dark enough to lure the bees to their doom below.
Using that ½-inch drill bit again, forge a hole through the bottle cap. Then, drill a hole the same size as the bottle cap through the midpoint of the bottom panel. From there, nestle the cap securely within the freshly prepared hole, secure the bottom panel, fasten the screw eye hook at the top, add hanging wire, and reattach the bottle to the cap. And now for the curtain call on our DIY project: where to hang carpenter bee traps — a sunny corner of your house easily accessible by the winged invaders will suffice.
Precautions and alternatives for DIY carpenter bee trap
DIY trap screams resourcefulness. So, why suffer a retail rampage when you can play hide and seek with your often-overlooked toolkit? Grab wood glue for that perfect snug fit for your bottle cap, and perhaps a mason jar to swap out for the plastic bottle, given you screw the band to the base. Those planks wasting away in your garage could be repurposed, saving extra pennies. As for the kind of wood to use for the carpenter bee trap, untreated cedar or pine is your ideal ally. And because you don't want to incite World War Bees in your backyard, assemble your trap fortress in a neutral zone distant from the bee troops
Wondering about the best bait for carpenter bee traps? Well, picture a gala where the bees bag the best seats, with sugar water or honey being the delicacy that will coax them into your bottle bobby trap. But then, how many carpenter bee traps do you need? A good 15 feet radius from each snare should guide you toward the correct figure for optimal protection against these troublesome "buzzmasters." Don't skimp on safety, either. Arm yourself with safety goggles, gloves, and long sleeves (as male wood bees can get a bit touchy about their territories). Plus, you don't want wood chips sharper than a bee's wrath flying into your eyes, so ensure your workspace is steady.