The Impossibly Easy DIY Magic Eraser Your Wallet Will Thank You For
We may receive a commission on purchases made from links.
Who knew that soundproofing material could get repurposed into a household stain remover? Well, the people behind the official Magic Eraser figured out that their product could get scuff marks, encrusted food, and a child's creative drawings off walls and other surfaces. Just by wiping a wet eraser sponge vigorously on the affected area (but not too roughly because you don't want to scrape the paint off your walls), you can make an unsightly blemish disappear. If you haven't used them before, they've got an especially coarse texture. Although they resemble dishwashing sponges, they're not, and you should avoid using Magic Erasers on nonstick cookware.
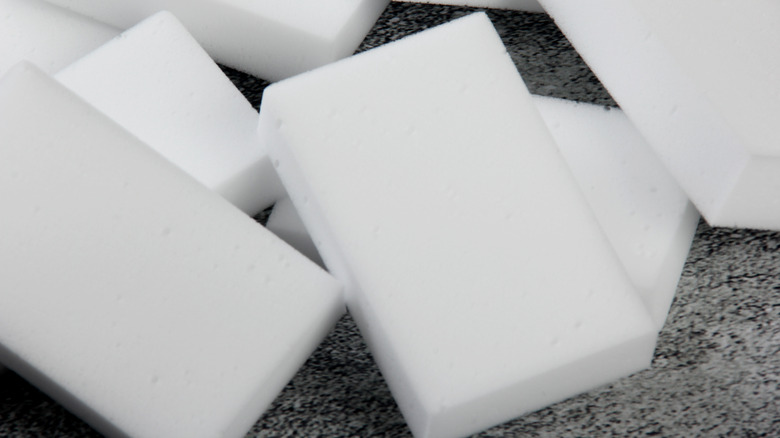
Here's the problem — erasers require elbow grease to get rid of marks, but the sponges disintegrate fast, and they're pricey at about $1 each. They have such a large variety of uses around the house that you'll want to stock up. But needing to frequently replace a relatively-expensive product isn't budget-friendly. That's why it's better to make them from home, and there's an extremely easy way to do so: simply buy pieces of melamine foam and soak them in a DIY cleaning solution.
The impossibly easy way to DIY your own Magic Eraser
To make a DIY version, buy melamine sponges in bulk packs of 100 online from Ebay for about $6 to $7. You can also find them on Amazon where they're more expensive, but they offer thicker versions. Many of the sponges from the Mr. Clean Magic Eraser brand come with a cleaning solution inside, but you can mix the solution and add it yourself at home. However, melamine foam only needs water to be effective, so adding the cleaning solution is an optional step.
First, gather your supplies. You'll need one melamine sponge, borax, the all-around miracle worker baking soda, a measuring spoon, a bowl big enough to fit the sponge, warm water, and rubber gloves. For each individual sponge, you'll want to mix 1 teaspoon of borax and 1 tablespoon of baking soda into ½ a cup of warm water. Soak the sponge long enough for it to absorb the mixture, then wring it out and start erasing. Or, put the mixture in a spray bottle and spritz it on a melamine sponge you've pre-moistened with water. Always protect your hands with gloves when using melamine foam.
Where and where not to use your DIY Magic Eraser
The reason this DIY product works so well is mostly due to the abrasiveness of the melamine foam. It contains hydrogen, nitrogen, and carbon, and it's filled with tiny air pockets. When the sponge gets wet, the interior hardens, giving it the sandpaper-like ability to remove scuffs, and yet the sponge remains pliable.
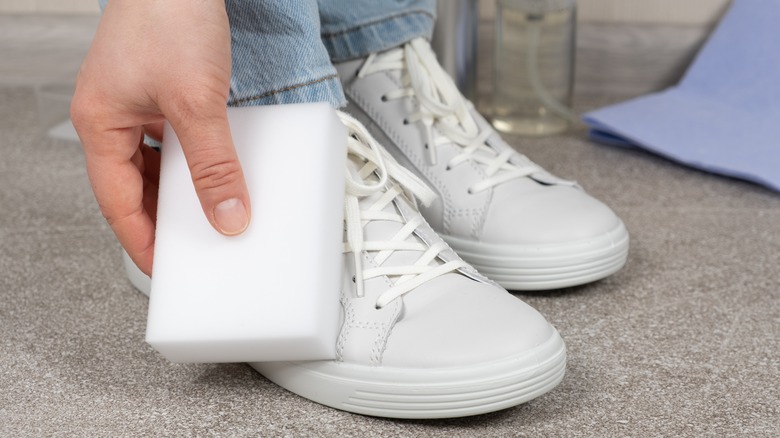
Some surfaces don't play well with melamine foam; you should never use a Magic Eraser on wood surfaces because it will strip them. But there are so many other uses — the white rubber surrounding your sneakers gets dirty pretty fast, and your DIY eraser will clean it beautifully. Turn your computer off, then use a slightly damp eraser sponge to clean the gunk off your keyboard and immediately dry it with a lint-free cloth. You can lift off foods splattered onto your stovetop or inside your microwave easily. If aluminum cans you store in the bathroom or garage are leaving rusty rings on the floor, try using an eraser to get rid of them.

