Transform Cheap Plastic Pots Into Chic Cement Planters
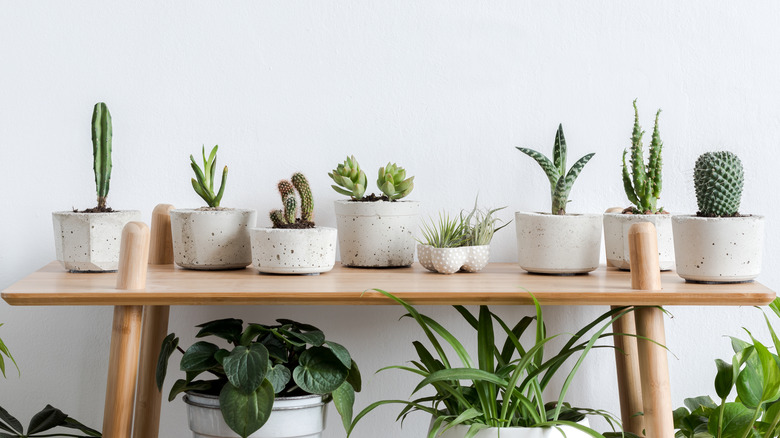
Cement planters bring a sleek look to your outdoor and indoor greenery. However, these containers can be expensive and there isn't always a huge selection available. Plus, they can be expensive to ship, and transporting one from your local store to your home can be laborious. This is when your DIY badge comes in handy. Starting with your ideal pot shapes and sizes, you can use inexpensive plastic flower bins as molds to create high-end-looking cement planters.
If working with concrete is intimidating, start with a small, indoor planter you can keep on your desk. Once you fall in love, you'll be making jumbo pots in no time. The results look like high-end planters at a fraction of the price. Plus, each one is completely customizable in color, size, and shape. So, you can make one-of-a-kind pots for each space in your home or create personalized ones to give as gifts.
Your plastic pot is a mold for the cement planter
As Reuse Project for Garden demonstrates, you'll need two different-sized plastic flower pots, cooking spray, quick-drying cement, and sand or dirt. You'll also need a box cutter, a flat trowel, a tarp, sandpaper, and a large mixing container. Gloves and a mask are essential for safety when mixing cement. Once this material dries, it's stuck, so lay down a tarp, and if the paste splatters on any unprotected area, wash it off immediately.
There should be at least an inch between the inner and outer mold to create the walls, so keep this in mind when selecting your planters. First, cut out the bottom of your larger pot and sand down the edges. This will act as your outer mold. To create the hollow space in your pot, form an interior mold with packed sand or dirt with your smaller pot. Then, grease the inside of the larger pot with cooking spray and nestle it over the mold with the cut-out bottom facing upward.
Now, mix the cement following the instruction on the bag. Pour the cement into the mold through the cut hole in the bottom and pat the sides of the container to pop any bubbles. You can add drain holes in the concrete by poking the base with a stick. Once it dries (in about 24 – 48 hours), pull away the mold. Hot water can help loosen the plastic pot from the cement. Then, flip it over and scoop out the sand.
Cement planters are practical and customizable
Not only are cement planters modern and stylish, but they are practical for indoor and outdoor gardening. Similar to clay planters, cement is porous. If you're prone to overwatering your flora, porous pots are helpful as moisture seeps out.
Plus, when you water the plants, the cement will release lime into the soil. This increases the soil's pH levels making it more alkaline. If you are using plants that love more acidic soil, like cranberries or tomatoes, you can seal your cement base to prevent lime from invading your soil. On your clean and dry pot, spray or brush on the concrete sealant. Let it air dry completely before applying a second coat and allowing that to dry before planting.
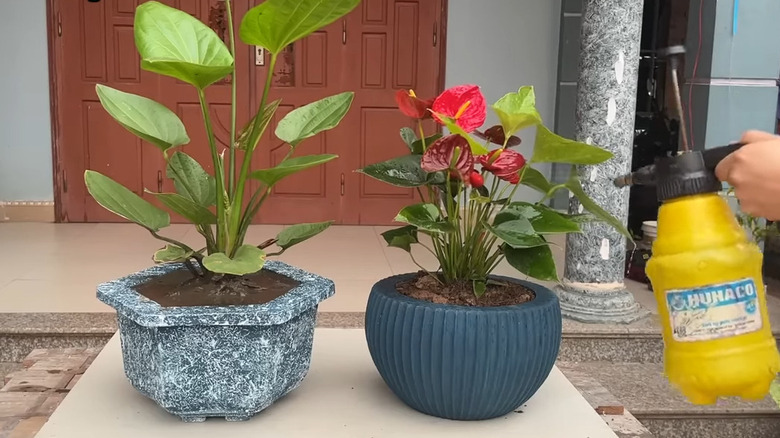
You can also finish your concrete in a wide range of ways for a completely custom look. Keep it natural for a more raw, industrial look. Or, go with a dark stain or paint for a sleek, modern vibe. You can even stamp or sponge paint your new planter to give it a more marbly appearance.

