The Best Method For Propagating Orchids
To houseplant lovers, orchids are a sort of holy grail: challenging, sometimes expensive, and utterly striking when grown successfully. Once you've successfully cared for one orchid, you'll likely want more. Propagation allows you to multiply your orchids without spending lots of money on new plants. Even to experienced gardeners, propagating orchids might sound intimidating, given the unique nature of growing these plants. But not all methods of orchid propagation are equally tricky. With the proper technique, you can minimize effort while increasing your chances of success.
According to the American Orchid Society, vegetative propagation is the most beginner-friendly method of orchid propagation. Vegetative propagation is asexual plant reproduction, as opposed to reproduction by seed. Since growing orchids from seeds are more difficult, vegetative propagation is the best method for growing new orchids. However, there are a few different ways to do it, and the plant itself actually provides the easiest way.
How to propagate orchids the easy way
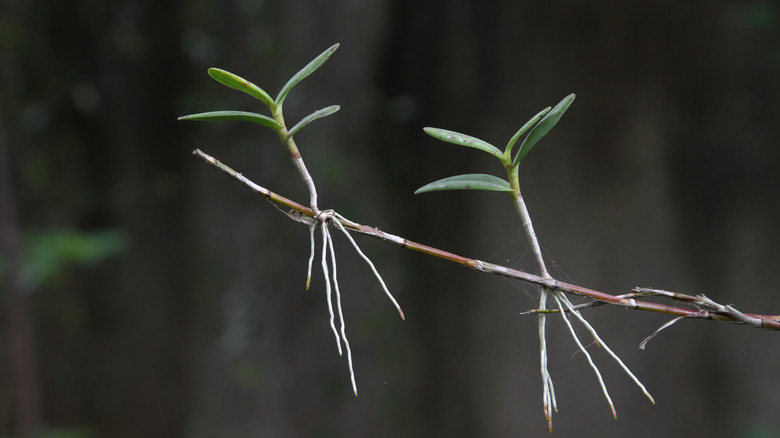
With vegetative propagation, you'll divide the existing orchid into new plants rather than harvesting seeds. The good news is that some orchids have a natural feature that makes this division easy: keikis. "Keiki" means "child" or "immature plant" in Hawaiian. Keikis are baby orchids that start growing from the main plant, taking much of the guesswork out of propagation. All you need to do is safely remove them from the parent plant and start them growing independently.
Keikis start along the stem and visibly develop into individual plants with their own leaves and aerial roots over six to eight months. This makes them easy to recognize. However, the trick is knowing when to remove them for propagation. The Old Farmer's Almanac recommends waiting until you can see more than one root and some growth at the end of the keiki before you remove it. Once you see these signs, you can gently remove the keiki with a clean, sharp knife. Be sure to get the whole baby plant, including the roots. Then, pot it separately using your favorite orchid potting mix. While it may take one to three years to flower, you should start seeing healthy growth from your new baby orchid soon.
Tips for successful propagation from keikis
Many orchids, including some of the large Dendrobium genus, can form keikis. That said, not all of them do. For those types of orchids, you'll need a different propagation method. Such methods are more complicated: For example, you may need to carefully cut apart the entire plant or identify and remove dormant bulbs. While experienced orchid propagators may welcome the challenge, many people will find propagation from keikis more approachable.
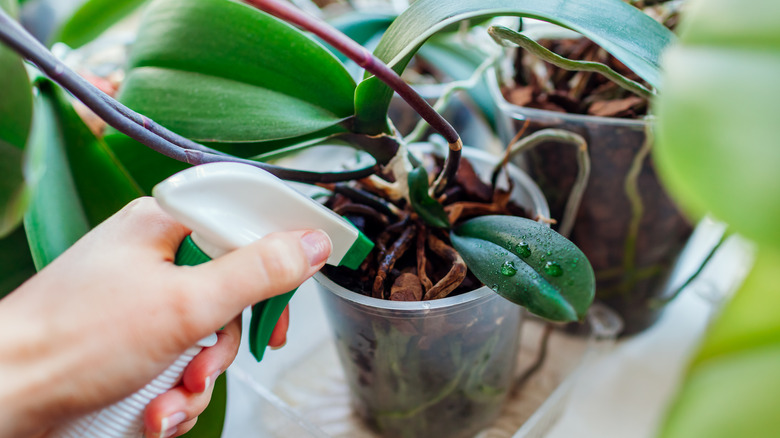
To help ensure success with this method, ensure the roots are all covered when you pot your keiki. They may have started growing in all directions as aerial roots on the parent plant, so this could take some finagling. Give your new orchid water right after potting, and water it often enough afterward to keep the roots damp. However, take care to use the best methods to water the baby plant and prevent over-watering. Provide plenty of indirect light, humidity, and warmth to foster growth. You may also want to use a fungicide on the cut ends of the keiki and the parent plant. This will protect both plants from issues caused by insects and fungi, giving you a better shot at having healthy, happy orchids.


