Easily Level Sunken Patio Pavers With An Essential Tool You Already Have At Home
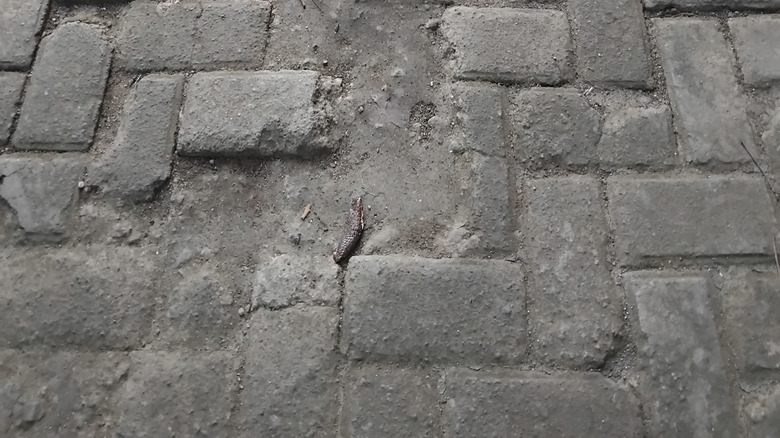
Paver block patios can look incredibly elegant when they're new, but if they've started to sink, that look will become less aesthetically pleasing. Worst still, sunken or uneven pavers can become a big safety issue that could cause trips and falls. If your paved patio has seen better days, it's time to roll up your sleeves and apply a little elbow grease to the situation. And much of the work can be done with an essential tool that we all have lying around the home: a trusty flat head screwdriver.
There are a few reasons your paver patio could be failing after a while, including shifting soil below the pavers. Traditionally designed to fit slotted screws, the tip of a flat head screwdriver is perfect for lifting up sunken patio pavers and levering them out in tightly packed spaces. Plus they're small enough to use on delicate or older pavers without the risk of damaging them. These simple tools are typically durable as well, but even if your screwdriver is damaged, they're easy to replace. Once you've lifted out your pavers, it's an easy job to create a level surface to place them back on, as long as you avoid common mistakes when laying your pavers.
Use a flat head screwdriver to lift and level your pavers
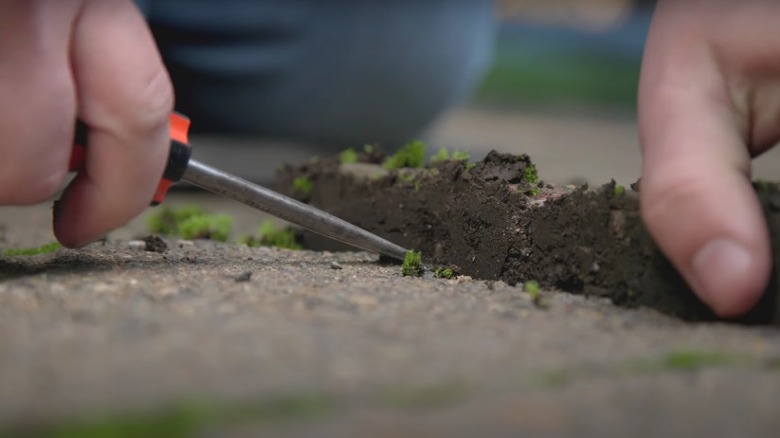
Do note that if you're removing more than a couple of pavers, it's a good idea to take photographs for reference purposes. If you've chosen elaborate paver patterns to add interest and texture to your patio, you'll want to make sure that everything is replaced correctly. Start by scraping out any dirt between your pavers — you can even use your screwdriver for this, as its narrow head will help flick up small pieces of dirt. Next, stick the screwdriver tip between the pavers and tilt and lift to remove sunken pavers one at a time. You may need to repeat this from a few different angles to loosen each paver. Alternatively, you may find that using a screwdriver at both ends of each paver lifts them out more quickly.
Once you've lifted out any sunken pavers, you'll need to prep the ground before you put them back in. The next step is to spread a sub-base (generally made of crushed aggregate) on the exposed ground and even it out with a rake. Use a screeding board to level the ground as flat as possible before adding a layer of sand and repeating the smoothing action with your screeding board. Use a board that's the same heights as your pavers, if possible, as this will make it far easier to get things level. Give your pavers a good clean using a gentle pressure washer or a scrubbing brush, then replace your pavers and lightly tap them with a rubber mallet to secure them. Finally, brush sand over the newly positioned surface to fill in the gaps between each paver.