HGTV Explains How To Easily Propagate Hydrangeas
Hydrangeas are a staple in outdoor gardens due to their beauty and versatility. These flowering shrubs captivate with their diverse colors, including vibrant blues, pinks, whites, and purples. Their ability to thrive in various climates and soil conditions makes them accessible to a wide range of gardeners. With their lush blooms and verdant foliage, hydrangeas effortlessly elevate garden aesthetics, providing a picturesque backdrop or eye-catching focal point. Their long blooming period ensures a delightful display throughout the growing season. Fortunately, according to HGTV's instructional TikTok, hydrangeas are also easy to propagate, so you can surround your home with their bold blooms or share them with a friend.
HGTV states that all you need to propagate a hydrangea is a flowerless stem about a foot long with at least three sets of leaves. When choosing a hydrangea to propagate, look for signs of a healthy plant, one with large blooms and bright green leaves. Selecting a branch from a robust bush will ensure your propagation efforts pay off. Carefully remove the stem from the mother plant using a clean pair of garden shears, and you're ready to begin.
Steps for propagation
Once you have selected and cut the stem you'd like to propagate, you'll need to gather some additional materials. According to HGTV's video, potting soil, a cup of water, rooting hormone, a knife, a medium size pot, and a clear plastic bag will do the trick. To begin, use a clean and sharp knife to make a clean cut just below a leaf node, the point where the leaves emerge from the stem. Remove any lower leaves, leaving a few at the top to support photosynthesis once the plant is in the soil. To encourage root growth, you can dip the cut end of the stem into the cup of water and then into a rooting hormone powder. Prepare the pot with well-draining potting soil, and make a small hole in the center. Insert the cut end of the stem into the hole, gently tamping down the soil around it.
One additional tip from the video is to create a mini greenhouse effect by placing a plastic bag over the cutting to retain moisture. Be sure the plastic doesn't touch the leaves. Place the potted cutting in a warm and bright location with indirect sunlight, preferably in your home, so that the temperatures are more consistent. Keep the soil consistently moist but not waterlogged. After a few weeks, check for root development by gently tugging the cutting. If you feel resistance, roots have likely formed.
How to transplant your new hydrangea
Transplanting a newly propagated hydrangea requires careful handling to ensure its successful establishment in its new location. Select a planting site with well-draining soil and partial sunlight. Hydrangeas thrive in locations with morning sun and afternoon shade. The best time to transplant is during the dormant season in early spring or late fall, avoiding extreme temperatures. Before transplanting your newly propagated hydrangea, be sure the roots have developed well in its pot so that it will survive being transplanted.
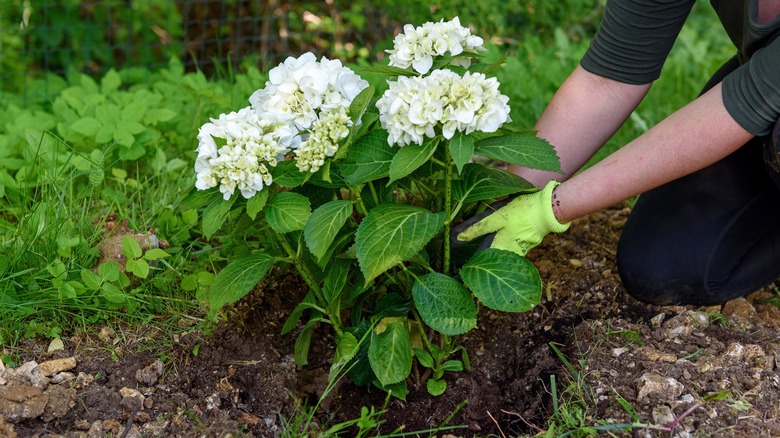
Dig a hole slightly larger than the root ball of the propagated hydrangea. Carefully lift the newly rooted hydrangea from its current container, being cautious not to disturb its delicate roots. Place it in the prepared hole at the same depth it was in the previous container. Fill the hole with soil and tamp it down gently to eliminate air pockets. Give the newly transplanted hydrangea a thorough watering to settle the soil around the roots. Keep the soil consistently moist for the first few weeks. Apply a layer of organic mulch around the base of the plant to retain soil moisture and suppress weeds. As your new shrub begins to grow, remove any dead or damaged growth, and consider pruning the plant lightly to encourage branching and a fuller shape. With consistent care and maintenance, your once stem will blossom into a beautiful, blooming bush.

