Are You Forgetting An Essential Step When Painting Your Furniture?
When you embark on a furniture painting project, your goals are twofold. First, there's the immediate gratification that comes from breathing new life into a piece, transforming it from drab to fab. But beyond this immediate change lies your second aim: ensuring that this new look persists over time — that the finish you've worked so hard to achieve can withstand the daily wear and tear and continue to look great for years. This is where sealing your paint job comes into play. Sealing is not just a final touch or a cosmetic enhancement. It's an integral part of the painting process, acting as a protective shield for your paintwork. In other words, sealing paint is the unsung hero that keeps your colors vibrant, your finish smooth, and your furniture looking like new for longer.
This article will shed light on this often-overlooked step. You'll gain a comprehensive understanding of the importance of sealing in the painting process and the different types of sealants available on the market — each with its own set of benefits and best-use scenarios. Additionally, you'll learn how to apply these sealants properly to ensure optimal protection for your painted furniture.
Why protecting your finish is essential
The primary reason to protect your paint is durability. When you paint a furniture piece, you're essentially adding a layer of color and texture that beautifies and safeguards the underlying material. However, this protection can only go so far. The paint is prone to chipping, scratching, and fading without a proper sealant. Particularly, heavily used surfaces like tabletops, shelves, or any other areas that frequently have objects placed on them, need a robust layer of defense. This is where the magic of sealants comes in. While many modern-day paints are formulated with fade-resistant properties and can drastically transform a surface, they aren't designed to withstand the wear and tear of daily use. Over time, exposed paint can chip, crack, or peel, resulting in an unsightly appearance and requiring frequent touch-ups or a complete do-over. A protective seal provides a barrier that shields your paint from scratches, scuffs, moisture, and other damage.
Sealers don't only protect; they enhance. Over time, exposure to light and the elements can cause the vivid colors to fade. In much the same way, the paint can become dull, meaning you have to upgrade the furniture. A protective sealant acts like the glass on a framed portrait, preserving the beauty beneath. They can deepen the color of your paint or stain, add a sheen, and give your project a polished, professional look. A good sealer becomes your best ally if you're aiming for a flawless paint finish with no distressing.
Choosing the right sealer for your project
Knowing that your freshly painted surface needs protection is just the beginning. Understanding which products will provide the best protection for your specific project is crucial. For example, applying a polyurethane sealant is the optimal choice if you've been working on a stained surface. This product creates a hard, durable finish that can withstand heavy use, acting as a stalwart guard against the daily wear and tear your furniture might experience. Conversely, if you've painted your surface, a polycrylic sealer should be your go-to. This water-based sealant has the advantage of not yellowing over time, unlike some oil-based counterparts. This characteristic ensures that your paint job maintains its true colors, keeping the vibrancy intact for longer periods.
Then there's chalk paint. It might give you a gorgeous, matte finish, but it comes with its own set of needs. Chalk paint, by its nature, is porous. This means it can readily absorb stains if not appropriately sealed. So, if you've used chalk paint on your project, remember that it always requires a protective top coat.
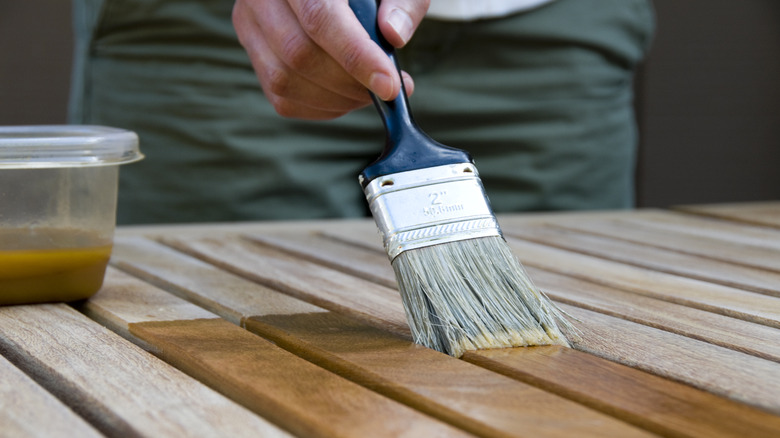
That being said, knowing which sealant to use is only half the story. The way you apply the sealant is equally essential. First, be patient. Ensure the paint is entirely dry before you start applying the sealant. When you're ready to apply the sealant, choose a high-quality applicator and allow sufficient drying time (around 12 hours) between coats for the sealant to set properly.


