How To Cut-In A Wall When Painting Next To A Textured Ceiling
Cutting in is an essential step in the painting process — it's where you create a smooth edge of paint around doorways, windows, and baseboards and along the edges of walls and ceilings. This makes it much easier to follow up with a roller and move quickly without splattering paint in unwanted areas. Cutting in can be time-consuming, but it's usually not too difficult around smooth lines, and the flawless results are worth the effort. This step can be much more difficult, however, if you're working along a textured ceiling, like popcorn ceiling or knockdown texture. How can you create a painted edge for that streamlined look? Use a putty knife or screwdriver to carve out a thin groove.
Trying to freehand with your paintbrush and cut in around textured ceilings can end up in a bumpy and uneven mess. Even if you try to use painter's tape, the texture can make it impossible to form a smooth seal. Some contractors may have already created a groove when installing the ceiling texture. But if your ceiling doesn't already have grooves around the edges, following these simple steps can make your paint job look a lot cleaner. Here's how to carve out a groove in the ceiling before cutting in with your paint.
Carve a smooth groove
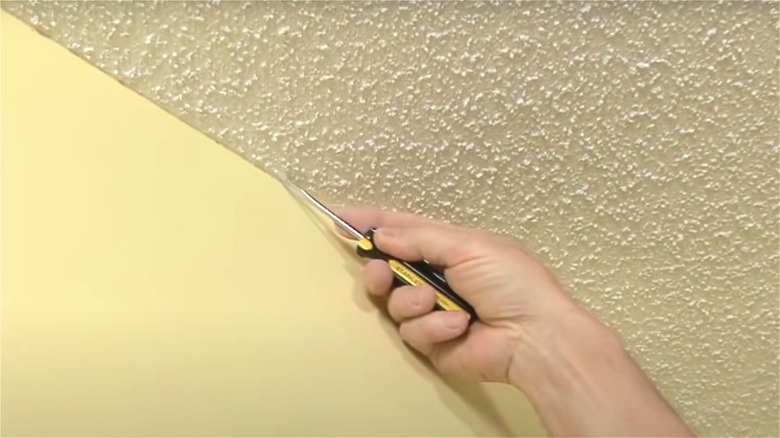
To create a groove in your textured ceiling, you'll need a sturdy putty knife or flathead screwdriver. Place the edge of the knife or screwdriver in the corner where the ceiling meets the wall. Then, tilt the tool so it sits at a 45-degree angle. Using gentle pressure, slide the edge along the wall, scraping away a portion of the ceiling texture and leaving behind a narrow groove that points upward into the corner. This groove is the perfect space for brush bristles to slide in and leave a seamless straight line.
Continue scraping around the room until you've created a shallow border around the whole ceiling, then follow up with a dry paintbrush or a can of compressed air to remove any lingering dust. Once the room is painted, you won't even notice the little groove of missing texture! However, there is one note of caution: if your home was built before 1980, you may want to test for asbestos before scraping any texture off your ceiling. Older ceilings can contain asbestos, and while it's mostly harmless when undisturbed, scraping asbestos can stir up particles that are very dangerous for your lungs.
Follow the right cutting in techniques
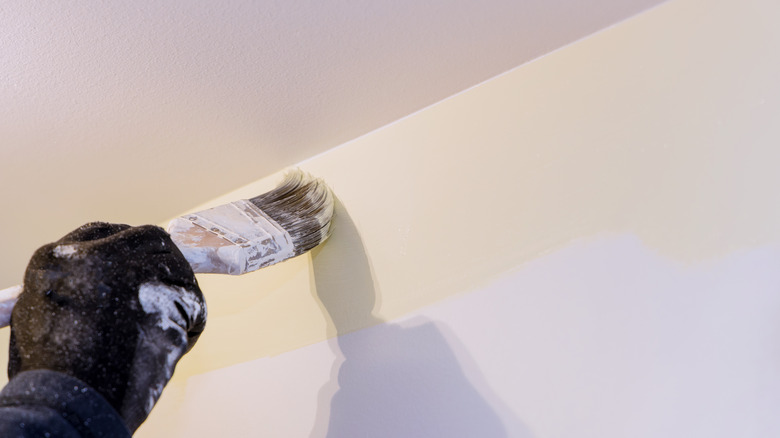
After you've prepped your room and made your grooves, you're ready to start cutting in with the paint. Thanks to the small groove, cutting in will be much easier, but there are still some basic painting tips you should follow. First, use a small 2 or 2 1/2 inch angled brush. This will help you get a crisp line around the ceiling and ensure that the bristles slide effortlessly under the groove you've made.
Dip the brush in the paint about halfway up the bristles, then gently tap against the side to let the excess paint flow off. Swipe the paintbrush across the wall, about half an inch under the ceiling, then make a few more passes to slowly work the paint up to the line. Apply gentle pressure to fan out the bristles as you glide them into the groove in the texture, making a smooth and even line where the ceiling meets the wall. Drag out the fresh paint along the bottom so it doesn't leave a line, then move on to the next section of the wall. When you reach the corner of a room, wiggle the tips of the bristles upward into the corner instead of trying to use brushstrokes.


