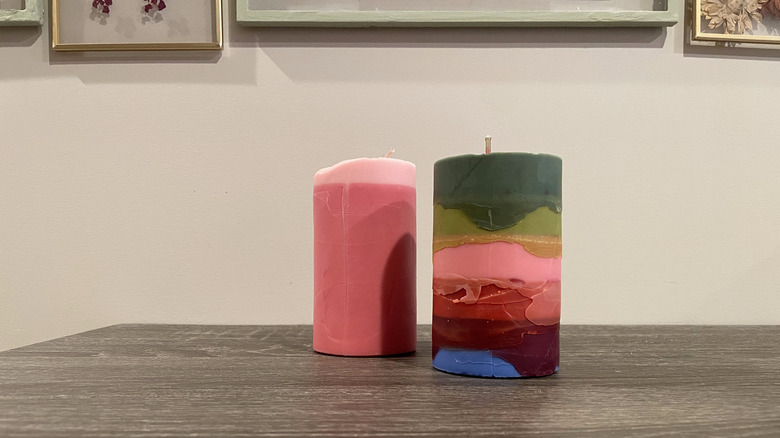
We Used A Pringles Can As A Candle Mold With Beautiful Results
Most often used as a decorative accent or to fill homes with delightful scents, candles are typically purchased at a nearby home goods store. However, homemade candles are growing in popularity, with many people starting their own small businesses. But this project can also easily be done right in the kitchen. And what's best is that you don't have to buy a fancy candle mold. Instead, you can use a Pringles can to make a homemade pillar candle. We tried using this classic snack tube as a mold, and the results were impressive.
Pillar candles are a classic style that will add a stylish accent to your home. These candles are cylindrical and made from rigid wax, which allows them to stand without needing a container. Pillar candles burn down the center, so if made correctly, they won't drip down the sides, which is why they don't need a container. Depending on the size, these candles can burn for 50 to 60 hours. Though they don't need to be put in a container, you can place them in lanterns or hurricane vases to add a decorative element to a space. With a Pringles can, you may be able to introduce this tasteful design into your home.
Materials and a snack
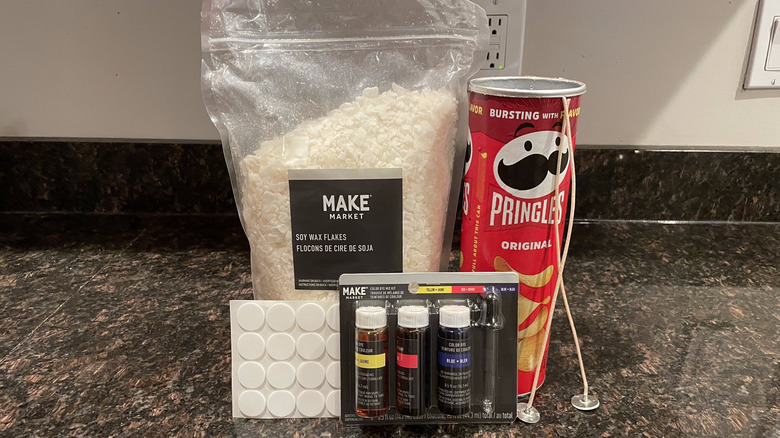
Candle-making is a relatively accessible hobby to start and one that you don't need to invest a ton of money on materials. Using a Pringles can is also great for avoiding purchasing expensive materials. All the candle-making materials can be purchased at a craft store like Micheals or Joann Fabrics. They can also be bought online from candle supply stores.
For this project, we used soy wax flakes because it's a natural and renewable resource that's also non-toxic and clean-burning. Soy wax also burns longer and has a longer-lasting scent than paraffin wax. However, paraffin wax is one of the most common and inexpensive options for candle-making. Other common types include beeswax and coconut wax. Beeswax has a slight aroma, so it doesn't always smell great mixed with other scents, and coconut wax is on the more expensive side. We also used candle wicks, wick stickers, and wax dye. The wax dye came as a set with red, blue, and yellow hues and a dropper. You'll also need one Pringles can per candle. You may also want to add scents or essential oils so your candle has an aroma when it burns. A wax thermometer is also great if you want to invest in the hobby long-term. We also used a pot to melt the wax on the stovetop and a measuring cup.
Preparing the mold
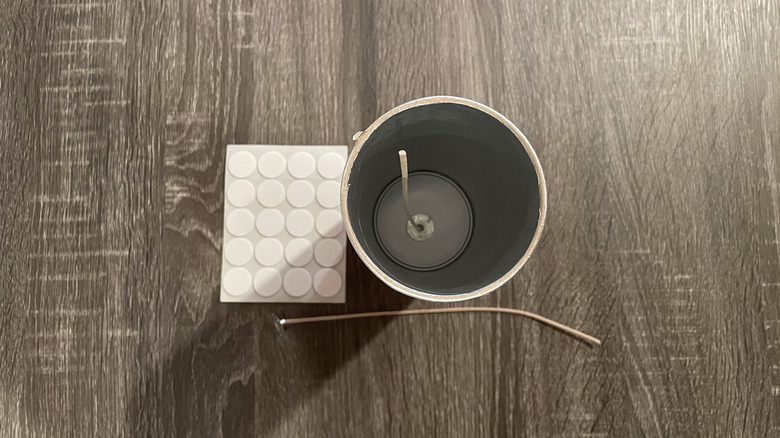
For this project, we created two candles to make a solid and layered design. Before we began, we cleaned out the Pringles can and transferred the chips to a sealable container to have as a snack later. We cleaned the inside of the can with a little soap and water to ensure no grease or crumbs would affect the candles. It's best to use a damp paper towel or cloth as the tube is made of cardboard, and excess water can make it crumble. Finally, we thoroughly dried the can and allowed the moisture to evaporate. Then, we added a wick sticker to the underside of the wick's metal base and attached it to the bottom of the Pringles can. With this, it's now ready to be a mold.
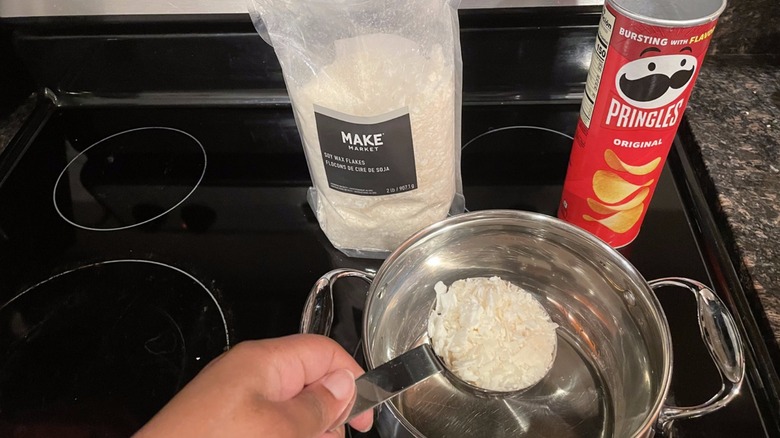
We turned the stove on low and let the pot heat up. Soy wax melts at a low temperature, between 100 and 190 degrees Fahrenheit. Be cautious not to let the heat over 200 degrees Fahrenheit as it can burn the wax. We added 1½ cups of wax for the solid candle, with a ¼ cup scoop on top for an accent. For the layered candle, each layer was ½ a cup of soy wax.
Melting and coloring the wax
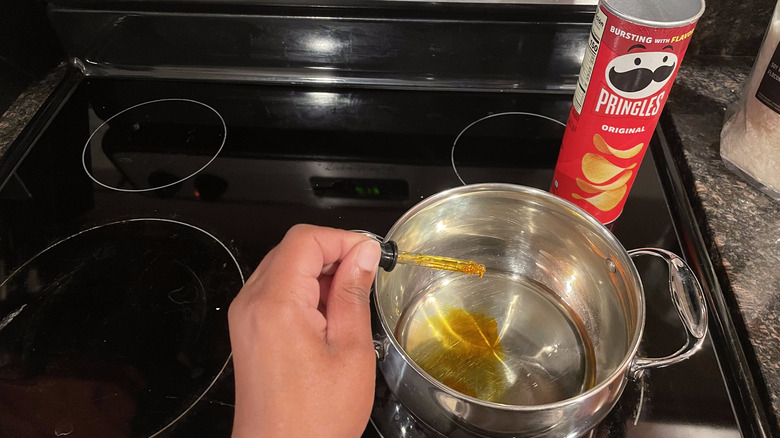
We allowed the wax to melt until it was completely liquid before adding the colored dye and mixing it with a spoon. Waiting until the wax is fully melted and heated up ensures the dye fully disperses and melts into the wax. While we didn't use exact formulas and experimented with creating colors, you can be more precise with the shades for your candles. The dye kit came with a dropper, and we noticed that more dye meant darker colors, while less resulted in lighter shades. We also mixed the dye to create different colors. To test the color, dip a piece of parchment paper or a paper towel into the wax.
Once the dye was mixed in, we allowed the wax to cool down a little before pouring it into the Pringles can. Only wait a few seconds, as you don't want the wax to solidify. We then set the Pringles can aside and allowed the wax to harden. For the solid candle, we poured the majority of the wax all at once. However, the layered candle required each color to harden for a few hours before adding the next. In between each colored layer, we cleaned out the dropper by removing the top and also wiped excess wax out of the pot to ensure the least amount of color mixing.
What we've learned
Firstly, a Pringles can is not a reusable mold. In order to remove the candle, we used a box cutter to cut through the cardboard. Also, the type of wick we chose was slightly shorter than the Pringles can, which made using wick holders impossible, so it was difficult to ensure the wick stayed centered throughout the entire candle. Both of the candles have cracks. This is most likely not due to the can itself but the technique. Most often, cracks result from how the wax cooled, whether too quickly or unevenly. Stirring the wax too much can also add air bubbles that pop when cooling. These can be remedied by improving candle-making techniques through practice.
With the layered candle, the colored sections blended together. After each layer hardened, the wax was pulled away from the side of the Pringles can, allowing wax to drop down and fill the space when poured. While the effect turned out pretty cool, if you're looking for clean, straight lines, this might not be the best mold. So, should you use a Pringles can really as a candle mold? For an easy DIY project, it's not a bad hack. Particularly, it's great if you want to give candle-making a try or don't want to invest in buying expensive tools.
