The IKEA Hack That Elevates A Basic Side Table In Just A Few Steps
IKEA is the go-to destination for low-cost, basic furniture pieces that are perfect for furnishing your first apartment or decorating your home on a budget. Sometimes, however, their simplistic options are a bit more cookie-cutter than you're looking for. Yet with this hack shared by @lesslikelytodrinkfriend, you can have the best of both worlds: a more custom-looking and functional side table that still costs less than a similar-looking option from another store.
This furniture hack is incredibly easy to accomplish yourself, even if you don't have much experience with DIY projects. All of the necessary materials add up to a final cost under $40, and there are no additional tools that you need to have on hand or building experience required. With a small investment and a bit of dry time, you'll be able to create your own riff on one of IKEA's most popular furniture pieces that'll take your living or bedroom setup from basic to modern.
How to accomplish this furniture hack yourself
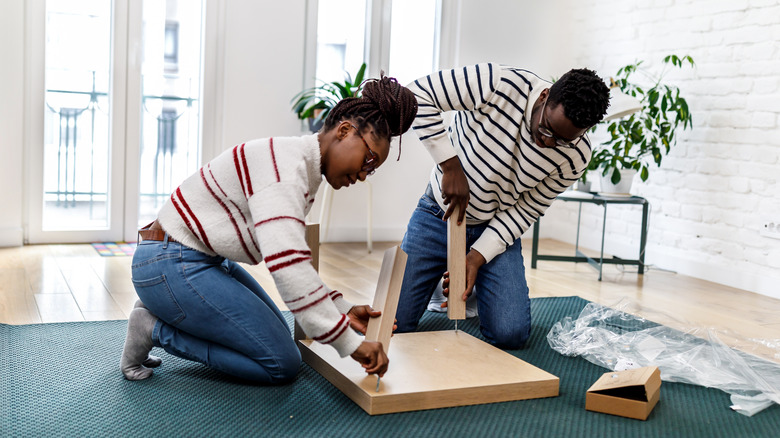
Before you begin, you're going to need to pick up your materials: two LACK side tables — one of IKEA's least expensive pieces — and some wood glue. Something like this Gorilla Wood Glue (via Walmart) is a great option because it has an easy-to-use spout, but any other brand you have on hand will do the job, too. In her TikTok, @lesslikelytodrinkfriend begins with an already assembled LACK side table, so do this step before you get to work gluing.
Next, you're going to want to open your second side table and take a look at the materials. You'll have the tabletop as well as four legs available, but you'll only need two. Toss the others or keep them on hand for additional hacks down the line. Flip the already-built side table upside down, then glue the finished side of the second tabletop onto the legs. Take two of your legs and glue them horizontally on the bottom to create some new, shorter legs, and allow everything to dry.
What to keep in mind with this side-table DIY
Because this hack doesn't require much actual construction, there's not much you have to be cautious about. It is, however, important to ensure you give the piece adequate time to dry and cure before putting it to use. Wood glue takes anywhere from 10 to 30 minutes to dry down, but you should give the DIY side table a solid 24 hours or longer to ensure it's cured and ready. Using the table before it's fully dried or cured can cause the pieces to shift or slide around from their original placement.
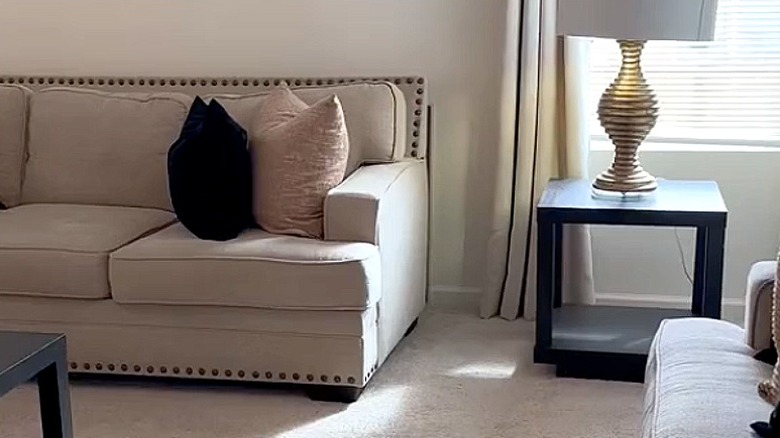
If you want to take this DIY a bit further, you can also incorporate a small storage cube like this IKEA DRÖNA Box on the second tabletop to provide some additional storage space, especially if you plan to use it as a nightstand. In the living room, this can also be a great spot for some coffee table books or knickknacks that you'd like to display. Because the final product is still fairly simple and modern, don't be afraid to accessorize it to the fullest.