What Should You Do If Your Toilet Tank Has A Crack?
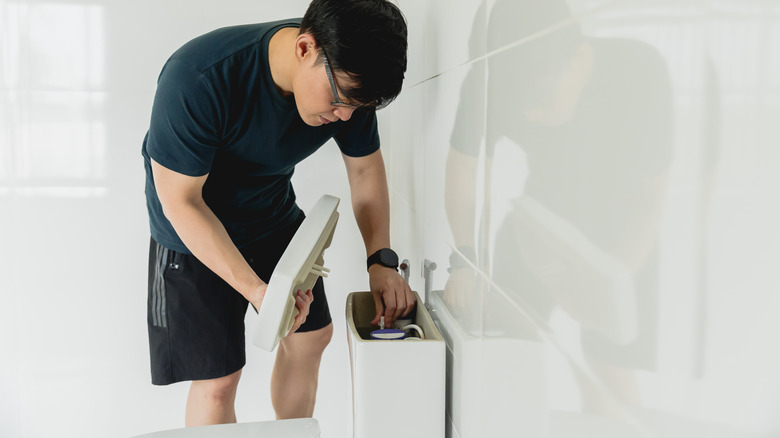
No matter the model of your toilet, it definitely has a water tank that could easily break. Toilet tanks, after all, are usually made of porcelain or ceramic because they're clean and non-porous materials. As tanks must be refilled after every flush and be ready for the subsequent discharge, any damage that could cause leaks will compromise the whole system. A crack in the tank is one of the most common issues for a toilet to stop working entirely.
Not all cracks in your toilet tank will hinder its performance, such as a crack above water level. If you're dealing with a crack that can compromise the workings of your toilet, you'll have to change your tank or find a way to repair it. In this piece, we'll show you how to check your tank to understand when it's time to get a new one and how to fix simple cracks on it.
Is it better to repair or replace your toilet tank?
Every case is different and depending on the type of crack in your toilet tank, you'll have to take different approaches. Hairline cracks above the water level are the easiest to deal with; if you find one of these, you'll have to keep tabs on it to know if it's growing and at what rate, but overall, you can leave it as is. Regularly measuring it will let you know and plan for a replacement if needed.
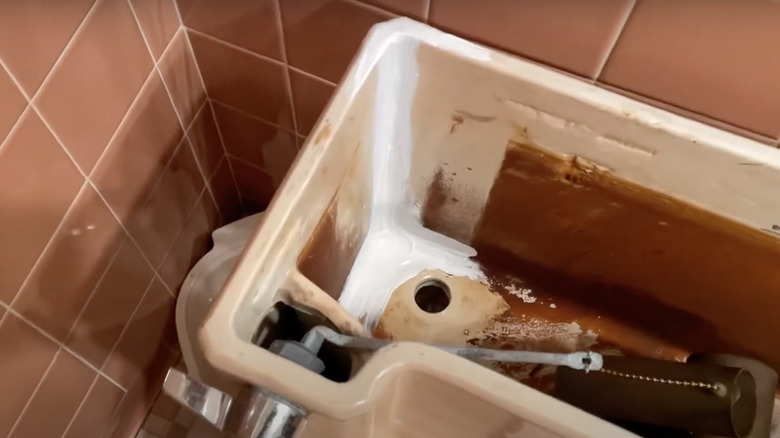
Any crack below the water level must be repaired immediately for the toilet to work correctly without losing water; depending on the crack size and leakage, you may need a replacement. If you have a small leakage on the floor below the toilet or feel like it's losing water endlessly, you should check the inside of your tank for potential repairs. If you can easily spot a crack from the outside, it's better to replace it entirely.
How to repair little cracks in your toilet tank
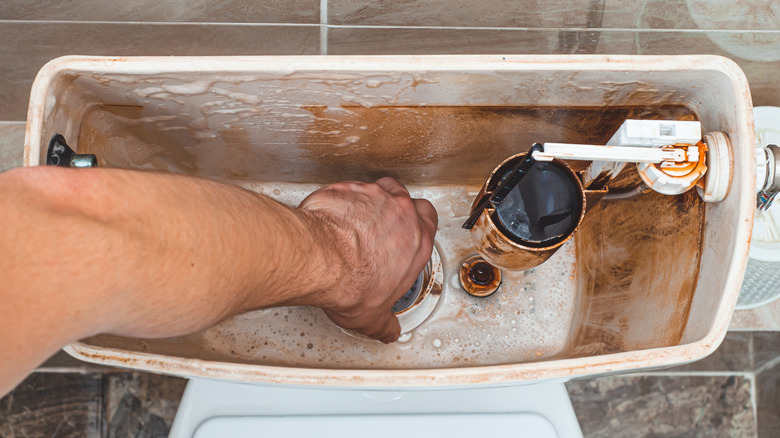
If the leakage is manageable, you'll need a sealant like waterproof epoxy, porcelain sealer, or plumber's putty to fix the crack. Before doing anything else, empty your toilet tank and dry it with a rag or a towel; taking your time on this step is essential, as sealants won't dry properly if the tank is still moist inside.
After the tank is dry, apply your chosen sealant to the crack and spread it around it to get into all the little gaps. This also prevents new cracks from appearing around the main one. Then, smooth the surface for it to look clean. Now, you must let the sealant dry completely before refilling the tank. It's recommended to wait 24 hours before filling the tank, but you can speed up this process using a hair dryer. After filling your tank, check for any leakage. If nothing comes up, you should be set.
Remember that any significant leakage due to a large crack will ask for a replacement piece, but for the small ones, this little repair project will save you hundreds of dollars. If you found a crack and are still unsure about repairing or replacing your tank, you may want to ask your plumber.


