The Staining Hack You'll Wish You Knew Last Time You Updated Your Woodwork
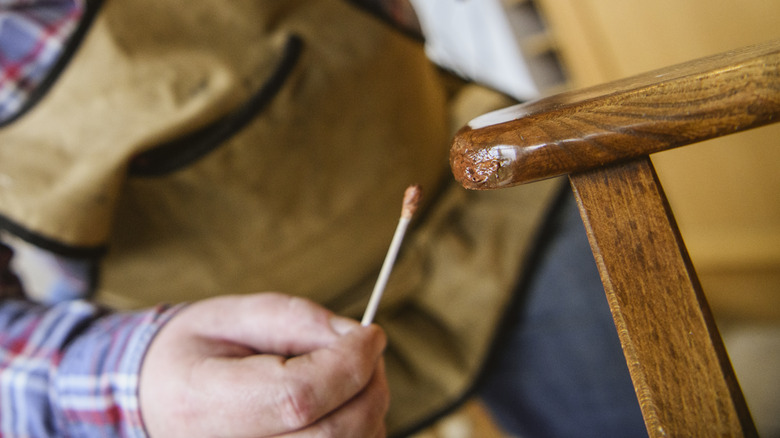
Beautifully stained woodwork can create an outstanding accent in any room of the home. Whether around the ceiling, door, or windows, intricately carved woodwork tends to be especially stunning. Staining this type of wood can be a bit more challenging, though, unless you use this simple staining hack. During the stain application process, be sure you use a cotton swab to get into all of those tiny grooves, creating not just a beautiful look but one that has the stain applied evenly throughout the surface.
When applying stain to the surface of any type or cut of wood, an even coating is essential. Otherwise, certain areas will look darker or a shade or two off from the rest of the structure. For that reason, you can't just put more stain onto these grooved sections. It will create an uneven tone and may even allow for pooling of the stain to occur, creating a messy, less-than-professionally done project. Yet, the simple Q-tip, designed in the 1920s and often sold in packages of hundreds at a time for a few dollars, is all you need to create a masterful finished piece. Wood finishes around the house like this can add a special flare without a lot of time investment. Use this method for wood on trim, furniture, built-in bookcases, and any other intricately carved surface.
What you need to stain and update your woodwork
Before getting started, you'll need to make a few quick decisions about the look you want for the piece, which ultimately will define how you proceed. It's possible to apply wood stain at various levels, with a bit more or a bit less, or to use a slightly different shade to get a secondary effect. If you want the wood to all be stained the same color, you'll need to use the same type of stain across the entire piece. If you want the deep etchings to have a more pronounced color, start with a base coat of stain across the entire piece and then use an oil stain with multiple light coats into the deep crevices to create a dark space.
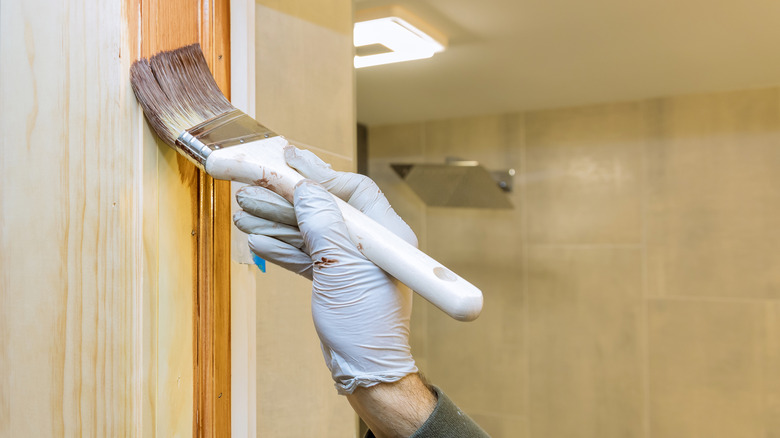
In all situations, you'll want to choose the type of stain that's best suited for your wood in the color you desire. You also need to consider filler and sanding tools. You'll still need to use a cloth to apply the stain to the solid and flat surfaces of the wood evenly or use a brush designed for stain. Then, pick up a handful of cotton swabs to use as well. Always use new, clean cotton swabs for the best overall result. You'll also need a second cloth to wipe up and remove excess stain after you've applied it. Finally, depending on the project, you may want to invest in a topcoat sealer for the wood.
How to use a Q tip to apply stain to woodwork

After cleaning the surface of the wood, fill in any holes or damaged areas with wood filler as needed. Sand down the entire surface, including the grooves, to create as flat a surface as possible. That will help the stain adhere. Make sure to remove any previous paint or stain from the surface.
Once you do that, you can begin to add stain to the surface of the woodwork. Apply an even coat to the surface using a brush or a cloth. Then, use the cotton swab to get into the deep grooves. You can just dab a bit of stain onto the tip of the cotton swab and then run it along the intricate design work. The goal here is to ensure you take your time and apply an even coat to these areas.
If you're applying more than one coat, repeat this process for each one. Allow the stain to settle into the wood but then use a second clean cloth to wipe off anything that's pooling in the cracks. The stain will have saturated enough into the wood prior to this. Once you wipe off the extra, you'll be left with a perfectly coated piece of wood. Work in sections to complete this project over all the woodwork in your space.