Create A Chic DIY Display Stool With This Genius Bucket Hack
You can easily display your favorite accessories or plants on stools and benches, but finding the ideal surface can be tricky, especially with so many of those featuring cushions and fabric. A firm, stable surface like wood or concrete is best for potted greenery, candles, frames, and other trinkets, which is why this current DIY project that involves making your own stool with a bucket is such a win. All you need is a 5-gallon bucket, some concrete mix, and a few dowels to create this clever and useful piece.
Not only is concrete a popular medium in decor thanks to its versatility, but it also helps provide a solid surface to store items you want to display throughout your house. Thanks to the smaller nature of this stand as well, it can fit almost anywhere inside or outside your home without feeling too bulky or taking up a lot of floor space. If you've been looking for a fun and simple project that also provides useful storage, you'll want to give this a try.
How to make the DIY bucket stool
To get started with this creation, you'll need to collect a 5-gallon bucket to make the 'seat' or the top, as well as concrete mix and water. According to HomeMade Modern, the best dowels will be 1 ¼" in diameter and 16" long. You can adjust the length to suit your needs, just account for the concrete's ability to stabilize longer legs and hold everything upright once the stool is made, and adjust as needed.
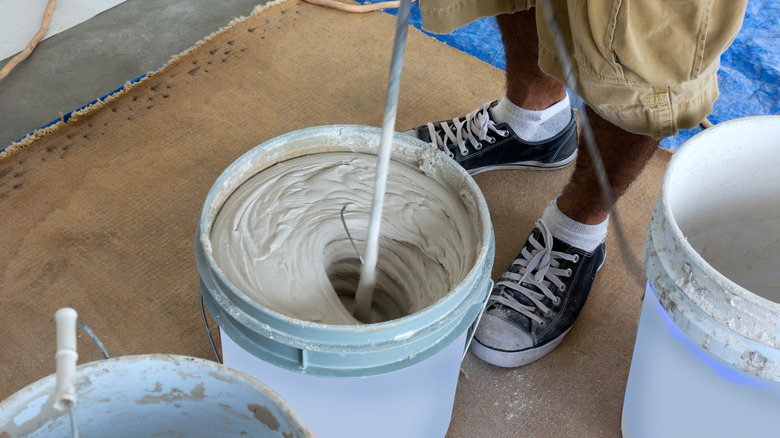
Pour several scoops of concrete into the bucket to about 3 inches and top it off with water. This part is done by estimating since no video has the exact answer, so add a little at a time until you get the ideal consistency.
Bruce A. Ulrich notes the consistency should be somewhat peanut buttery or a little firmer — then stir to remove bubbles and get a clean mixture. Add in the dowels, making sure they don't go all the way to the bottom of the bucket. They should sit a couple of inches into the concrete and no further so they don't show through the top portion of the stool once it's dry. You can use a ruler or measuring tape to ensure they are equidistant and level to avoid a wobbly finish. Bruce A. Ulrich, as well as The HomeMade Modern, also use duct tape to hold the legs in place while it sets.
Tips for the finished product

The bucket should be smooth inside, so make sure to remove any debris or dirt if it's been used before. Once the dowels are placed, you can use a rubber mallet to 'agitate' the mixture, which will keep it from sticking to the sides as it dries. You can do this after pouring and setting the dowels, while the concrete dries for 48 hours.
Once it's ready to remove, you'll likely need to work the bucket around the seat to loosen it from the sides, before turning it over and removing the plastic from the cement. This can take time and might require a little elbow grease to work the two mediums apart.
From here, the sky is the limit for decorating the stool. You can paint the legs to match your aesthetic or leave them as is if the wood is to your liking. The cement looks good in its raw form, but some results might require you to sand the concrete or add oil to the dowels for a more polished finish. Cracks can happen, but these just add to the natural feel of the stool. Once you're satisfied with the piece, you can add your plants or trinkets and share your newfound skill with others so they can try this project as well!