The Easiest Way To Make Sure Your Candles Last A Long Time Revolves Around The First Burn
Just about everyone enjoys lighting a scented candle as a way to refresh a space and wind down after a long day, but that little bit of luxury can come at a steep price. According to the National Candle Association, large jar candles can frequently cost around $35 — even more if you splash out on a decorative candle or one with a designer scent. This kind of candle is the most frequently purchased, but it's also one of the easiest to burn incorrectly. If you want to ensure you get as much bang for your buck as possible, it's necessary to follow a few simple steps that start with the first burn.
If you've ever burned a candle and realized that there's wax stuck to the walls that hasn't been melted by the flame, you've experienced something called tunneling. A candle's first burn essentially sets a pattern for the rest of the times you light it, so if you want to make sure the entire candle melts, it's important to start off on the right foot.
How to prevent tunneling in the first burn
In order to get the most out of your candle, there are a few rules to follow on your first burn. Before you begin, trim the wick or wicks down to 1/4 inch from the top of the wax. This will help to ensure the candle burns more evenly and can help prevent the risk of the flame growing too large and catching anything in the surrounding area. Next, you're also going to want to check if there's any debris on the surface of the candle. If it's been sitting on a shelf for a while, it could have easily collected dust or pet hair that could light and create a fire hazard.
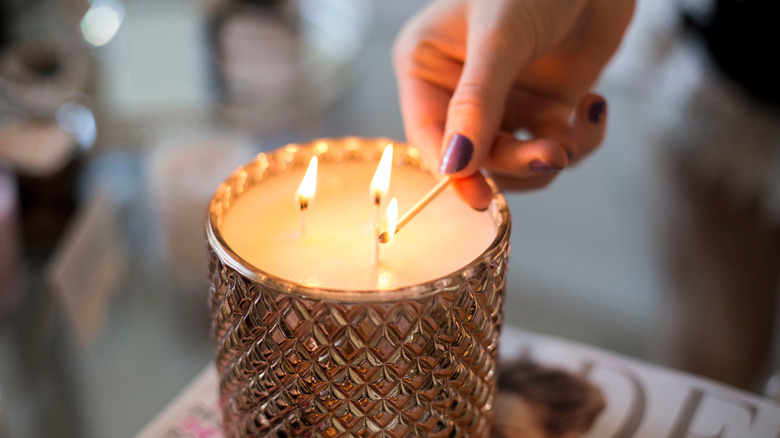
Now, it's time to light. Light your wicks as you normally would, but keep the candle burning for longer than a few minutes. A short burn time the first time you light is the most common reason that candles create that undesirable tunneling effect. The general rule of thumb is to burn for an hour for each inch of the candle's diameter — after you see that the entire surface of the wax is melted, you can put it out and relight later without any issue.
How to burn the rest of a tunneled candle
Sometimes, we don't have the time to leave a candle burning for several hours at once, so, if you had to cut your first burn short, there are still ways to stop that dreaded ring of wax from cutting through the entirety of your candle. If the tunnel is only at the surface of the candle, one of the easiest ways to fix this issue is with a heat gun or hair dryer. Melt the wax along the sides until everything is level on the top, and you should be good to go on future burns. You can also use a bit of aluminum foil wrapped around the top of the candle to trap more heat within it as you burn, helping to even everything out.
If your candle is too far gone and you're left with a tiny wick and wax along the sides of the container, there's not much you can do to restore the candle itself. This is, however, a great opportunity to make use of a candle warming lamp or wax melter. Remove the wax and cut it into smaller pieces to place in your wax melter, or simply place the jar on your candle warmer to prolong its life.


