How To Store Your Wet Sponges So They Don't Get Stinky
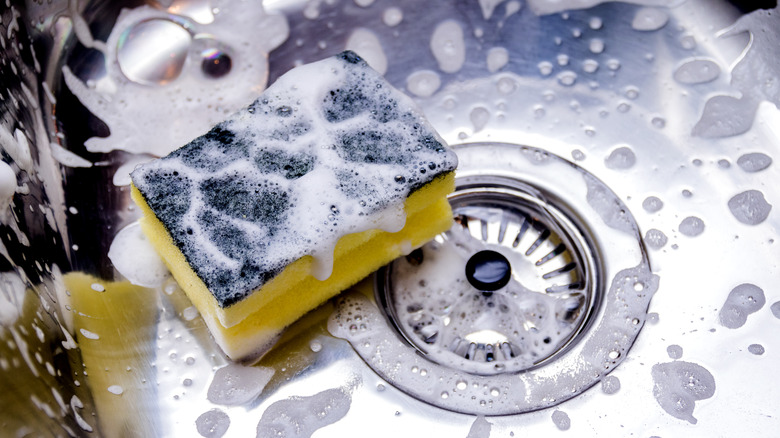
What's that putrid smell wafting through your home? The trash is empty and the garbage disposal is clear, but the funky scent permeates the room. You scan the sink. Aha, it turns out that the larger-than-life odor is coming from a small, innocent-looking cleaning staple — your sponge! Fortunately, there is an easy solution for storing wet sponges so they don't morph into stink bombs. The key is to place them in a dry spot with good air circulation.
You can't beat the convenience of washing, wiping, scrubbing, and scouring away messes with a sponge and just tossing it in the sink when you are done. Unfortunately, dirty, wet sponges can quickly turn into bacteria breeders. Think of the foul odor as a warning to replace your kitchen sponge. Once you do, you can help slow the rate of germ growth by keeping your sponge dry when it's not in use. This is critical as moisture creates the ideal environment for dangerous bacteria to grow and prosper on sponges. In fact, according to a study published in Scientific Reports, researchers found kitchen sponges can harbor as much bacteria as a dirty toilet. More alarming is that those same sponges are the ones you use to wash dishes or wipe down your dining room table.
Where to keep sponges dry and safe
After soaking up a nasty spill, it may seem like a no-brainer to rinse off a sponge and simply leave it in the sink until you need it later. While rinsing is a good first step, it shouldn't be the last. After cleaning your sponges, thoroughly wring them out, making sure to extract as much water as possible. The more moisture you can remove, the less you have to worry about it becoming a playground for germs.
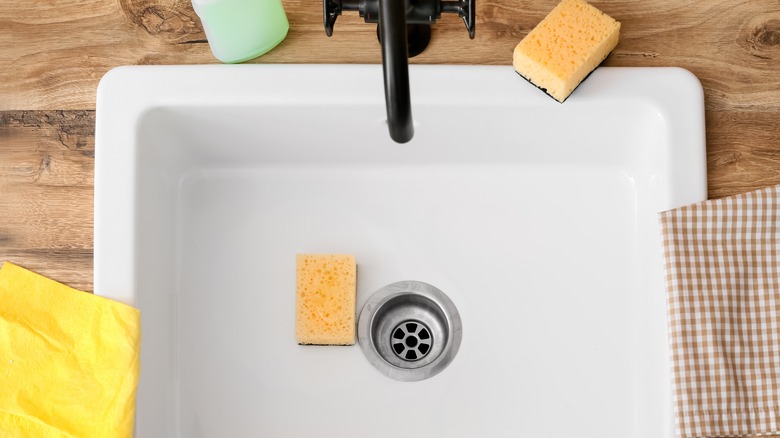
Next, it's imperative to store sponges in a dry location. Laying a moist sponge on the countertop or the bottom of a damp sink will increase the amount of time it will take to dry completely. Also, avoid stowing sponges in a bucket under the sink or in a cupboard above, as closed spaces limit air circulation. Instead, house your sponges in a plastic basket or a drying rack with drain holes on the bottom. Another option is to create a DIY sponge holder by attaching a sieve to the back of a sink or your draining rack. However, if you are worried about aesthetics, consider reserving this sponge-drying hack for a utility sink rather than in the family kitchen.
Tips to consider before storing sponges
It is also important to routinely disinfect sponges. To do so, fill a container with a gallon of hot water and mix in 3/4 cup of bleach. Soak your sponges in the diluted bleach for about 5 minutes, wring them out, then hang them to dry on a clothesline in direct sunlight. For a more eco-friendly solution, you can replace the bleach with white vinegar or lemon juice. Or, simply place used sponges in a pot of boiling water for about 5 minutes.
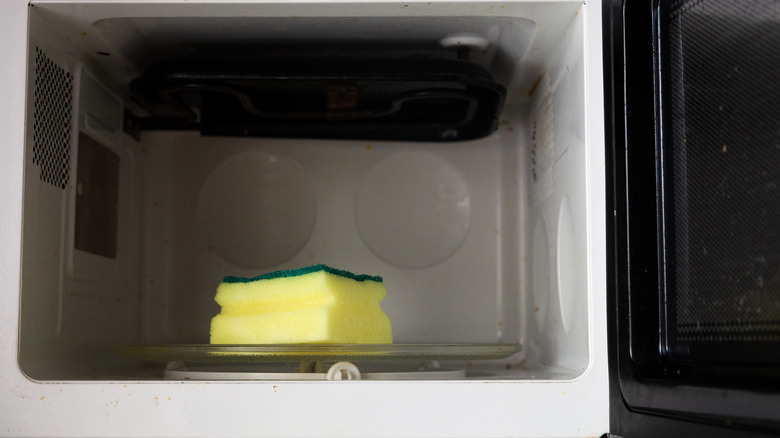
Another effective method to kill germs on musty-smelling sponges is to dry them in a microwave. Just place a damp sponge in the microwave and run it for 1 to 2 minutes at the highest wattage. The heat from the oven will kill bacteria, but won't prevent it from returning. Even if you run a sponge through the microwave 2 to 3 times per week, your absorbent cleaning tool won't last indefinitely. To avoid contamination, it's best to replace sponges every 2 weeks. If that sounds expensive, consider using a serrated knife and slicing a larger new sponge into two smaller ones. Most tasks can be successfully accomplished with a smaller sponge, which is especially helpful if you are operating on a household budget.


