Cleaning Floor And Ceiling Vents Is Easy When Done In The Dishwasher
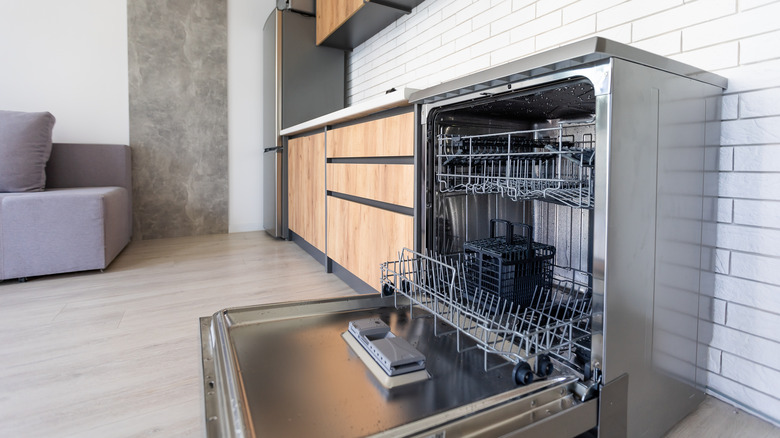
When you have an HVAC system at your home, you understand the importance of regularly checking your HVAC system for issues that could be affecting your air quality and making your family sick. It's also important to check the vents along the floor, ceiling, and walls where the airflow exits to look for signs of dust and other contaminants. If the vents are dirty and contaminated, cleaning them can be as easy as placing them in the dishwasher. Rather than stooping over or reaching above your head and knocking contaminants back into the air ducts, simply remove the vents and put them in the dishwasher.
Many people know that they need to clean their air ducts every few years, creating an atmosphere in the home that is safe to breathe and that won't make the family sick. But when you think about the vents, the front side is exposed to contaminants that are in the room, like pet hair or liquid spills. The back side receives contaminants that are traveling through the ducts. Consequently, they can become pretty gross in a short amount of time. It simply isn't healthy to allow the buildup of dust and allergens in this area.
Because the vents typically consist of either hard plastic or metal, most of them are safe to run through the dishwasher without the possibility of damaging them. However, you may want to run a single vent through the dishwasher as a test before doing the entire set.
Preparing to place HVAC vents in the dishwasher
Some of the floor and ceiling vents will be secured in place with screws. Remove the screws and place them in a safe location, so you can find them again when it's time to put everything back. A sandwich bag with a zip-close edge works well.
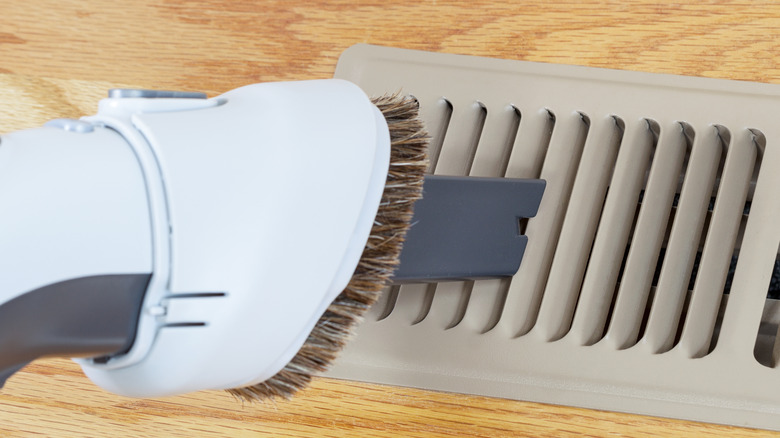
If you see a lot of dust and other debris, you may not want all of that running into your dishwasher. Before moving the vents, run a vacuum cleaner over the top, using the hand tool and nozzle. Another option is to use a duster pad over the top to pull the contaminants off before you remove them. Then dampen a paper towel and wipe gently over the top to remove dog fur and other items that may stick to the outside.
Unfold the paper towel and lay it flat on the ground near the vent. After you remove the screws and pull the vent loose, gently tap it on top of the damp paper towel to shake loose any dust and fur that's on the back side of the vent. You do not need to wipe in between each of the slats, as the dishwasher cycle should reach into these tight spaces to remove the contaminants.
If the vents still have quite a bit of dust and other contaminants on them, you can run them under water in a utility sink to wash the dust off and to keep it out of the dishwasher.
Precautions to take before washing air vents in a dishwasher
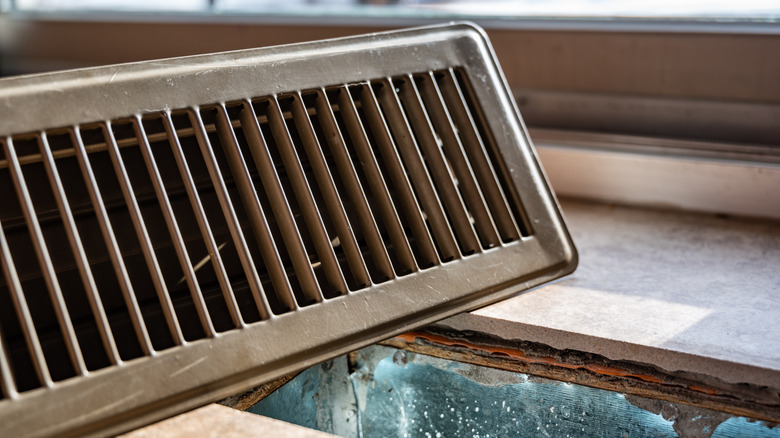
While your ceiling vents may only have dust and cobwebs on them, floor vents can have more contaminants. They may have greasy substances or even pet urine on them, along with dust. The dishwasher can handle all of these types of contaminants well. However, you should take precautions to make certain your particular vents are safe to place in the dishwasher.
If they are made of metal, typically aluminum or steel, this is the safest material to run through the dishwasher. However, if the paint is flaking on the metal, the pressure of the water moving through the wash and rinse cycles could exacerbate the problem of paint flaking away. Hard plastic should be fine as well, as long as you place these pieces in the upper tray of the unit, farther away from the heating element in the bottom. If they're made of wood, vinyl, or fiberglass, running them through the dishwasher could lead to damage or could cause them to soak up water, so don't clean them this way.
Do not stack vents on top of each other in the machine, as this will prevent a full cleaning. Additionally, do not use dishwashing soap — just run the machine with water. If possible, set the dishwasher to run a short cycle, as this should be an adequate amount of time to remove the grime. Do not run a heated drying cycle either. Use a hand towel to dry them instead.