Smart Fixes To Save Your Broken And Chipped Terracotta Pots
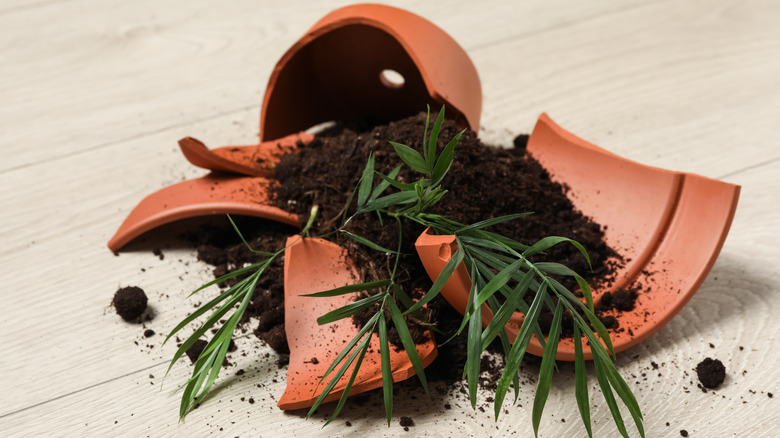
Terracotta pots are stapled decorative pieces for the traditionalist at heart. But let's face it, accidents can happen, and sometimes these terracotta treasures break, leaving you with shards that seem destined for the bin. But hold on — is disposal the only option? Far from it! In fact, in repairing a broken terracotta pot, the magic of restoration unveils itself. Epoxy resin and landscape block adhesive emerge as the champions of this resurrection. These adhesives are both practical and effective solutions. Offering a resilient and enduring bond, they can seamlessly hold the pot's pieces together, restoring their original form and functionality.
Indeed, a broken terracotta pot is not the end of the road but the start of a rejuvenation journey. It's an invitation to engage with your hands, test your resourcefulness, and experience the satisfaction of breathing new life into an object otherwise written off. This guide, therefore, aims to steer you through this journey, simplifying the process of mending your cherished terracotta pots. We'll first expand on the different types of resin available. This foundation will equip you with the knowledge to select the appropriate resin that best suits your terracotta pot repair needs. Once we've laid a solid understanding of the types of resins available, we'll provide a step-by-step guide on how to use these resins to mend your broken terracotta pots.
Choosing the right adhesive
The first step to successfully repairing a broken terracotta pot is choosing the right adhesive. You can consider several types of adhesives, each with its pros and cons. Epoxy resin is a high-performance adhesive known for its superior bonding capabilities and durability. It's a two-component system composed of resin and a hardener. When mixed, they create a powerful adhesive that can bind various materials, including wood, metal, and ceramics, such as terracotta. The hardened epoxy not only joins the pot pieces but also provides a resistant barrier against water, heat, and weather elements, making it ideal for indoor and outdoor pots. However, it may work better for smaller jobs, and the super-strength formulation (which takes longer to cure) is more effective for terracotta pots.
Another option is a landscape block adhesive, a specialized adhesive designed to bond landscape materials such as wood and stone. It is renowned for its strong bonding properties and resistance to extreme weather conditions, making it an excellent choice for outdoor applications. The adhesive is usually sold with a caulking gun and is less expensive than the epoxy. However, they work best for larger jobs, and you can't paint over them. It's also important to note that neither of these adhesives is suitable for terracotta pots that hold water for a long time. In such cases, using an aquarium-grade silicone sealer might be best.
Repairing your terracotta pot

Once you have selected the appropriate adhesive, it's time to repair your broken terracotta pot. Start by gathering all the pieces of the broken pot. If there are many shards, it can be like piecing together a jigsaw puzzle. Remember, safety comes first; handle the pieces carefully to avoid injury. First, clean each broken piece with a soft brush to remove dirt or debris. This is particularly important if using a landscape block adhesive — grease and powdered materials may affect the performance. After washing, let them dry completely; moisture can also affect the adhesive's ability to bond.
Next, dry fit the pieces together to ensure they fit correctly. Once you're sure, it's time to add the adhesive. If you're using an epoxy resin, make sure it's thoroughly mixed in small amounts at a time to prevent premature curing. Apply the adhesive to the edges of the broken pieces, then press them together. If you're using the landscape adhesive, you'll need to apply it using a caulking gun.
Hold the pieces together for a few minutes to let the adhesive set. Once all the pieces are glued together, you can use a damp cloth to wipe away any excess resin that seeps out from the cracks. However, for the landscape adhesive, it's better to let the excess glue dry out first rather than wiping it. You can then trim it off later with a blade. Once the adhesive is applied, let the pot cure based on the adhesive's recommended drying time. As a finishing touch, you can use a silicone remover to get rid of any hardened glue and aluminum sandpaper to smooth out any imperfections.