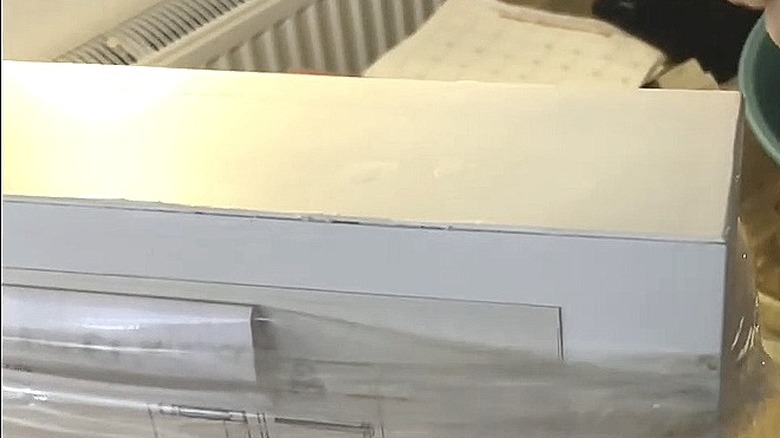
The Way To Properly Cut IKEA Shelving For A Perfect Custom Fit
IKEA offers the perfect way to create a beautiful home that's perfectly customized to suit your personality and needs. The furniture store offers several options for customers looking for inexpensive table and shelf choices that are sleek and simple. This IKEA hack can even able be altered to create what looks like expensive built-in wall shelving units. All you need are some tips on how to properly cut them to size for an optimal fit.
The LACK floating shelves come in different colors and sizes and range in price from $24.99 to $49.99. They use a wall bracket mounting system that is affixed to the wall and has pegs that stick out of it. The shelf piece slides in over the peg giving it a floating appearance. So, you must take extra care when cutting through the shelf to customize its size so that the holes still align with the pegs.
The shelves are made from particleboard, fiberboard, and plastic, and their inside has a honeycomb paper structure. When cutting through, you'll need to do so gently to not rip through these more delicate materials.
How to make custom built-in shelving
The first step in creating this custom built-in shelving is to assess your space and determine the ideal measurements for your fit. Keep in mind any obstructions, such as electrical outlets or vents that may affect the positioning of the shelves. It's also important to consider the weight-bearing capacity of the shelves, as cutting them may impact their structural integrity.
Once you decide on the size of your shelf, mark the area where you'll be cutting in pencil. Then make a mark for where your pegs will be inserted. Take this measurement and use it to mark your wall so you can install the hardware in the proper place to fit the shelf's new size. After installing the hardware, you'll be ready to cut your LACK shelf. If your unit is sliding directly into the wall so that the side of the shelf won't be visible, then you can cut the end right off using a hand, circular, or jig saw with a blade appropriate for cutting through particle board.
Remodelicious suggests taping the area you will cut through all the way around with painter's tape to help you make a clean cut. TikToker @mishkashoe installed a LACK shelf between two walls to create a built-in table vanity area. In order to give the shelf a cleaner, seamless look, she used caulking along the edge of the shelf and the wall and smoothed it out (via TikTok).
Reusing shelf end caps
If the ends of your LACK floating shelf will be visible after you've cut it down to size, there's a way to finish them so they look nice and neat. You'll just use the end cap that you've cut off. To remove this end cap from the piece you cut off, IKEA Hackers advises prying the top and bottom piece of the shelf away from the sides using a Stanley knife or something similar. You can use a hair dryer to help loosen the glue.
Use the hairdryer again to warm the exterior laminate end piece. Pry the end laminate piece away from the side of the shelf by sticking your knife between the end piece and the adjacent particle board it's attached to. The adjacent piece should easily come loose, leaving a bare 2-inch piece of laminate attached to more particle board. This is your end cap. Repeat this on the opposite side until your caps are free.
Next, push your freed end cap into the end of your newly cut shelf and secure it with glue. Wipe away any excess glue. You might want to consider using angle clamps while it dries to ensure a tight fit. Now your custom-cut piece looks like you bought it from the store that way!

