How To Use A Wet Mop To Prep Your Walls For Paint
Painting the walls in your home without a bit of preparation creates unsightly and frustrating outcomes. Dust can be a big part of a problematic finished product. Without removal, it can build up within the layer of paint, creating an uneven surface that looks tacky. The good news is that there's a quick and easy fix to this. Simply run a wet mop along your walls before painting to pick up all those less-than-desirable particles.
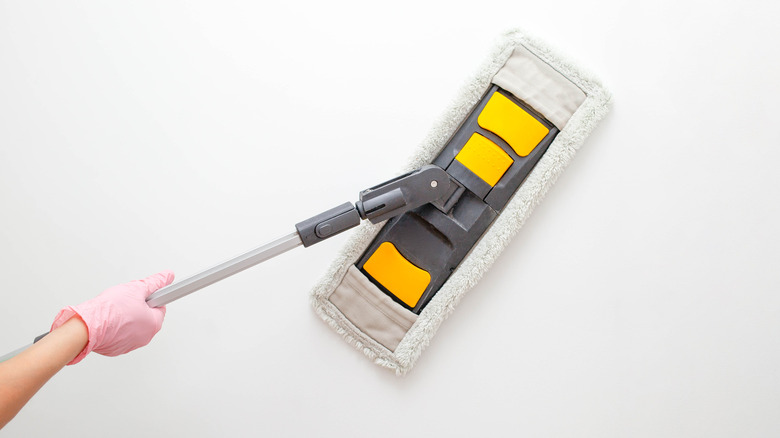
Any type of wet mop works here, including a traditional mop with a damp top, a broom with a damp towel wrapped around the base, and even a Swiffer-like device. You don't need a bucket of water to tackle this project, and you don't want to saturate the walls to get good results. What you need is a long-handled mop that's brand new, ideally, or very clean to prevent any streaking of added debris to the wall's surface.
The goal here is not to speed through the job but to be thorough enough to remove as much dirt and debris from the wall surface as possible, improving the odds of a better-finished look. Before you rush off to get started, though, there are a few steps and tips you need to keep in mind when preparing your walls for painting.
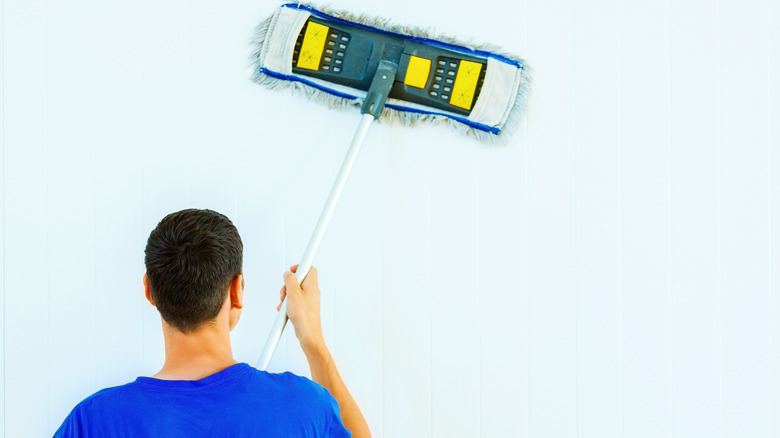
First clean the walls with a dry mop
When painting your living room or creating that fabulous accent wall in your dining room, you'll want to take a few extra steps to ensure the best possible outcome. The first thing to do is remove dust, which is all of the loose material that's caked on the walls. This is a dry process using a Swiffer with a pad or even a dust mop. Drag the cleaning tool along the surface, starting at the top corner and moving across the entire wall.
If you're using a dust mop or Swiffer, you'll be able to use the flat bottom to your advantage by passing it over the top of the doorframes, especially the upper edge that collects dust. This is important because, even if you're not specifically painting the trim, dust that accidentally falls into the wet paint from this area could mar your work. You won't want to forget to give all doors, vents, and ceilings a pass as well. You'll be surprised by what's on that mop when you're done!
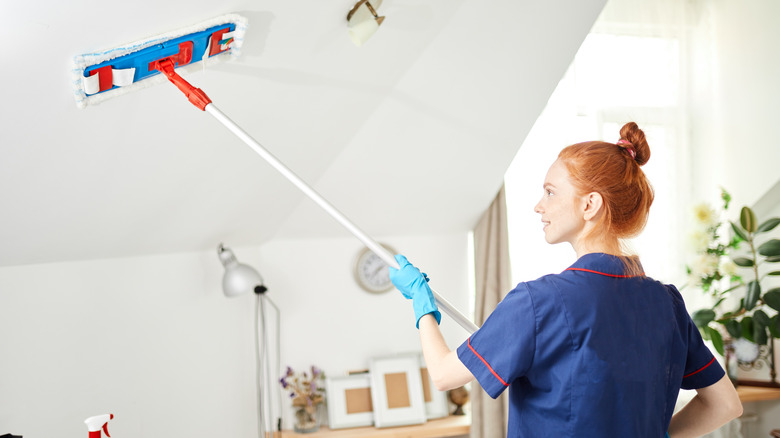
Use a wet mop to finish prepping
After you finish dry dusting, you'll then introduce water to the process. With a slightly damp wet mop, go over the walls and surfaces again. Make sure you use a new mop head or pad, not the one you've already used for dusting. Apply a small spirt of water or cleaner to the walls as you go, either using the Swiffer cleaning product or a hand-held spray bottle.
Don't be afraid to apply a bit of muscle to try to remove any smudges, smears, or other areas of dirt. You may also need to actually do some scrubbing if there's crayon wax on the walls as well. However, most of the work can be done using your wet mop. By taking the time to do this, you'll remove a lot of the material that could discolor the finished paint project. Be sure to allow the surface to dry thoroughly before painting as you don't want the moisture to damage or discolor the paint or interfere with the drying process. This will likely take a few hours, even if you use very little water.
Keep in mind that you'll also want to pay attention to any damage to the drywall surface itself that might become more evident as you clean, including any worn-thin areas or holes, and patch them before painting the walls.