How To Lay Tile Without Using Grout
We may receive a commission on purchases made from links.
We all know that feeling when looking right at dirty grout; it makes everything look dull and dirty regardless of how much you wash those little crooks. Thankfully, there's a solution, and we are not talking about cleaning hacks for dirty grout. We are talking about going groutless
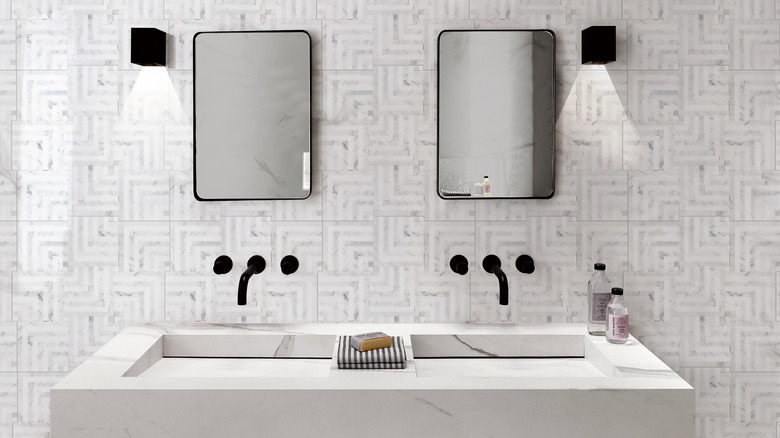
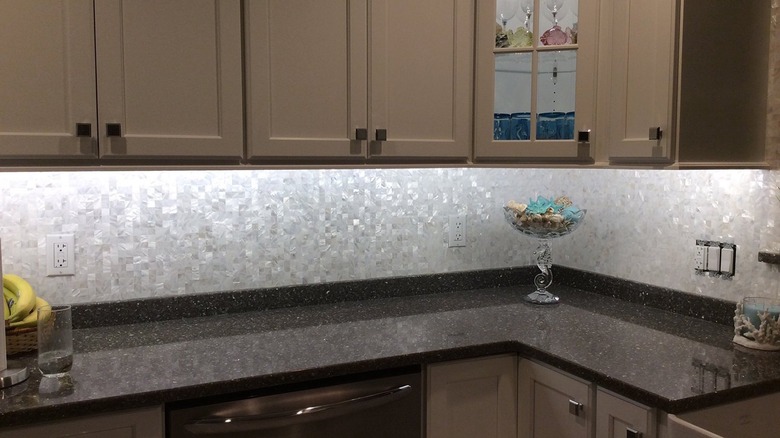
Groutless tiles are rectified tiles cut and filed with precision accuracy so that you can place them right next to each other without leaving a space between them. This means no grout, uneven lines, or chipped tiles and a smooth-looking finish overall.
Going the grouting route has many benefits, like preventing water and debris from getting caught between the joints or stopping tiles from moving. However, many homeowners prefer to avoid scrubbing the grout regularly and using groutless tiles allows you to enjoy those beautiful tiles minus the grout. The process is easy and quick whether you want them installed on floors, bathroom walls, or kitchen. Let's see how it's done!
How to install groutless tiles
The easiest-to-install groutless tiles come with a backing mesh for convenience, but before installing these tiles, it's essential to clean and prep the area. This includes removing the previous tiles from floors or walls, removing old mortar and debris, and sanding out any bumps for a smooth, dust-free surface.
After the spot is prepped, measure the area to know how many tiles you'll need to cover the entire space. Professional installers recommend adding 10% to the total number of tiles you need to ensure sufficient materials for the job. Now, cut the mesh to the proper area size and cut any extra bits, especially when working around outlets or faucets. After that, try different tile placements until you find the one you like, and trim any border or corner tile for the proper fit. Remember to do this without adding adhesive or mortar to the tiles or the surface you are working on.
Once you've chosen how you want the tiles to be placed, it's time to start installing them. Add a thin, uniform layer of mortar or tile mastic onto the surface and spread it with a trowel. Then, place the tiles as you decided and gently beat them with a rubber mallet to ensure no corners stick out at different heights. Finally, let the adhesive dry according to the manufacturer's instructions. Now you can enjoy your new groutless tiles
Maintenance tips for groutless tiles
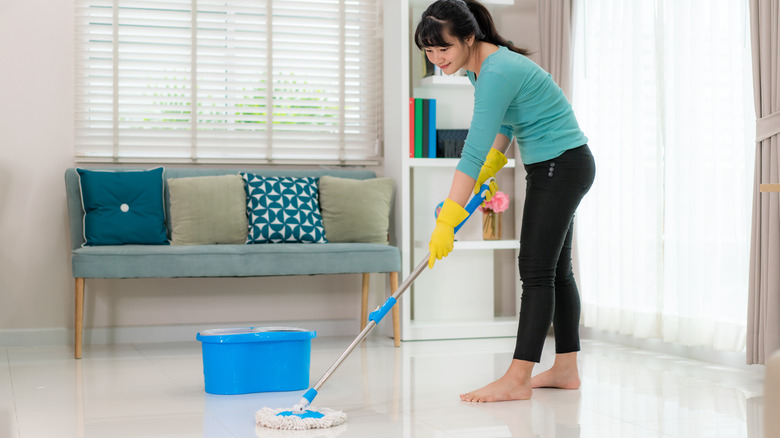
Groutless tiles come in different materials, including stone, ceramic, and cement. This means that the cleaning method you'll use will depend entirely on the type of material it is made of. It's okay to use a solution of white vinegar, warm water, and a splash of dish soap on almost any ceramic tile. Just dilute the vinegar and use this solution occasionally to avoid losing shine and discoloring the tiles.
On the other hand, it's best to remove the white vinegar from the solution for concrete tiles or natural stone tiles like slate or marble. Then use a clean mop or rag to lightly spread the solution over the surface, scrub using a clean toothbrush when necessary, and wipe any extra liquid with a clean, dry rag if you're dealing with these surfaces.
If you love tiled walls or floors but hate dirty grouts, groutless tiles could be an excellent solution on some surfaces. And while some professionals advise against them, it will definitely make your house look chic and clean. The choice is yours!


