The Unexpected Kitchen Backsplash Material That Embraces Scandinavian Design
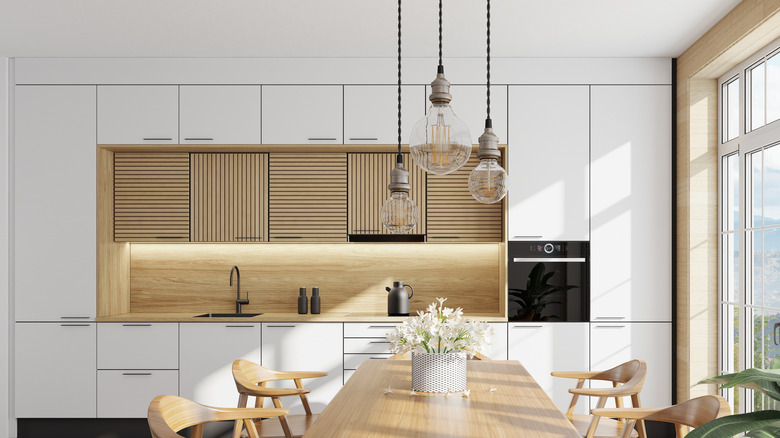
Have you been browsing Scandinavian decor and wondering how you could affordably emulate the look in your home? Pole-Wrap is the material of the minute for achieving a Scandi vibe that doesn't break the bank. Home decorators use it in everything from furniture renovations to the subject of today's article — kitchen backsplashes. This product's unique slatted design and light wood finishes (particularly the maple) set the hearts of Nordic design enthusiasts a flutter.
If you haven't already guessed, Pole-Wrap isn't a traditional backsplash material. It was invented by Laurie Coleman almost two decades ago when she needed a finish to disguise an unsightly pole in her home. The product is made of thin strips of natural wood or paint-grade MDF. Because the strips aren't connected, Pole-Wrap encases curves and columns neatly without buckling. The product is easy for DIYers to install — plus, it's paint, stain, and varnish-able. You can even use it outside!
Installing Pole-Wrap in your kitchen
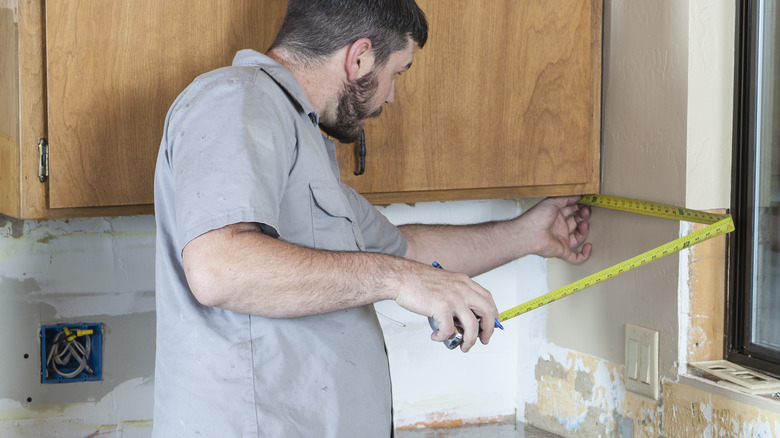
If you are having a full kitchen renovation, install the cabinetry and countertops before putting up the Pole-Wrap. This product comes in a few sizes, so you need to measure the space you intend to use it in. Buy the Pole-Wrap sheet sizes closest to the dimensions of your backsplash area — while it's easy to cut, you still want to limit ragged edges wherever possible. Lay the Pole-Wrap sheets flat on the floor or a large table. Mark your height and width measurements on the sheets with a tape measure and pencil. Use a fine-toothed hand-held or circular saw to cut across the wooden slats. Width measurements are easier to cut down — use a utility knife to cut through the groove between the strips.
Now it's time to attach your cut-to-size Pole-Wrap sheets to the wall. First, wipe down all the backsplash surfaces with a damp cloth and allow them to dry. Using wood glue and a caulking gun, squeeze lines of adhesive onto the wall about 10 inches apart. Use masking tape to secure the wrap to the walls or counters (top, bottom, and ends) until it dries. Most wood glues cure in 24 hours but check the manufacturer's instructions.
Finishing your Pole-Wrap backsplash
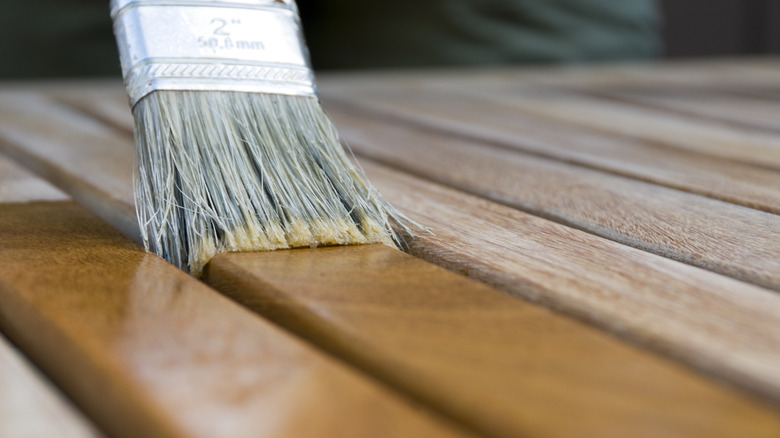
Before applying a finish, remove any excess adhesive with a utility knife. Then, lightly sand the strips, and wipe them with a damp cloth. While the wrap is naturally water resistant, it's still a wood product. Given all the water a kitchen backsplash is exposed to, you need to add an extra layer of waterproofing. The manufacturers recommend a clear polyurethane coating — use matte if you don't want that glossy look. You can also paint Pole-Wrap with acrylic paint. The best color palette for Scandinavian decor is cool-tone neutrals: outside of white, go with gray-blues, pastel pinks and greens, and yellow-tans. Apply the paint lightly in the grooves, or you'll get cracks when the paint dries at the flex points.
Still not sure if Pole-Wrap is right for your project? There are other affordable Scandi-inspired backsplash options you can explore. Try corkboard, laminate flooring, small square ceramic tiles in muted colors, or even faux-wood peel-and-stick vinyl in ash or pine.