Tricks To Keep Your Bouquet Standing Up Straight
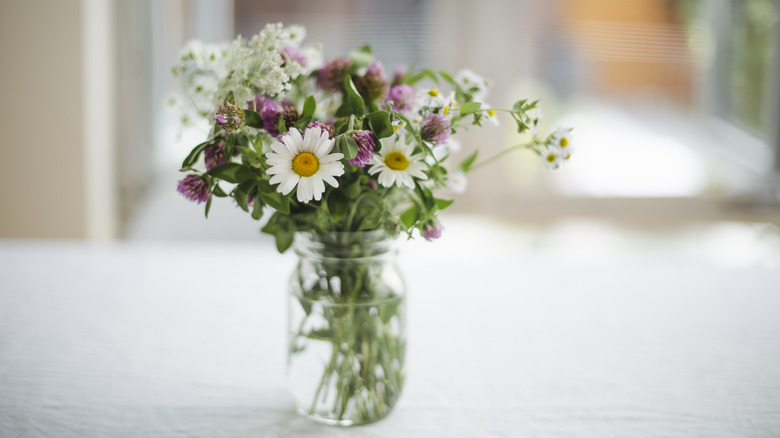
Bringing in a vase of cut flowers is a great way to incorporate some freshness and springy décor into your interiors, but deciding to arrange flowers yourself can get a bit difficult. Finding the proper placement to display each of your blooms is challenging enough, but it becomes an even more complicated task when you have flowers that start to sag or refuse to stay upright. Thankfully, there are plenty of ways to combat this problem, so you'll be left with a perfectly-arranged bouquet each time.
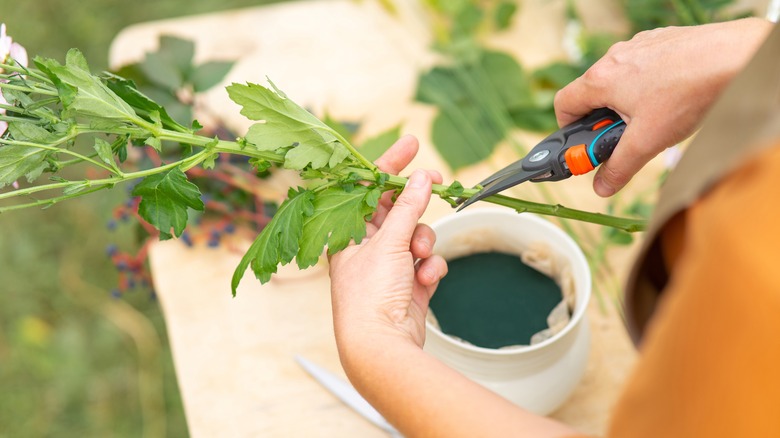
Before you start the process, however, it's important to properly prep your flowers so they'll last longer and be more likely to stand up straight. Certain flower varieties, especially tulips, tend to droop after a few days, but there are ways to reduce this. Start by trimming your stems at an angle to ensure they have the maximum possible surface area to absorb water, then trim down any leaves below the water line. Additionally, keep everything cold, as warm water will make stems more limp.
Create a tape grid
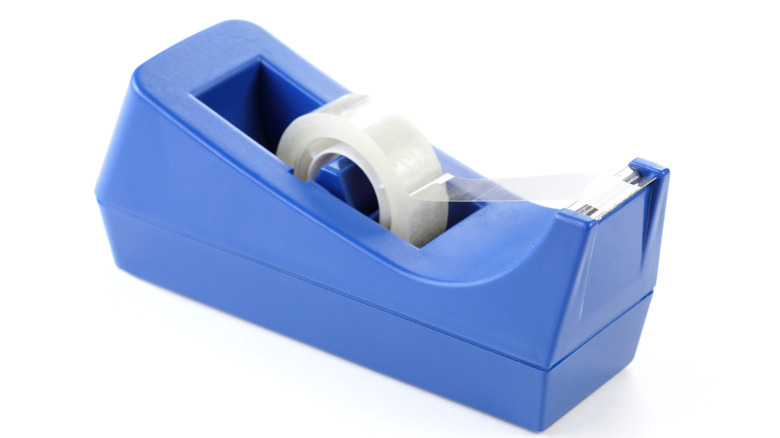
This first hack is a super-simple method to keep your flowers upright and make the flower arrangement process easier. All you need is your vase and some clear tape. Arrange the tape in a grid pattern across the top of the vase, then add an additional ring of tape around the outside of the receptacle to tack down loose edges. Once this is set up, you can place the stems of your flowers in each of these holes to keep everything supported and evenly spaced out.
Pretty much any thin, clear tape will work for this hack. Still, if you want to ensure nothing peels up because of exposure to water and moisture, it's best to find a waterproof tape designed for floral applications, like this Oasis Clear Floral Tape, available on Amazon. In a pinch, you could also use regular green floral tape, though it's best to use it for larger flowers that will cover any color that peaks through.
Use plastic straws
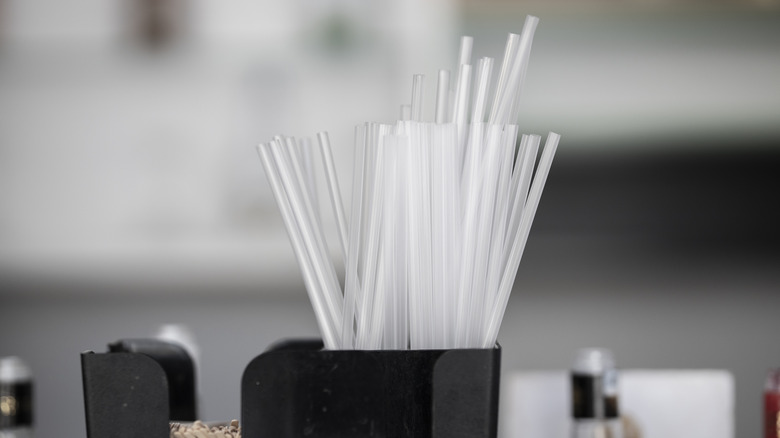
If your flower's stem is beginning to sag, consider using a few clear plastic straws to help straighten them out again and provide additional support. To do this yourself, pick up some large clear plastic straws like these Comfy Package Clear Jumbo Smoothie Straws from Amazon. Smaller straws can also work but won't fit around flowers with thicker stems. Once you slide the stem into the straw, you can arrange your bouquet like you normally would.
If you're dealing with larger-stemmed florals, you can also cut down the side of your straw to wrap the plastic around your flower instead of sliding it through. Once your flowers have reached the end of their lives, remove the straws before throwing the bouquet out and give them a good rinse to reuse. If you want to take sustainability a bit further, you could also use clear, reusable straws — just ensure they'll remain sturdy enough to withstand routine washing.
Rubber band your blooms together
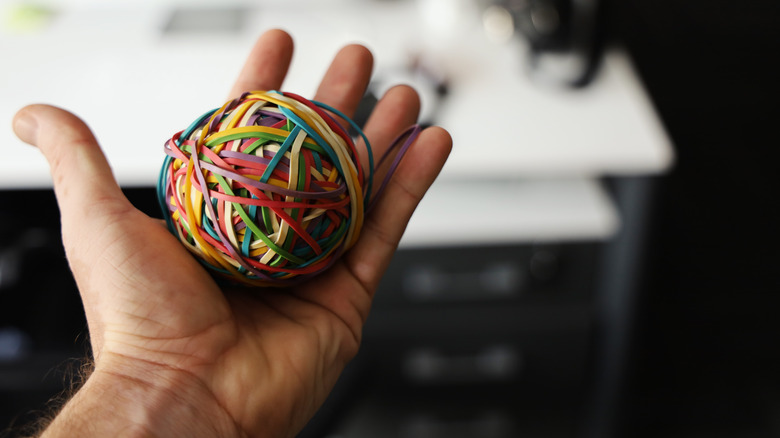
If you have flowers that simply refuse to cooperate and stay in their place, especially if you are attempting to create a beautiful globed look with your blooms, consider connecting the stems to one another with rubber bands. This gives the flowers more structure and keeps them from falling out of place when creating your display. For this hack, grab a few rubber bands, then connect about three of your flowers together in a small bunch at the bottom of their stems.
This approach works best with florals with woodier stems that can withstand a bit more pressure, but it can still do the job on thinner stems if you use a less powerful rubber band. If you're displaying your flowers in a clear vase, it's also a good idea to use green rubber bands, if you can find them, to better disguise what's going on under the water.
Try a cover with holes
If you like the idea of using tape to create a more structured grid placement for your flowers but want something that isn't single-use, you're in luck. Several brands have developed products that follow a similar line of thinking, just without throwing out a couple of feet of tape every time you want to display a new bouquet.
If you enjoy more rustic-style décor, there are plenty of options available to transform mason jars into more functional vases, like these AEIX Mason Jar Frog Lid Inserts from Amazon. Instead of screwing on the flat metal piece you typically use to seal your food, you can replace it with a small mesh grid to support and separate your flowers. There are also silicone options, like this Budable Flower Arranger, that can fit to different-sized vases and non-specific metal options, like this Easy Arranger, that sit on top of the opening of your vase rather than screwing it on a mason jar.
Use floral foam
Floral foam may have gained a reputation for use with faux flowers, but its original purpose was to allow you to have more control over your fresh flower displays. When you pick up your next bouquet, consider swinging by the craft store to grab a piece and try your luck arranging it with more precision.
To ensure your flowers stay fresh and perky, place your foam into your opaque pot or container, thoroughly soak it with water, and trim your stems to an inch or two longer than the length you want to display. Stick the cut ends of your flowers into the foam at your desired angle, and they should stay in place while still getting the water they need to stay looking fresh. If you want to change your mind about the design, trim the stem and leave the inserted piece in the foam to maintain its integrity. As long as you keep your foam soaked through, you shouldn't run into any issues with premature wilting.

